
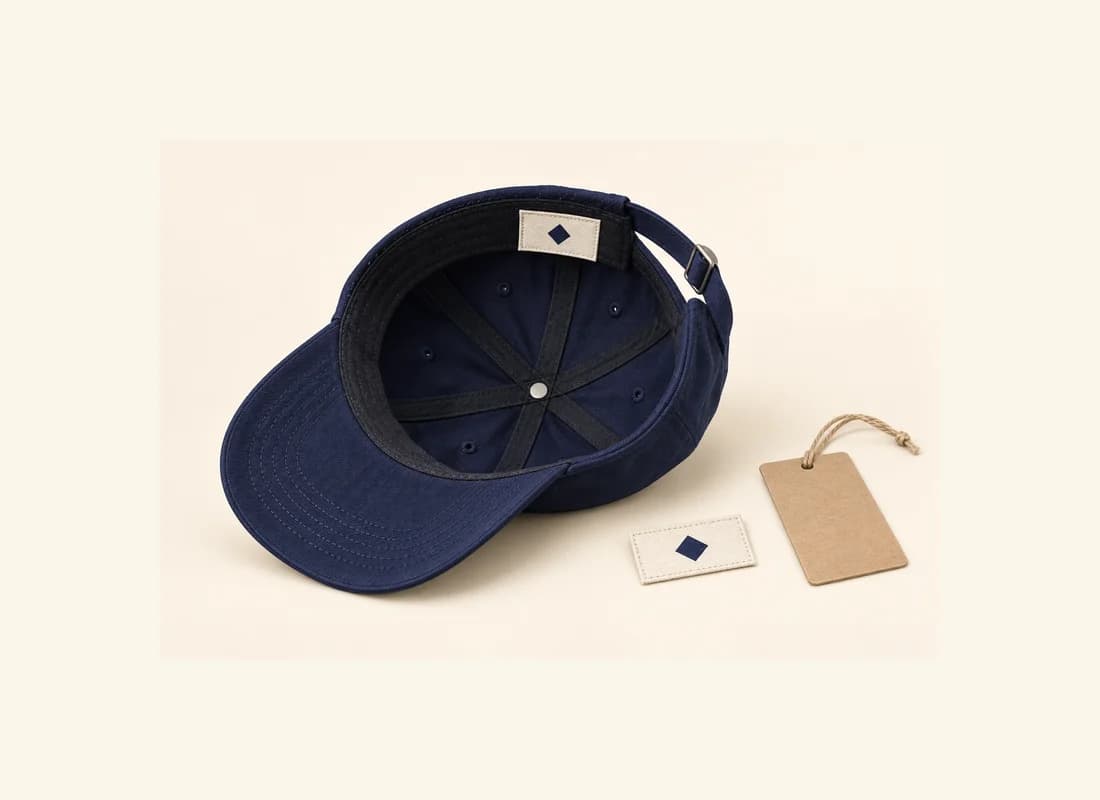
Give each label a job in the private label order
Start by listing the separate items you expect to receive: an inside brand label, a size identifier, any other required wording and a removable hangtag. They may share a logo, but they are different components with different attachment methods. A quotation that includes a brand label does not automatically explain the hangtag, its attachment or the artwork on its reverse. Name each item rather than asking the factory to add your branding everywhere.
For each component, record an identifier, the styles and colorways using it, and who supplies the final content. Include front and back artwork where both faces matter. If a size code appears on the label, use the same code in the order breakdown and packing instructions. Do not let a small trim introduce a second naming system that the receiving team must translate when the cartons arrive.
Decide which details are fixed and which need a manufacturer proposal. You might have final artwork but need help choosing a practical label construction; alternatively, a physical reference may define the finish while the logo still needs revision. Mark those situations differently. Ask the quotation to identify the proposed component and any unresolved development work, so a visual reference is not mistaken for an approved production instruction.
Separate finished size, fold and sewing margin
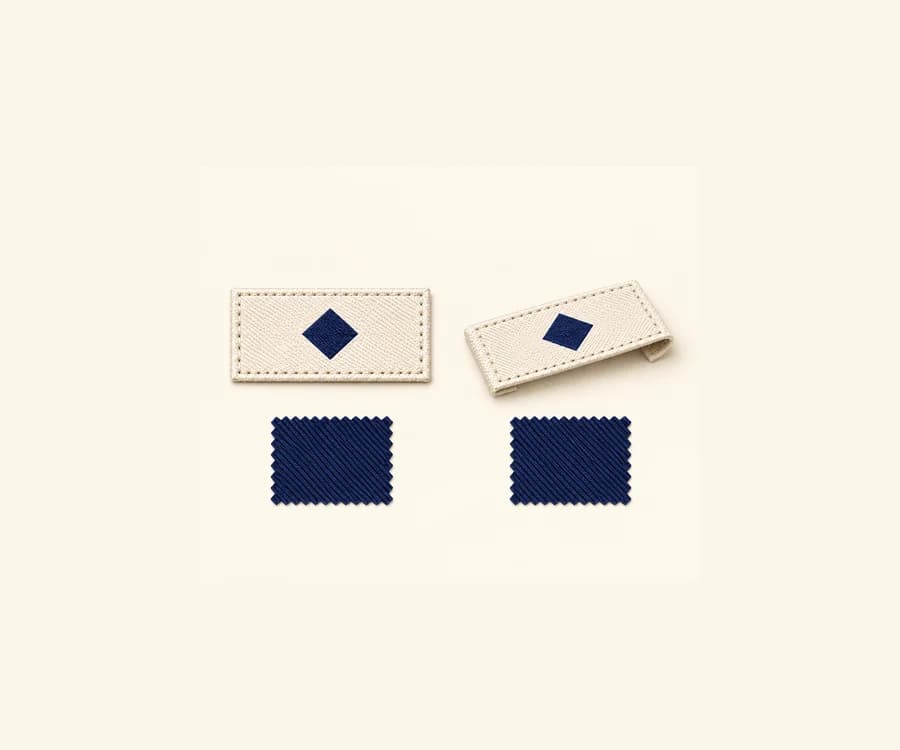
A label's visible face and its cut dimensions are not always the same. Folding the ends underneath, folding a label in half or catching an edge inside a seam changes how much material remains visible. Give the supplier a drawing that distinguishes the displayed area, fold lines and attachment area. State the units and identify whether your width and height describe the loose component or the label after it is sewn into the cap.
The two specimens below illustrate flat and end-fold constructions. They answer a construction question, not a universal sizing rule. An end fold turns material under at the sides; another option, a center fold, creates two faces and brings the ends together for attachment. Ask the manufacturer which option suits the intended position and how the label will be secured. The logo must stay within the visible area after those operations.
Dutch Label Shop's technical FAQ explains sewing allowance and edge folds as separate choices when preparing woven-label artwork. Use that distinction to ask better questions, rather than copying another supplier's allowance into your hat specification. Request the proposed sewing margin and usable artwork area for your actual label. Keep lettering, borders and other critical details away from the agreed stitch or fold area, and check the physical result before accepting it.
- Separate visible size from cut size
- Mark fold and sewing areas
- Keep critical artwork clear of stitches
Review the artwork at its actual finished size
Send the original artwork with a revision identifier, then view the proposed label at its intended finished dimensions. Enlarging a proof on a monitor can hide the fact that a narrow gap or small line of lettering becomes hard to read at the real size. Identify the details that matter most: the brand name, an emblem, a size code or a particular border. This gives the supplier a useful basis for proposing a revision.
Keep artwork approval and material approval separate. A digital layout can show spelling, orientation and nominal placement; a physical label lets you inspect the actual surface, edges and appearance. Compare the proposed label color with the agreed reference under consistent lighting. If the logo loses definition, ask whether simplifying the artwork, changing the finished size or choosing another feasible process would address the specific problem before authorizing a new version.
Do not approve a replacement by describing it only as the clearer one. Name the new file, size and component revision, and identify any accepted details that must remain unchanged. If a revised logo also appears on the cap front or hangtag, state whether those components change too. A label revision should not silently replace artwork elsewhere in the order or leave several competing logo files attached to the same brief.
Approve the label sewn into the actual hat
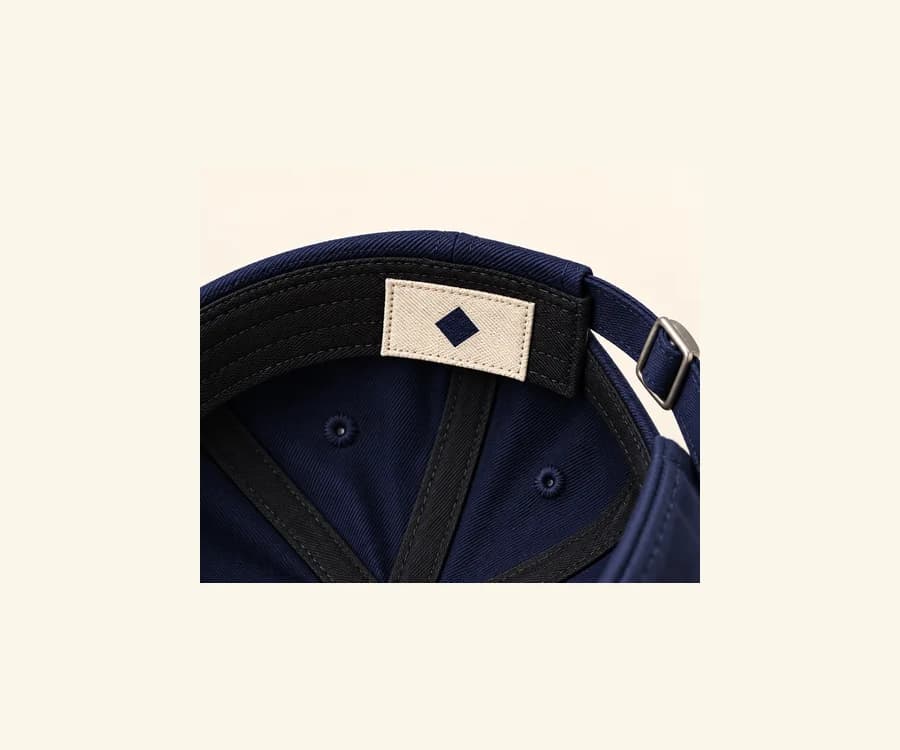
A loose label can look correct and still create a problem after attachment. Review a sample using the intended cap construction and the proposed label position. Photograph the whole inside of the hat for orientation, then take a close view of the attachment. Define the location from an identifiable seam, edge or rear opening rather than from a hand-drawn arrow that does not show where the measurement begins.
Inspect the label's orientation, exposed edges and stitch placement. Check whether a fold covers artwork, whether the attachment distorts the band and whether the label interferes with the adjustment strap. Try the hat on the intended wearer and describe any contact or roughness at that location. A photo documents the position but cannot establish how an edge feels against the head; that needs a physical review of the sample.
If the solution is to move the label, specify the proposed position and request another installed view. If the solution changes the fold, backing or attachment method, ask which parts need to be sampled again. Keep approval of the artwork separate from acceptance of the sewn result. The useful decision is not simply that the label looks good; it is that a named component works at a named position on a named hat revision.
- Check label orientation and edges
- Inspect the stitch position
- Review contact and closure operation
Freeze the component record before bulk production
Keep one final label record beside the approved hat sample. It should identify the artwork file, component version, finished dimensions, fold, colors, attachment method and installed position. Connect it to the applicable style, colorway and size codes. Where several hats share one label, name those hats explicitly; where a size or wording variant is required, list it as a separate component instead of relying on a handwritten exception.
Ask the manufacturer to confirm that the quotation and sample scope cover the chosen labels and hangtags. Confirm any separate trim quantity, setup or sourcing condition rather than assuming the hat order quantity answers every component question. A proposed substitution in label material or construction needs a recorded review of the affected details. It should not inherit approval just because the same artwork is being used.
Before releasing the bulk order, identify who can approve further changes and where the current file is stored. Remove superseded versions from the active instruction set while retaining them in the revision history. If a label decision is still pending, state the unresolved item and ask how it affects the next production step. This makes the approval usable for both the buyer and the person preparing the manufacturing instructions.
- Component: identifier, applicable styles and artwork revision.
- Construction: visible size, fold and agreed sewing margin.
- Installation: attachment, orientation and marked location.
- Decision: approved sample reference, open changes and owner.
Example: the logo is accepted but the edge needs review
An illustrative review note reads: “Style CP12, label L01, artwork revision C, sample 02. Logo appearance and label color are accepted. The right edge feels rough at the rear inside band during the fit review. Keep the accepted visible artwork size. Please propose a revised edge finish or attachment, identify any change to the component dimensions and show the label sewn into the same cap construction. Installation approval remains pending.”
This instruction protects the accepted artwork while identifying the actual problem. Ask for the proposed construction before approving a larger label or a different position. Review the revised component on the hat, repeat the contact check and confirm that the adjustment still works as intended. Record the final label identifier alongside the new sample number so the approved component cannot be confused with the earlier loose label.
For your own private label order, send the manufacturer the component list, actual-size artwork and marked placement reference together. Include the details still needing a proposal and the person responsible for resolving them. The result should be a repeatable sewn detail with one clear approval record. That is more useful to bulk production than a collection of logo files and a message saying to make the inside look premium.