
FORMBRIM / CUSTOM OPTIONS

The shape is
only the start.

Fabric. Stitch. Finish. Develop the details that make a hat unmistakably yours—with the people who make it.

Open the material library
OEM / ODM HEADWEARHANGZHOU, CHINA
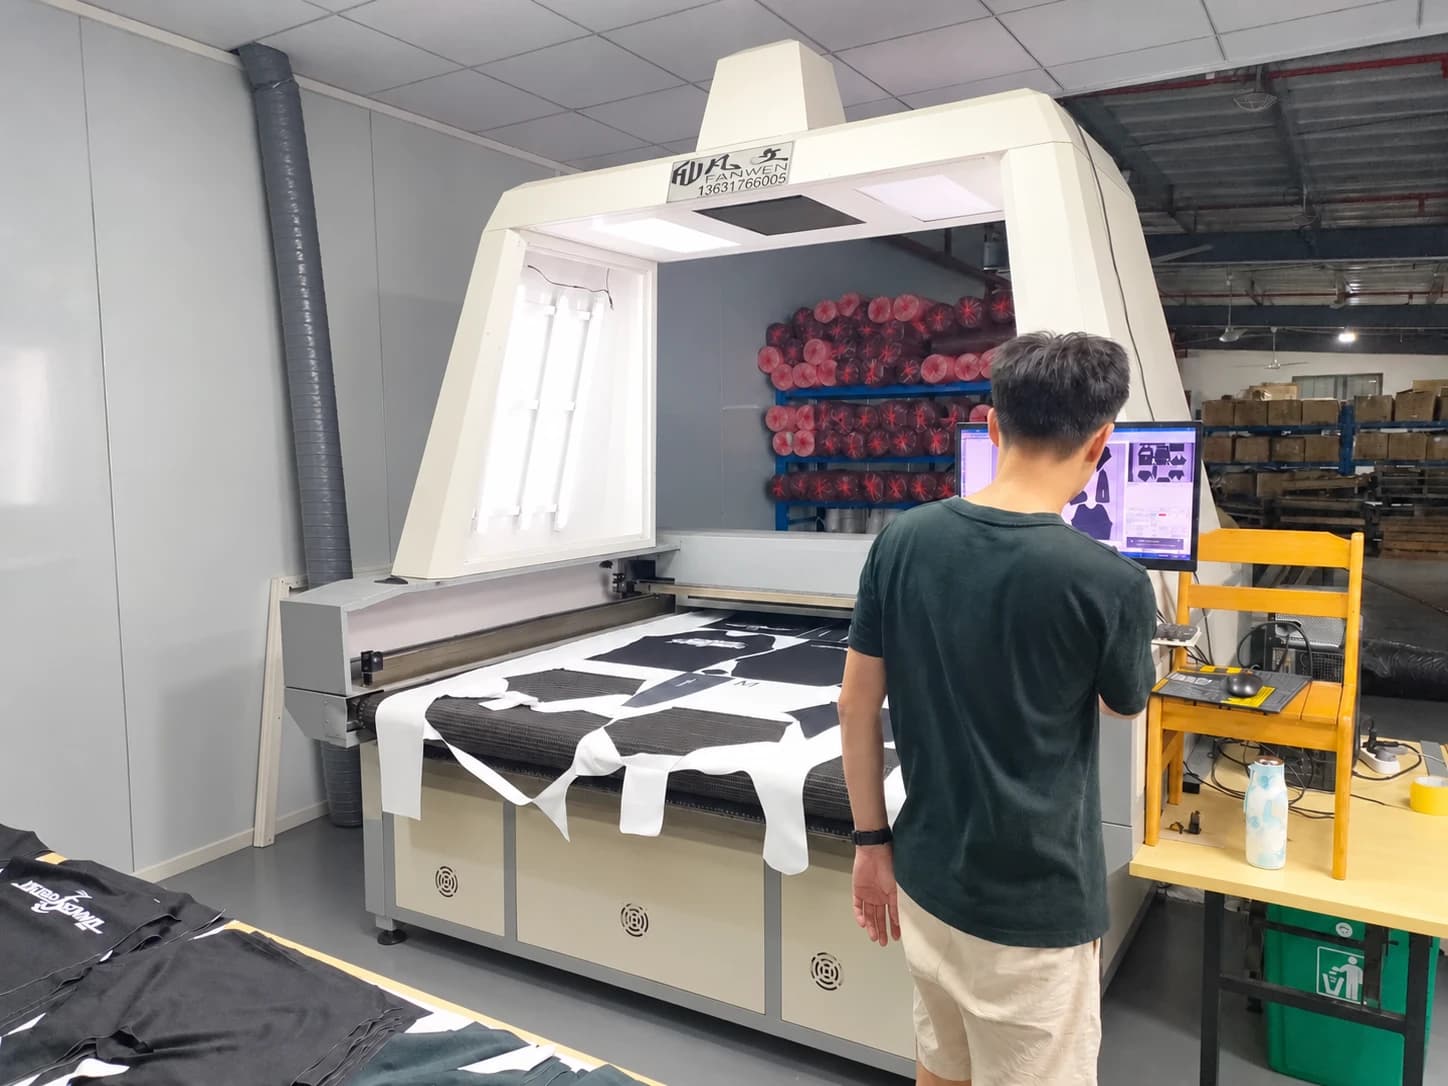
Operator preparing fabric at our factory cutting workstation
FROM MATERIAL TO FINISHED HATOur factory · cutting workstation
01 / MATERIAL LIBRARY

Start with
the hand feel.

Compare six material directions. Open a swatch to see its texture, the shapes it can inform and the details to confirm before sampling.

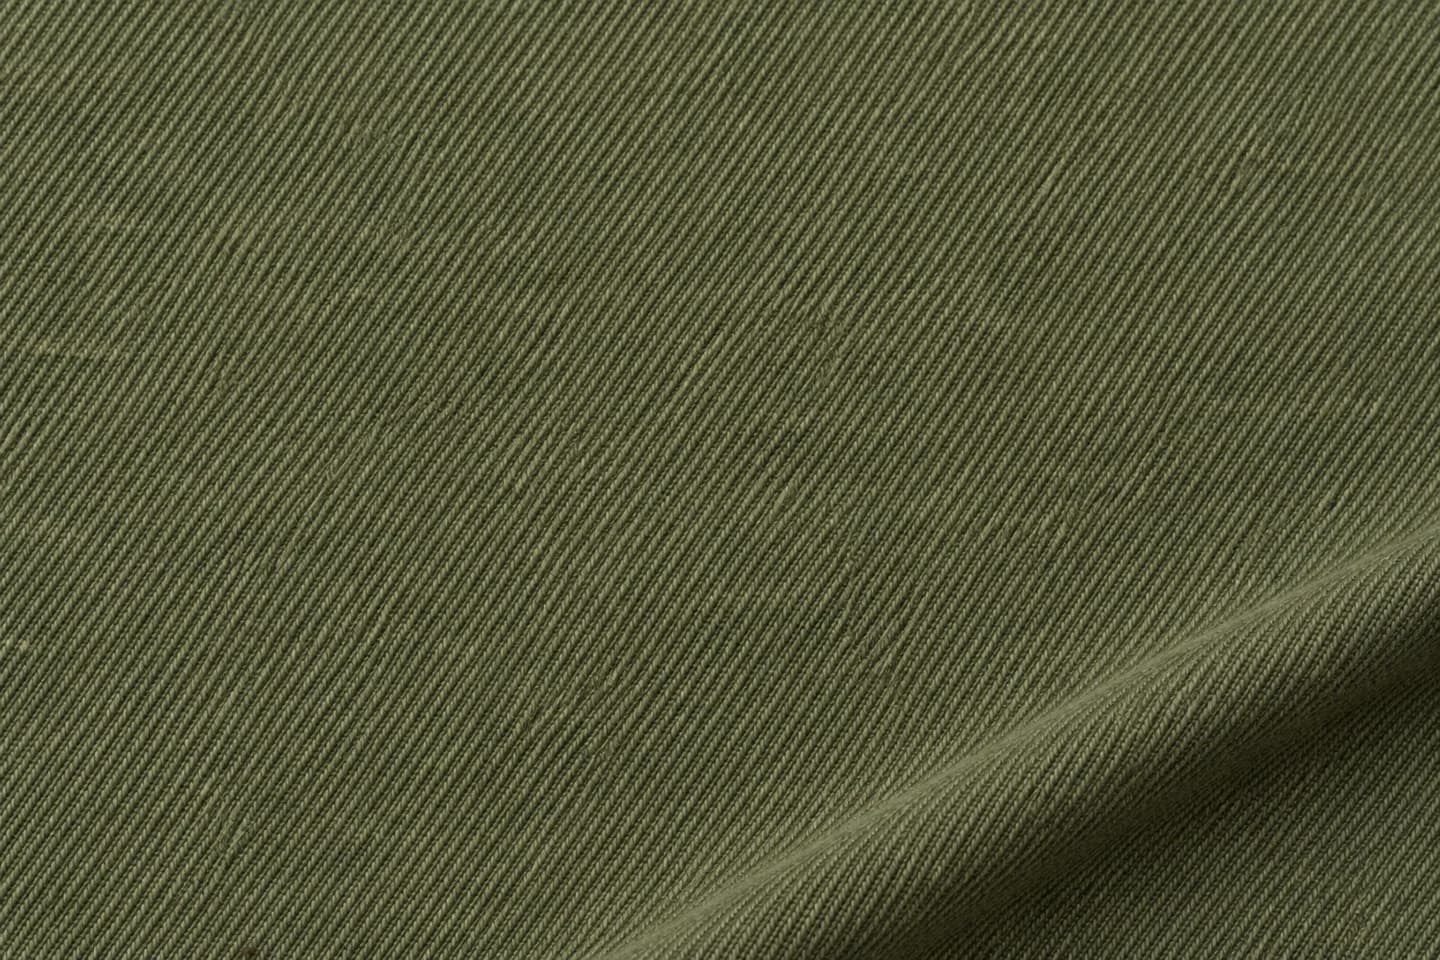
Olive cotton twill with a fine diagonal weave and a shallow fold
SWATCH / 01Diagonal weave / soft definition
THE MATERIAL NOTES

Cotton twill

A familiar cotton surface. The wash, weight and internal support all affect how the finished crown holds its shape.

Explore it for
Everyday baseball caps and relaxed branded collections.
Decoration consideration
Discuss direct embroidery with the selected wash and finished artwork size.

Confirm with the sample

  • Composition and fabric weight
  • Unwashed or washed finish
  • Color reference and crown support
Next: choose the mark

Generated texture references, not stock swatches. Confirm composition, weight, color, availability and finish with a physical sample.

02 / THE BRAND MARK

Same artwork.
Different expression.

Choose how your mark becomes part of the hat. The final result depends on the artwork, its size, the fabric and where it sits.

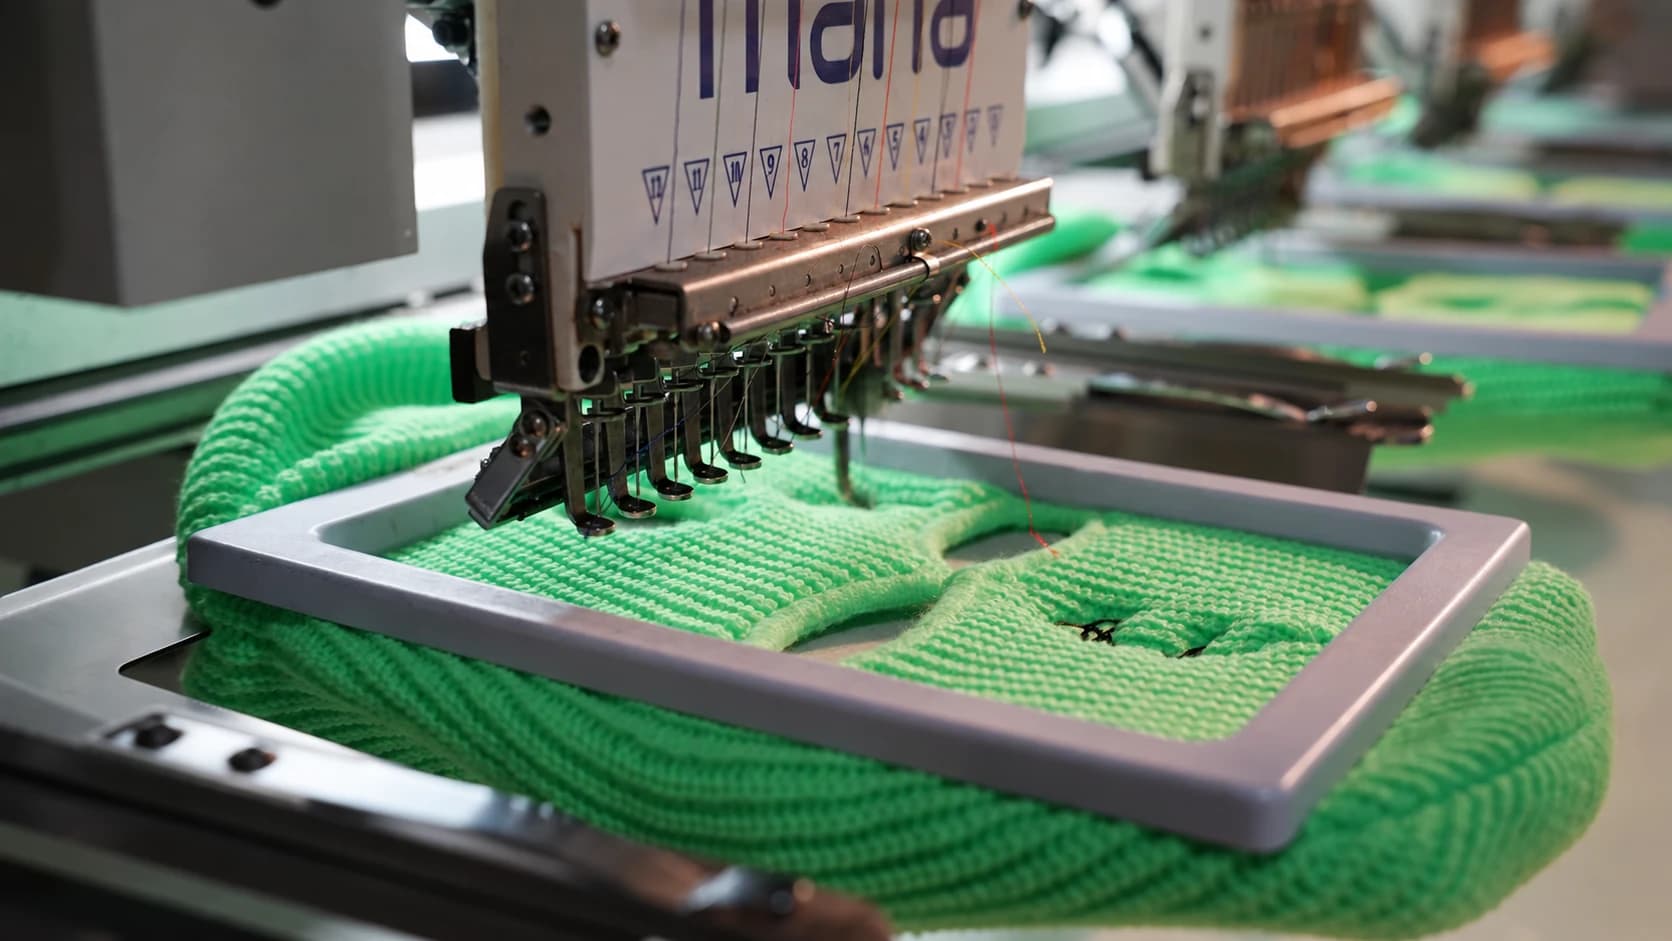
Embroidery needle working on green knitted material in the factory
Our factory · embroidery in progress
Front crown · side panel · above the rear opening

Build the mark in thread.

Thread gives a mark texture and dimension. The fabric, smallest lettering and stitch direction need to be reviewed together.

Send us
Original artwork, finished width and height, thread color references and a marked placement image.
Review on the sample
Check edge definition, puckering, backing comfort and small lettering on the physical sample.
Next: resolve the construction
03 / SHAPE, FIT & FINISH

Details you see.
Details you feel.

Bring the outside and inside into the same specification. Use a named seam, opening or brim edge as the reference for each artwork position.

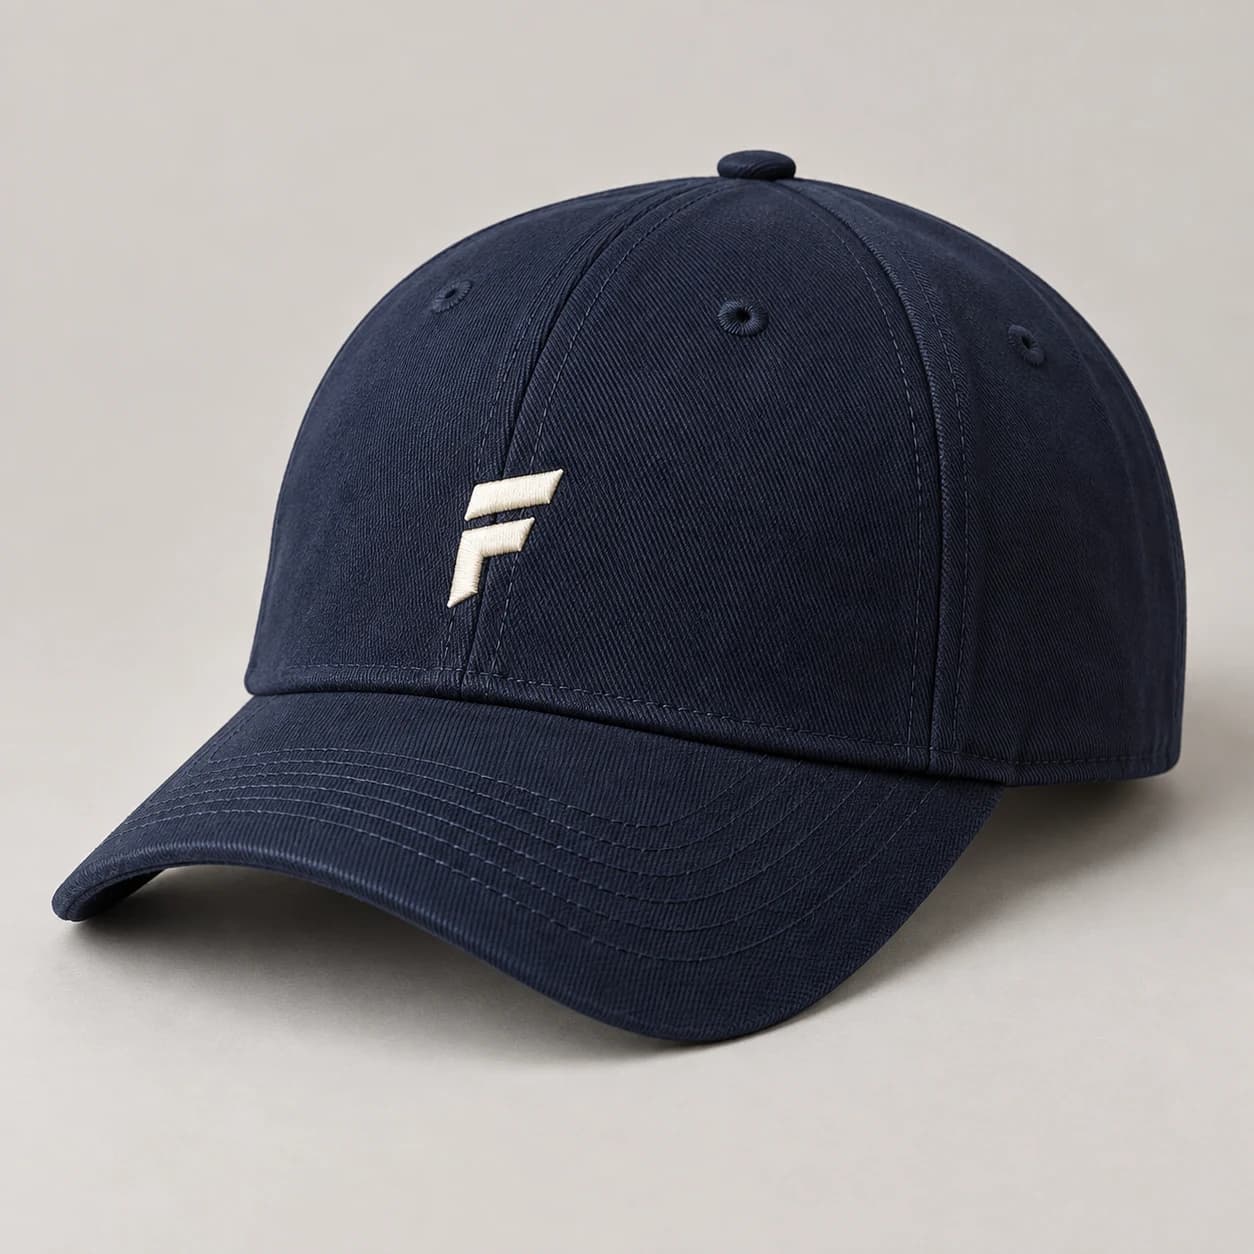
Illustrative structured navy twill cap with a curved brim
01 / SHAPE

Crown & brim

Specify the front height, crown support and brim profile together. A fabric choice alone does not define the fit.

Bring front and worn side references; confirm proportions on the sample.
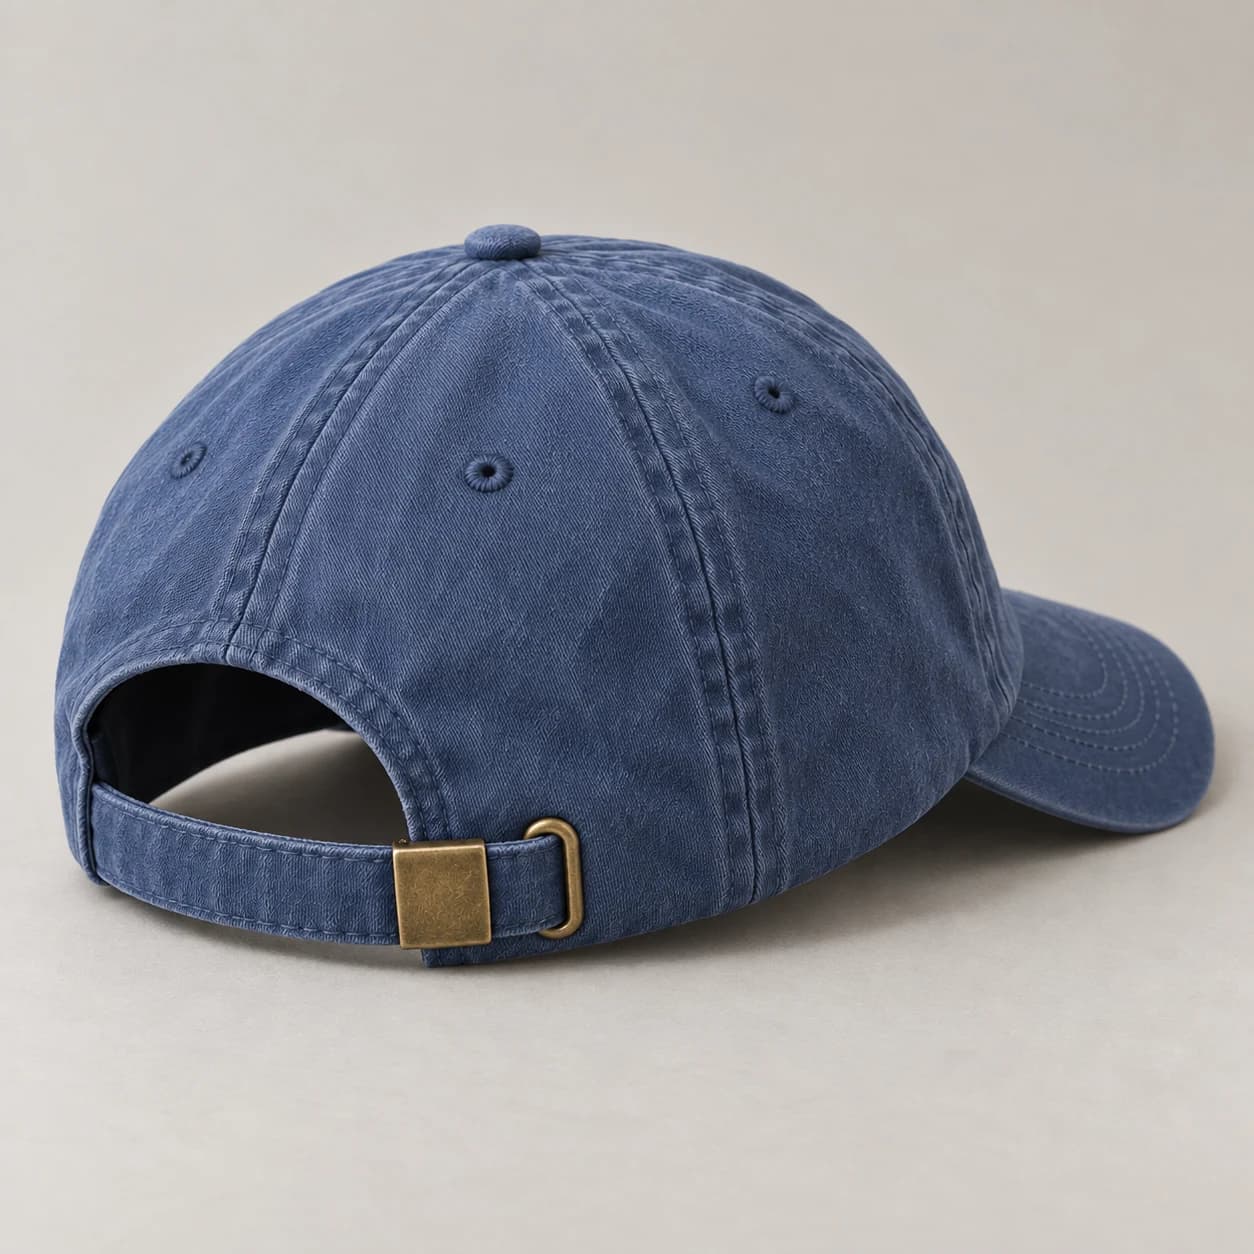
Illustrative rear view of a washed cap with a fabric strap and metal buckle
02 / ADJUSTMENT

Closure & rear mark

Choose the strap direction, hardware finish and adjustment range. Place rear artwork relative to the opening and seams.

Name the closure type and show where the strap tail should finish.
Illustrative cap interior showing the sweatband and panel seam tapes
03 / COMFORT

Sweatband & inside finish

Include the sweatband, seam tapes and label location in the brief. Check both appearance and contact with the wearer.

Confirm label wording, attachment position and the finished internal construction.

Construction illustrations. Final fit, components and placement are confirmed on your own sample.

PLACE IT PRECISELY

Front: give artwork width, height and distance above the brim. Side: name left or right and the offset from a seam. Rear / inside: show the opening, closure or sweatband in the same reference photo.

Illustrative kraft hangtag attached to a cap rear strap by a black cord
Generated finishing example · hangtag attachment
THE FINAL HANDOFF / TAGS & PACKING

Ready for your collection.

Plan the presentation alongside the hat. Include the hangtag, required labels and packing instructions in the same approved specification.

Hangtag & attachment
Front and back artwork, finished size, paper direction, hole position and cord or fastener preference.
Labels & packing
Required wording, barcode artwork where needed, individual packing preferences and quantities grouped by style and color.
CUSTOM HAT BRANDING / DESIGN TRADEOFFS

Make the artwork work on the material.

Custom embroidered hats and printed caps need more than a choice of technique. Review the logo at its actual size, on the intended fabric, in the position where it will be worn.

01

Fine lettering on textured fabric

Corduroy ribs, knit stitches and raised fabric surfaces interrupt fine detail. Send the smallest lettering at its intended finished size, not just a large logo preview. Discuss enlarging the mark, simplifying fine lines or using a label when direct decoration does not give the desired clarity.

02

A graphic crossing a seam

The front panel layout determines where seams fall. Mark the seam and graphic together on the reference. Ask how construction and decoration order affect alignment; an uninterrupted flat artwork file does not show what happens over an assembled crown.

03

Color matching across different components

Fabric, embroidery thread, mesh and a woven label can read differently even when they are intended to share a color. Name each component and its reference separately. Review the finished combination under consistent lighting rather than approving isolated screen images.

04

A mark close to the brim or opening

Give the finished width and height plus a distance from a named edge or seam. Let the sample review resolve whether the placement is workable. Avoid approving position from a tightly cropped photo that omits the brim, panel seams or rear opening.

DEVELOPMENT DESK / SAMPLE CHARGING POLICY

Know the sample cost before you begin.

A prototype, a revised sample and a photography sample serve different purposes. Specify which one you need, the number of pieces and the details it must contain.

01

Prototype

Develop the first physical version of your custom hat.

Charge
US$50–200
Refund
Yes — bulk order ≥100 pieces
02

Modification

Revise the sample against a consolidated set of comments.

Charge
First modification: free. Second and subsequent modifications not caused by our error: the prototype rate.
Refund
Yes — bulk order ≥100 pieces
03

Pre-production (PP)

Review the version intended as the production reference.

Charge
Free of charge
Refund
Not applicable — no charge
04

Salesman sample (SMS)

Samples for presenting the range to buyers.

Charge
2 pieces per order, at 2–3× the bulk unit price.
Refund
No
05

Bulk & shipment sample

A sample associated with the production or shipment stage.

Charge
Bulk unit price
Refund
No
06

Size / color sample

Review a size or finished colorway.

Charge
With a bulk order: bulk unit price. Without a bulk order: 2–3× the bulk unit price.
Refund
No
07

Photo sample

A physical sample for your product photography.

Charge
With a bulk order: bulk unit price. Without a bulk order: 2–3× the bulk unit price.
Refund
No

Confirm the exact sample quotation, shipping charge and refund arrangement before payment. The bulk minimum remains 100 pieces per style, per color; the refund threshold does not change that minimum.

What should go into one revision request?

Use the sample version and style code as the subject. Mark the exact detail on a photograph, state the required change, and name the details that should stay as approved. For example: “Keep the crown fabric and brim curve; move the front embroidery to the position marked on revision B.” Consolidate feedback from your team before sending it. Confirm whether the changes need another physical sample and when it will be ready.

FROM A COMMENT TO A CLEAR CHANGE

“Make the logo smaller”
needs one more decision.

Illustrative development example: a cotton cap with front embroidery. This shows how to write a revision, rather than a completed customer project.

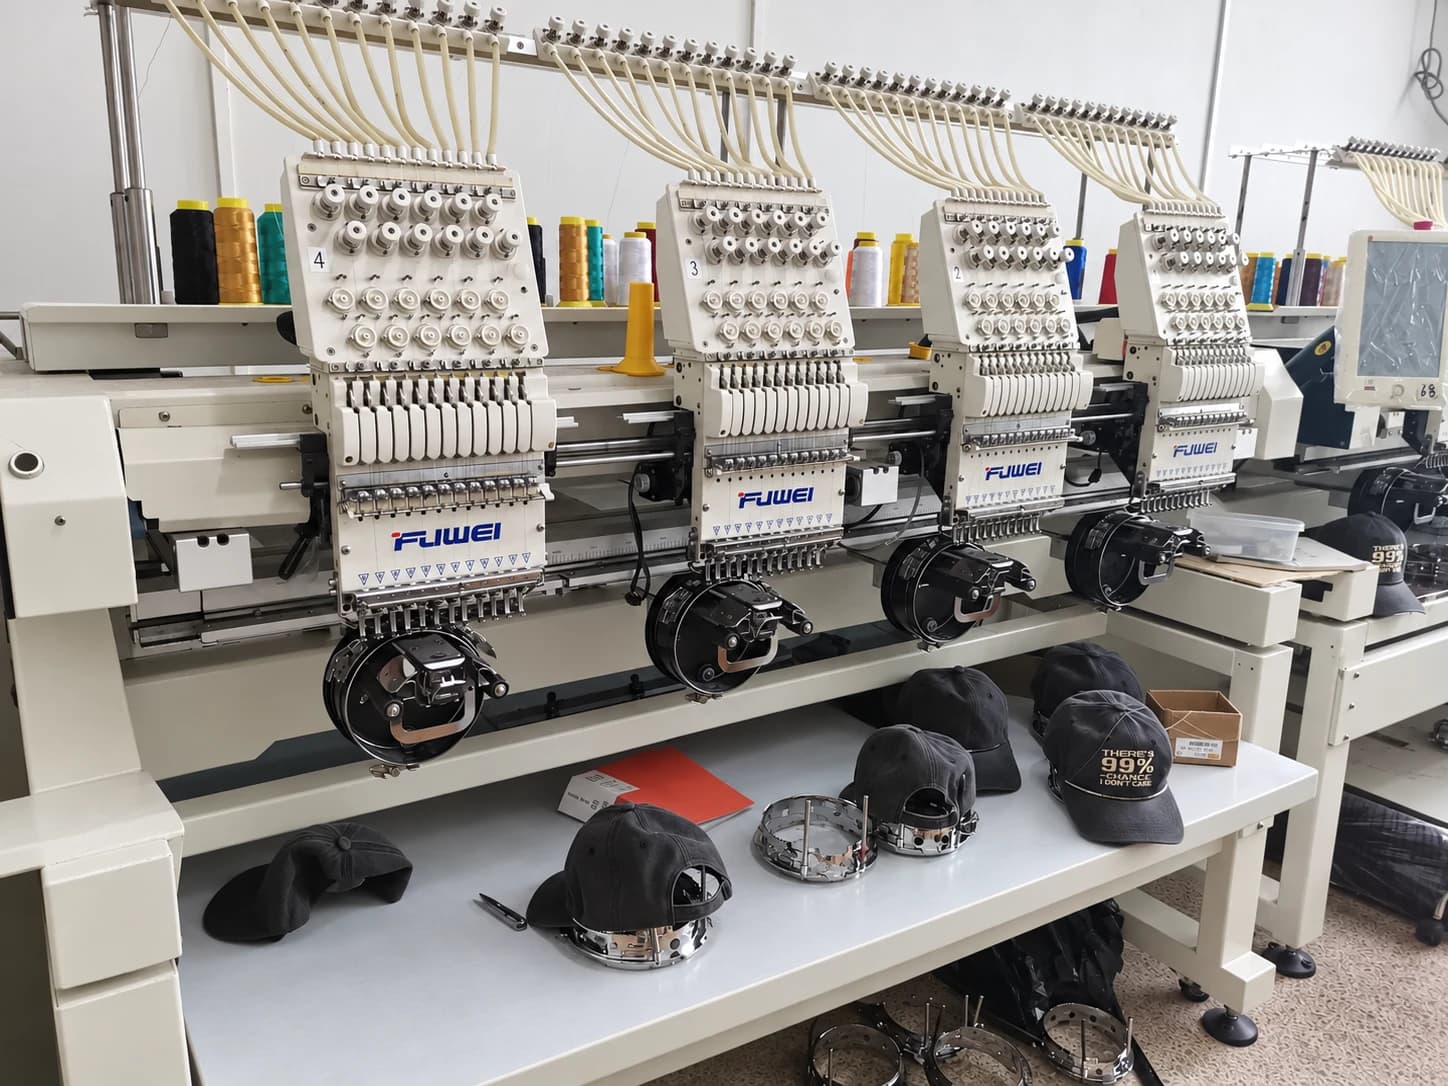
Headwear embroidery machines in our factory
Our factory · cap embroidery equipment
  1. Separate size from position.

    State the new finished width and height. Mark where the center of the artwork should sit relative to the front seam and brim join; shrinking a logo does not specify where to move it.

  2. Protect what already works.

    Name the thread color, fabric, crown shape and other details that should stay the same. Give the revised artwork a version name and retire the superseded file.

  3. Review the stitched result.

    Check small lettering, edge definition, puckering and the reverse side on the physical sample. A screen preview cannot confirm stitch texture or how the decoration affects the front panel.

A USEFUL REVISION NOTE

“Use artwork revision B at the dimensions marked in the file. Keep the agreed thread color. Retain the placement center shown on photo 02. Please show the stitched front and reverse side before we close this change.”

Add your actual measurements and reference files; this note does not approve production.
04 / FROM CHOICES TO A SAMPLE

Bring what you have.
Build the rest with us.

A finished tech pack and an early concept are different starting points. Tell us what is fixed and where you need development support.

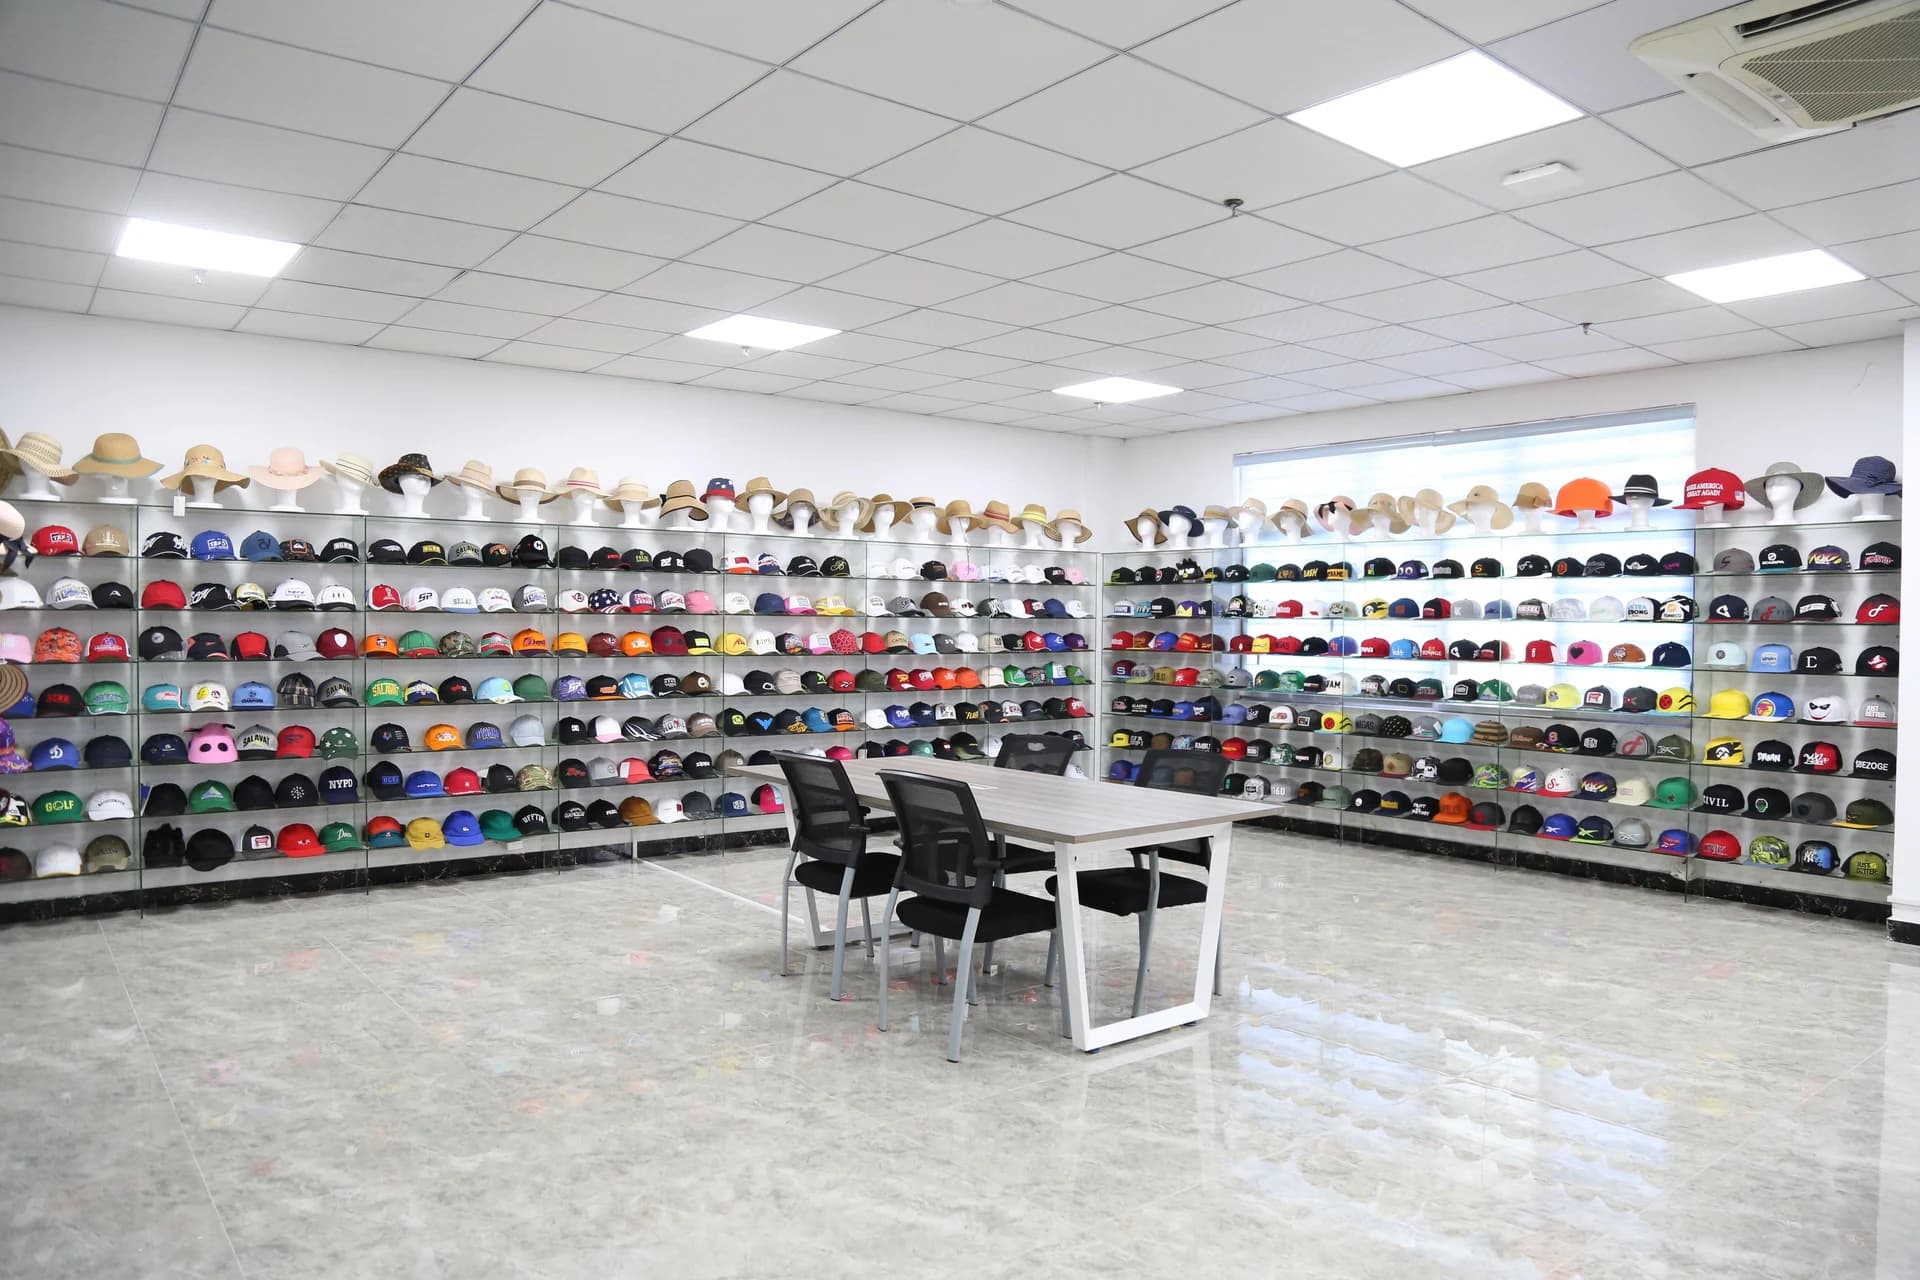
Hat samples around the discussion table in our factory sample library
Our factory · sample library
OEM

You have the specification.

Send the tech pack, artwork originals, construction details and quantities by style and color. Mark any details still open for discussion.

Next step: review feasibility and define the sample scope.
ODM

You have the direction.

Send shape references, intended use and your brand artwork. Add material preferences and the details you would like us to help develop.

Next step: turn the concept into a clear development brief.
01 / ARTWORK

Original files + actual size

Share editable vector files where available, or the highest-quality source. State finished dimensions instead of relying on a screenshot.

02 / COLOR & POSITION

One reference for each detail

Identify crown, brim, rear panels and decoration colors separately. Mark placement on front, side, rear and interior views as needed.

03 / ORDER CONTEXT

Style, color, quantity, destination

Include labels, hangtags and packing requirements. Share your target arrival date so sampling, approval and transport can be discussed together.

YOUR STARTING DIRECTION

Keep the decisions together.

Material to discuss Decoration to discuss

Exploring a direction does not approve a specification or place an order.
Add to my inquiry Open a separate project brief ↗
100 pieces per style, per color7–10 working days sample planning referenceRevisions, approval and transport discussed separately.
YOUR COLLECTION / OUR NEXT CONVERSATION

Bring your details together.

Tell us which material, branding technique and placement you want to explore. Include the questions you want the sample to resolve.

Project brief
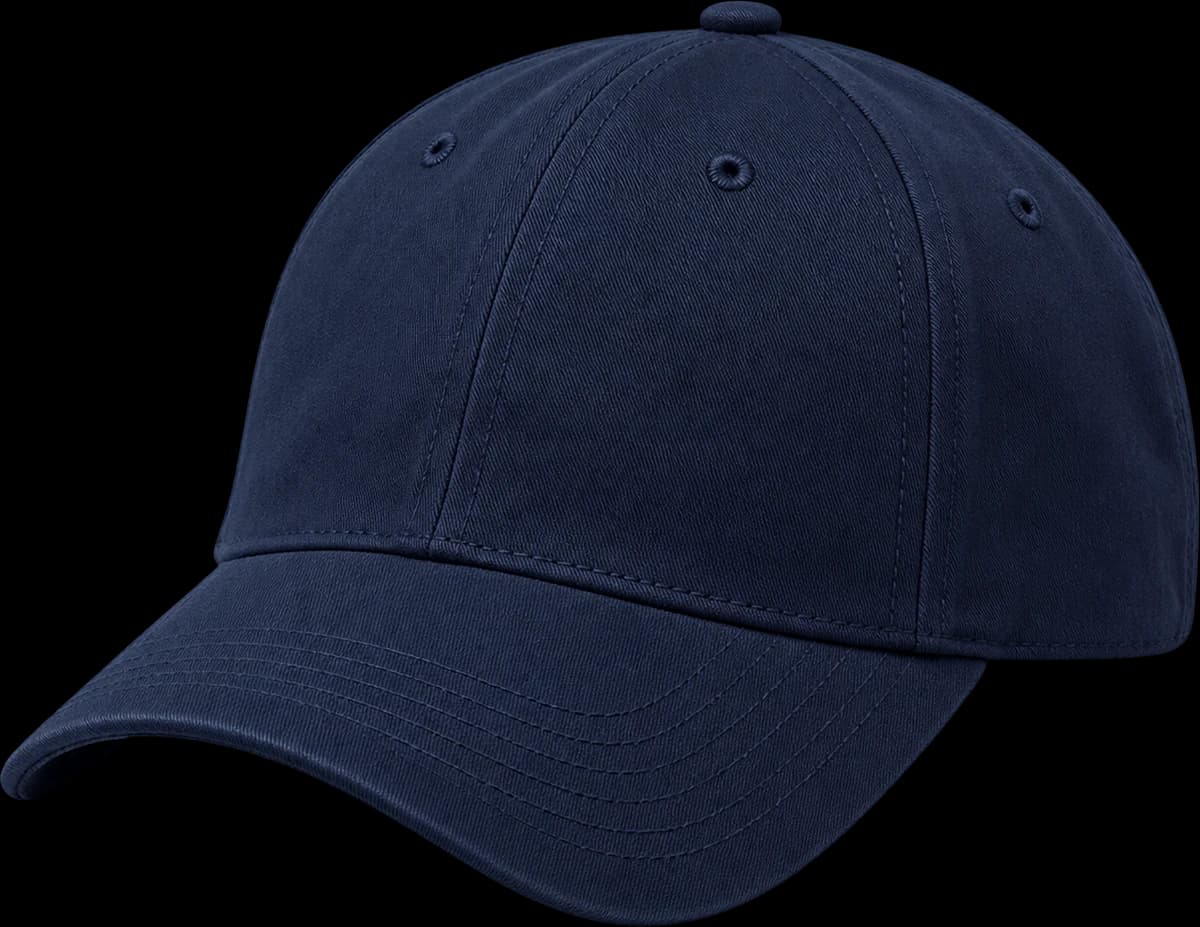
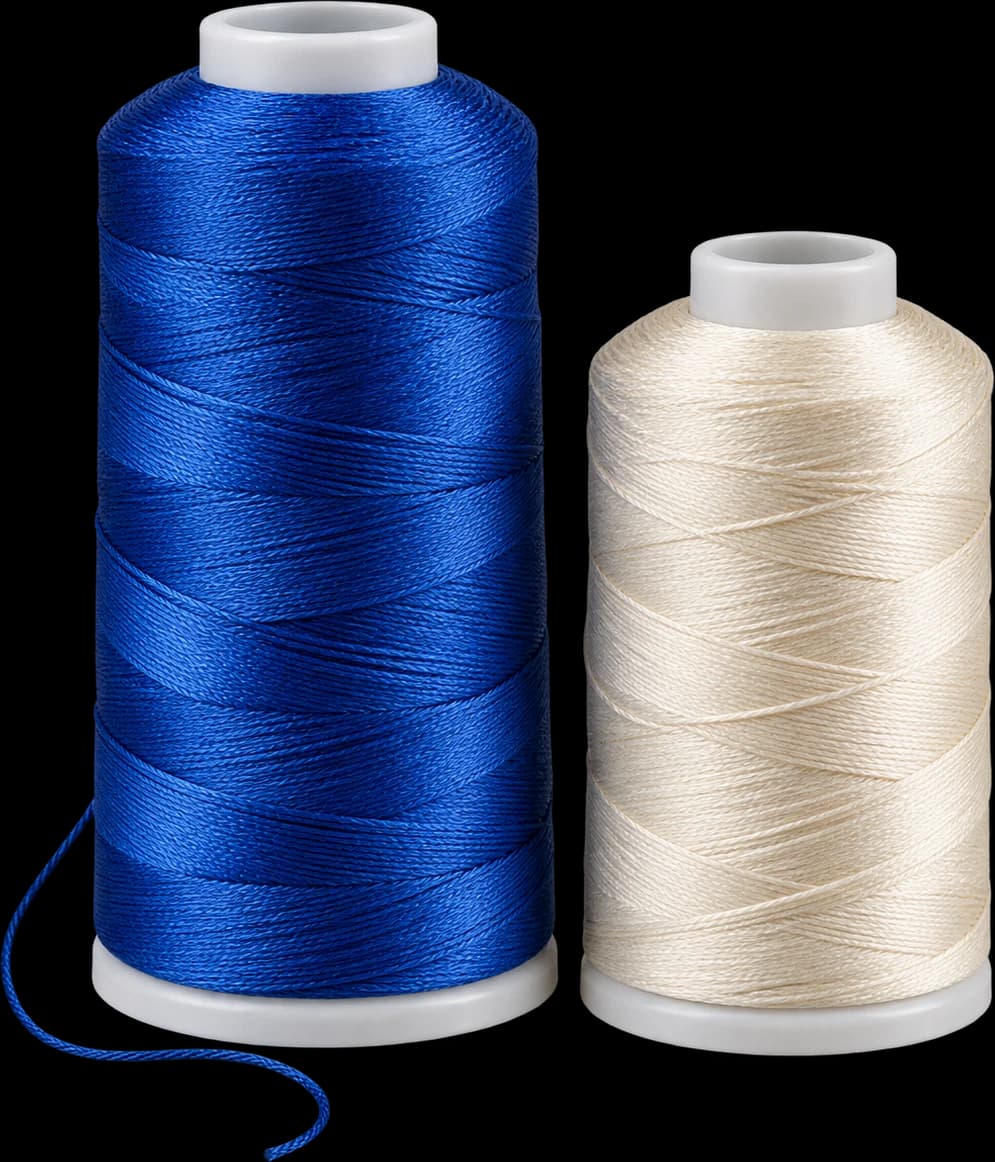
Generated unbranded navy cotton baseball capGenerated cobalt and ivory embroidery thread spools
FORMBRIMBaseballOEM / ODM

Bring your shape, artwork and quantities together. Generated component references.

YOUR NEXT CONVERSATION
  1. Fabric direction and color
  2. Artwork size and placement
  3. Labels and finishing details
MOQ
100 pieces per style, per color
Sample
7–10 working days
Production
30–45 working days

Prefer a direct conversation?

WhatsApp +86 158 0073 8029[email protected]

Fields marked * are required. Other details can be decided together.

MOQ: 100 pieces per style, per color. List different styles and color quantities in your project description.
Share an http(s) link to your artwork or tech pack and check that we can open it. This form accepts links, not file uploads.
Continue on WhatsApp

Your filled-in details will open in WhatsApp. Review them there before sending.

WhatsApp