
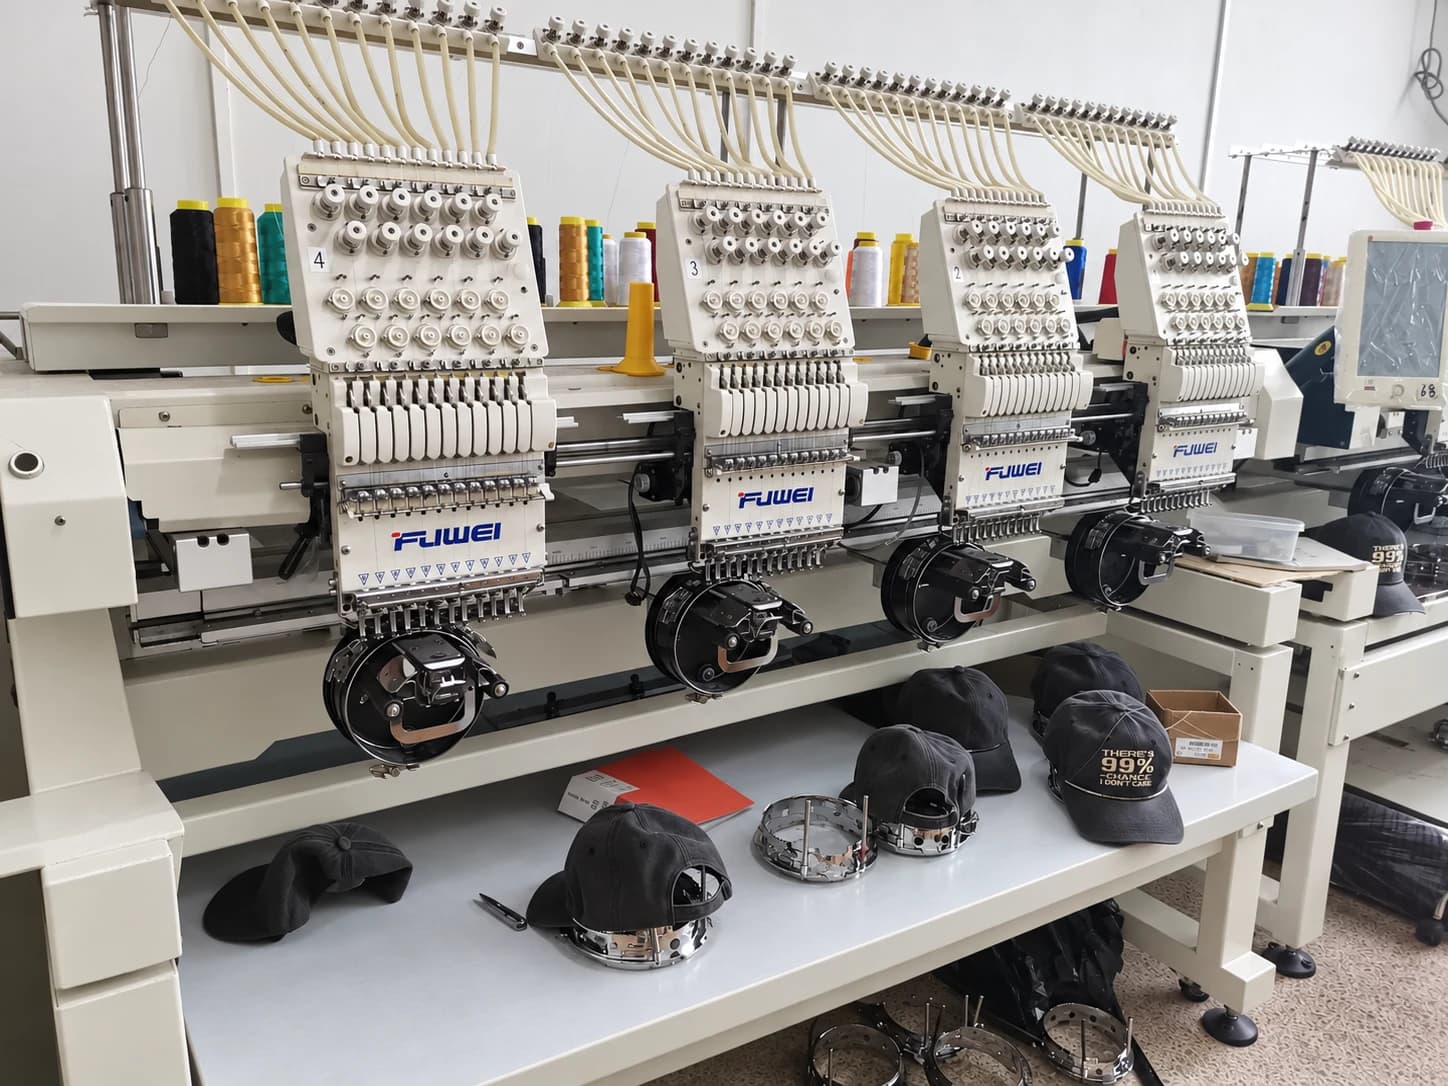
Identify what disappears at the finished size
If a logo looks sharp on screen but unclear on a hat, first identify the lost detail. Are letter openings closing, adjacent letters touching, an outline separating from its fill, or the whole mark leaning? These are different observations. A request to “improve the embroidery” leaves the next sample open to another interpretation.
Print the artwork at the intended finished width and height. Compare it with the sample at normal viewing distance, then inspect close up. Mark the exact letters, gaps or edges that matter to the identity. Keep an overall front photograph alongside detail photographs so the factory can locate each issue. Do not enlarge the mark in the brief unless increasing its size is an acceptable design choice.
Compare paper, stitches and the curved crown
The artwork illustration below shows three review stages: the graphic on paper, a stitched fabric piece and the decorated crown. Compare the open center and outside edge across all three. Paper establishes the intended shape; stitches show how it translates into thread. A flat stitched piece can settle a detail question, but it cannot settle placement or appearance over the seam of an assembled cap.
Cap construction adds practical constraints. A center seam, crown support and the frame used to hold the cap can affect the embroidery approach. Madeira’s cap guide discusses these alongside stitch sequence and alignment. Ask for the proposed placement to be checked on the chosen cap construction. A successful mark on a flat tote bag or another cap is a reference, not approval for this style.
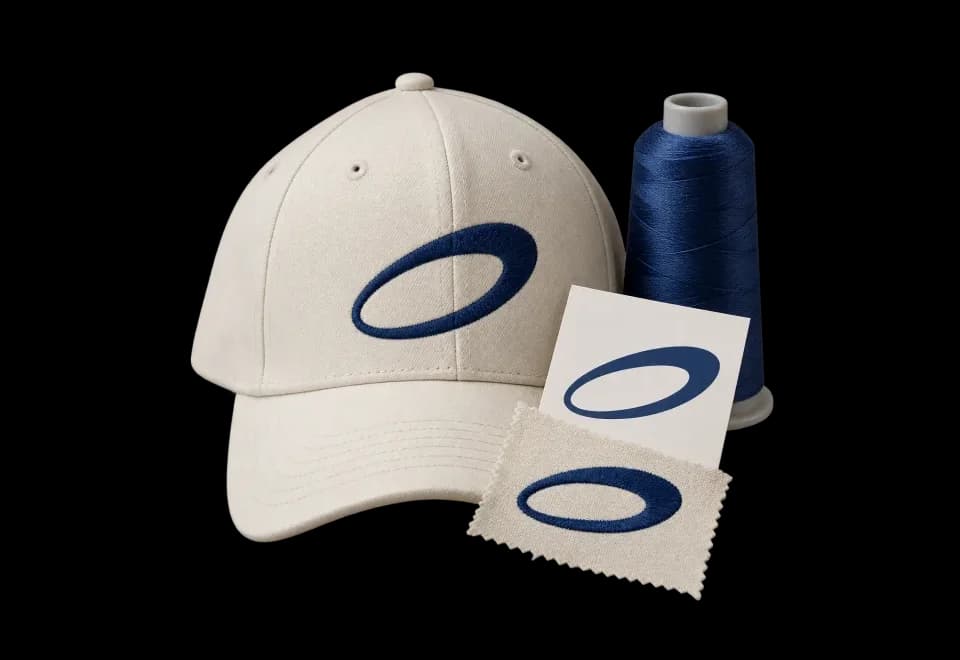
- Paper: confirm the intended outline
- Stitched swatch: inspect gaps and edges
- Finished cap: check the seam and placement
Choose the revision that preserves the identity
For crowded lettering, ask the artwork owner which changes are allowed: simplify a fine outline, open the spacing, remove a secondary line or enlarge the whole mark. Show the proposed change at actual size before requesting another sample. Wilcom’s lettering guidance identifies very fine details, tight curves and sharp corners as considerations when preparing letter shapes for embroidery; a clean vector alone does not establish stitchability.
Separate the design decision from the production method. Tell the manufacturer what must remain recognizable and ask which thread, digitizing and support approach is suitable. Do not prescribe a universal stitch density or minimum letter height from an unrelated example. If the small tagline is essential and direct embroidery remains unclear, compare a woven label or patch proposal. Review that alternative physically, including its edge and attachment.
Do not treat every defect as an artwork problem
An outline that misses its fill is an alignment concern; ripples around the mark are a fabric-distortion concern. Record whether either changes across the center seam or appears on only one side. Photograph the hat without pulling the crown smooth. Ask the embroidery team to review the setup and stitching before approving a different logo simply to hide the result.
For a mark that looks off-center, compare its position with the agreed panel center and brim seam. A tilted photograph can make a correct placement look wrong. Include a straight front view, side view and marked placement drawing. Keep logo size, position, legibility and thread color as separate review lines. If color is the only concern, retain the approved geometry and identify the thread reference that needs reconsideration.
Decide what must be sampled again
A changed artwork shape, scale, location or embroidery method needs a review that demonstrates the changed feature. Discuss whether a stitched test resolves the open question or whether another assembled cap is needed. A revised flat test can help evaluate lettering; it does not prove that the final placement clears a seam or that the crown remains smooth.
Keep earlier approvals specific. “Crown shape approved; front decoration pending” allows the record to move forward without suggesting that every detail is accepted. Request a revised physical cap when the unresolved issue concerns fit, crown distortion, seam placement or inside comfort. Agree the sample scope, charges and timing before the revision. Keep the final artwork identifier and approved sample identifier together; a filename containing “final” is not a complete approval record.
Example: revise a wordmark without changing the cap
An illustrative review note reads: “Style BC01, navy, sample 02, artwork R3. The small lower line is unreadable at normal size; the main wordmark width and its position are accepted. Use artwork R4 with the lower line removed. Retain the crown shape and approved thread reference. Send a stitched review, then confirm the revised mark on the assembled cap before decoration approval.” Attach both the marked sample photograph and R4.
If removing that line is not allowed, record that constraint and request a proposal before choosing another size or method. One clear instruction is easier to evaluate than several conflicting attachments. After review, mark the replacement sample and artwork version as accepted or pending, and check that the quotation and production brief refer to the same revision. The technical references below explain embroidery considerations; they do not establish equipment or thread brands used for your order.