
Identify the exact sample first
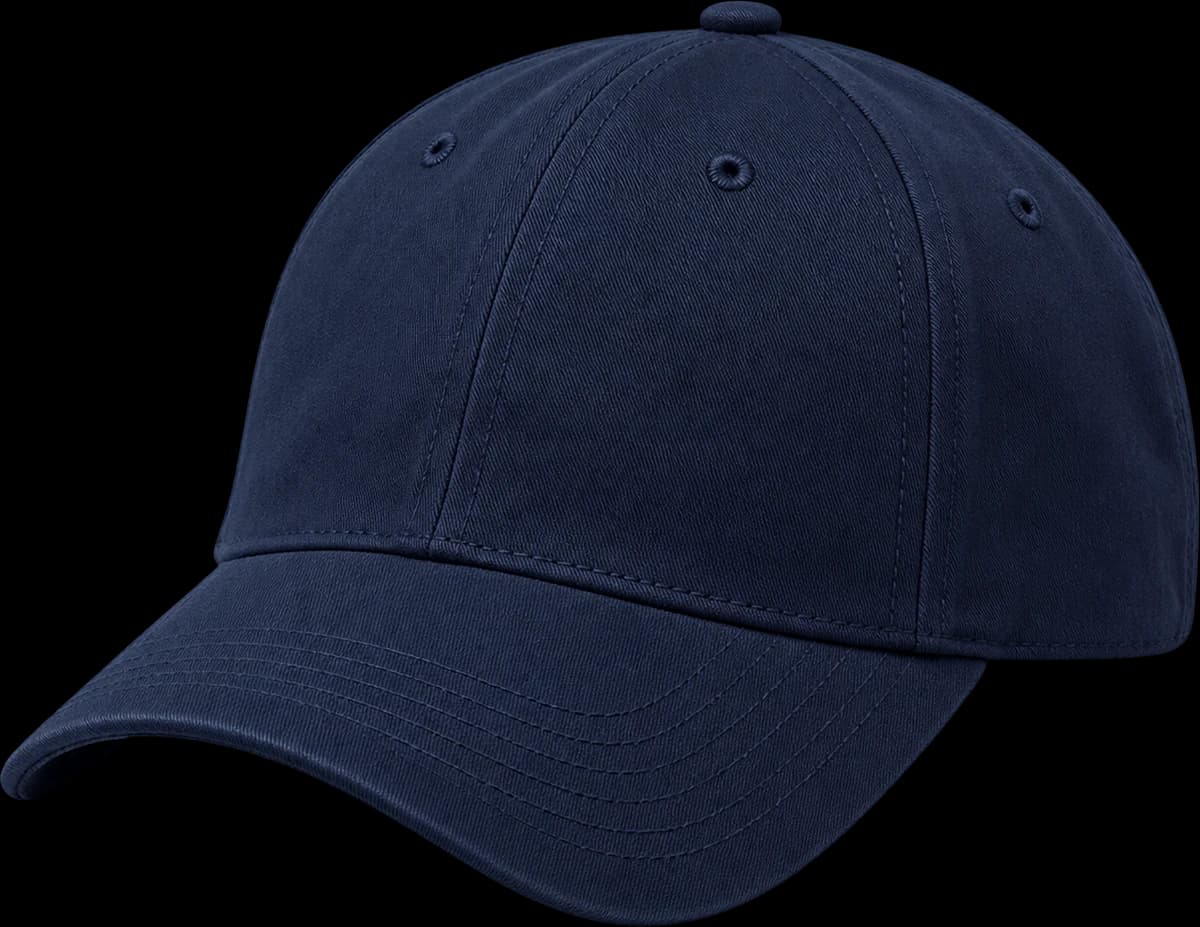
Record style, colorway, sample version and artwork revision. Take front, side, rear and inside photographs of that same hat. If several samples are reviewed together, label the photographs before circulating them. “The blue one” is unreliable when there are two blue versions on the table.
Use three statuses: acceptable, revise and pending. Pending is useful for a missing hangtag, unconfirmed material or unseen colorway. It prevents approval of the crown shape from being read as approval of every part of the order.
Check fit while the hat is worn
Start with crown depth, front height and position above the ears. View the brim from the side and front. For adjustable caps, test the intended setting, rear opening and spare strap length. A neat product photograph can conceal a fit that sits differently on the intended wearer.
Use agreed measurement points and methods. “Reduce the crown” might mean a lower front, less internal depth or less volume at the top. Mark the location and compare it with the reference. For beanies, include the cuff as worn; for bucket hats, inspect the brim around the full circumference.
- Name the sample and colorway
- Attach a marked photo to each change
- Separate accepted and unresolved points
Compare material and the complete colorway
Assess fabric hand, texture and finish against the selected reference. For washed cotton, check seam and edge fading as well as the main shade. For corduroy, look at rib direction across adjoining panels. With mixed materials, inspect crown, mesh, brim and trims together.
Use the agreed physical color reference for the decision. Photos are useful for marking concerns, but lighting and screens change how a shade appears. If two components should match, name them: approving the crown does not automatically approve the closure or thread.
Read the decoration at actual size
Measure the logo and its placement relative to seams and brim. Read the smallest lettering without enlarging a photograph. Examine fabric around embroidery for distortion and look inside at backing or attachment that may affect comfort.
A woven label needs its own check: wording, dimensions, fold, edge finish and attachment. A patch balanced on a flat mockup may occupy too much of a curved panel. If artwork changes after review, identify the new revision and ask what must be checked again.
Include the inside, closures and presentation
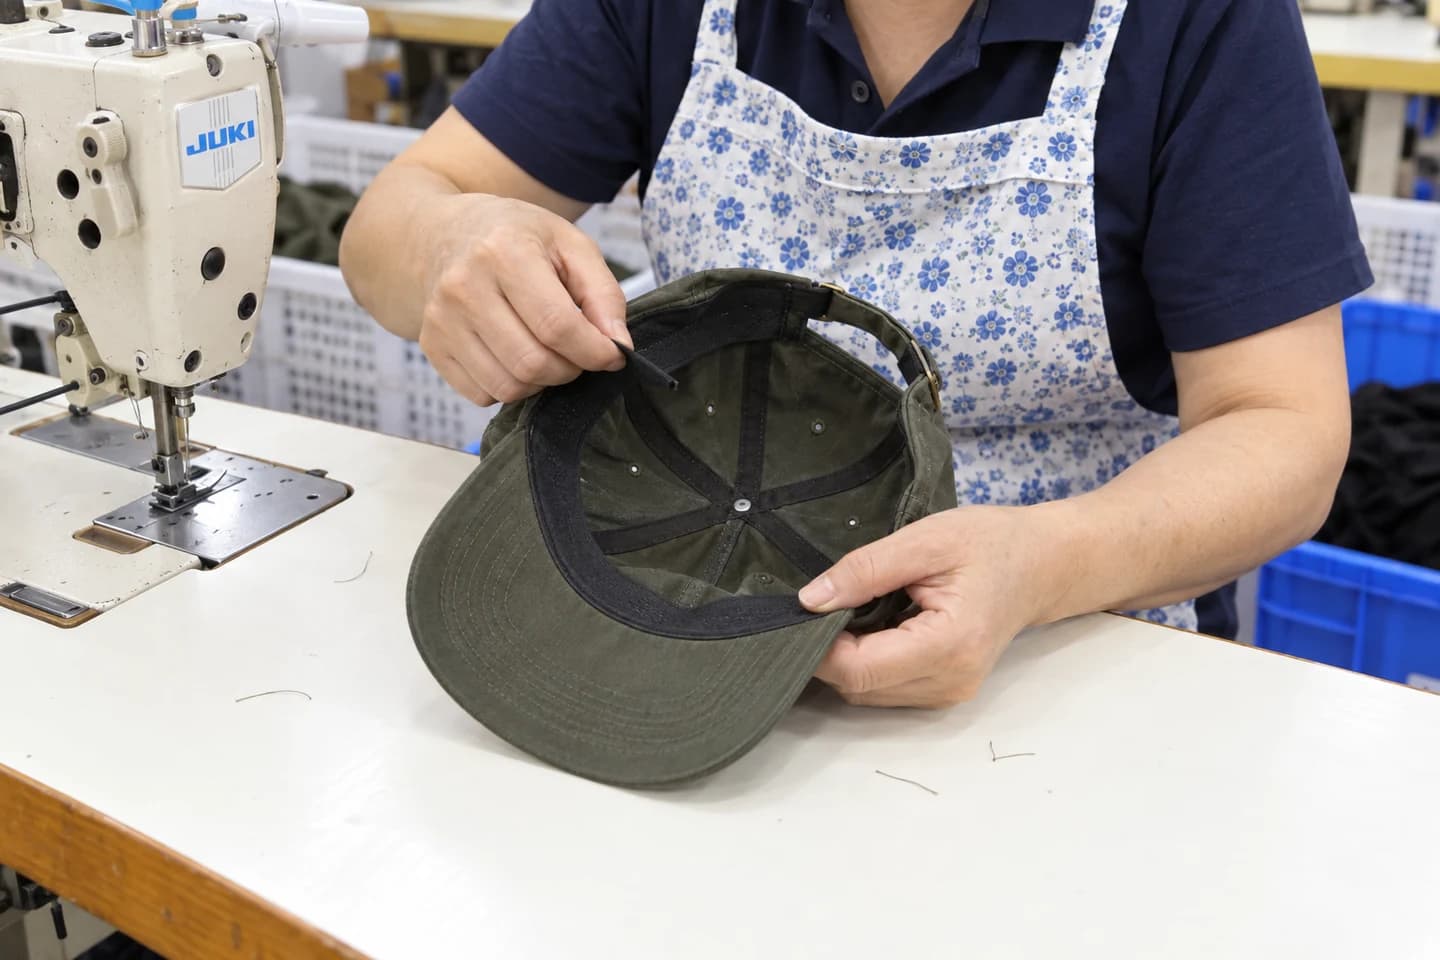
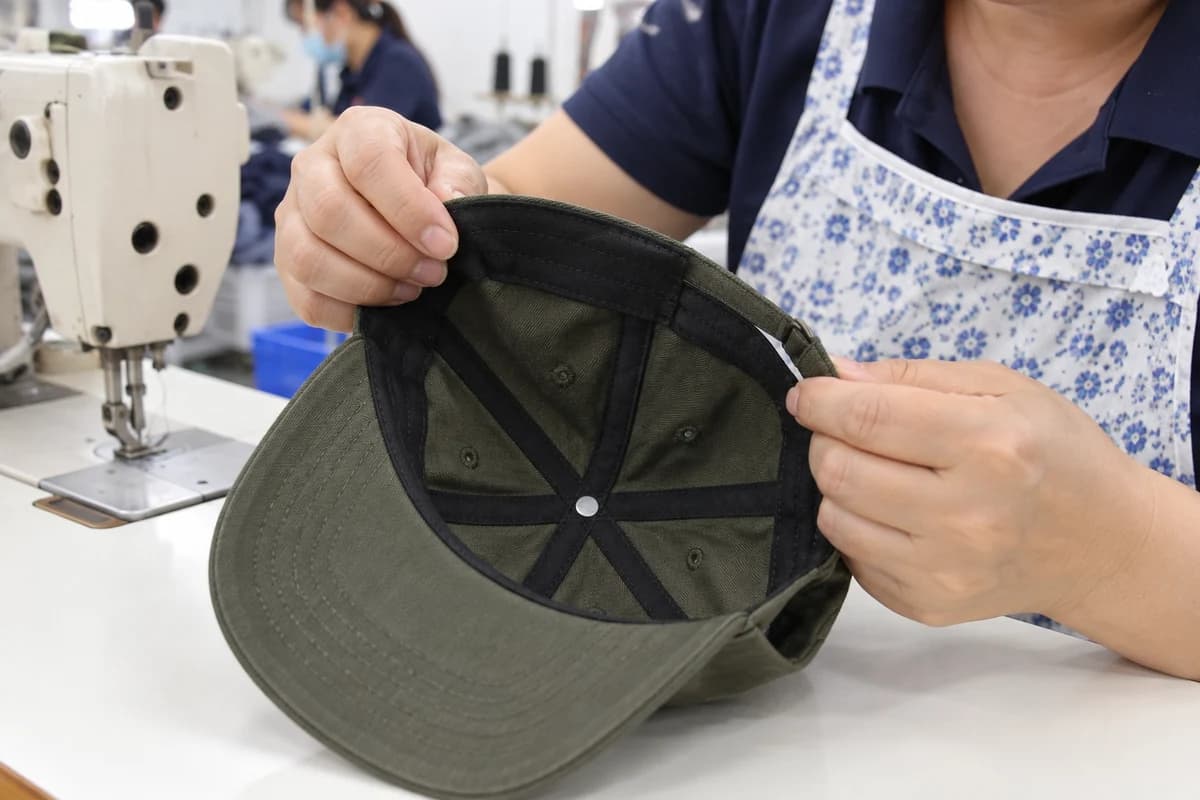
Inspect sweatband, seam tapes, closure attachment, rear opening and labels. Operate the adjustment rather than judging a photograph. Look at the points where layers meet, particularly on heavier fabrics. Name the exact contact point if something feels bulky.
Check the hangtag and packing if included in the sample scope; keep absent items pending. FORMBRIM states that it carries out 100% inspection, but the order still needs a clear reference and agreed inspection points. Inspection does not resolve an unspecified label or ambiguous color instruction.
Example: write a change the factory can act on
“The logo is wrong” does not distinguish artwork, size, color and placement. A useful note is: “DC01 navy, sample 02, front view: the wordmark is too close to the brim seam compared with the marked reference. Keep the approved width and thread color; revise vertical placement to the annotated drawing.” Attach that drawing and identify its revision.
The note names what changes and what stays fixed. Send one consolidated list and ask which items need a revised physical sample. Keep the final specification and sample reference together for production; a website checklist is only a preparation aid.
- Style and sample version.
- Component and marked photograph.
- Difference from the agreed reference.
- Requested change and details to retain.
- Status after the next review.