
Custom running hats: map the soft six-panel crown
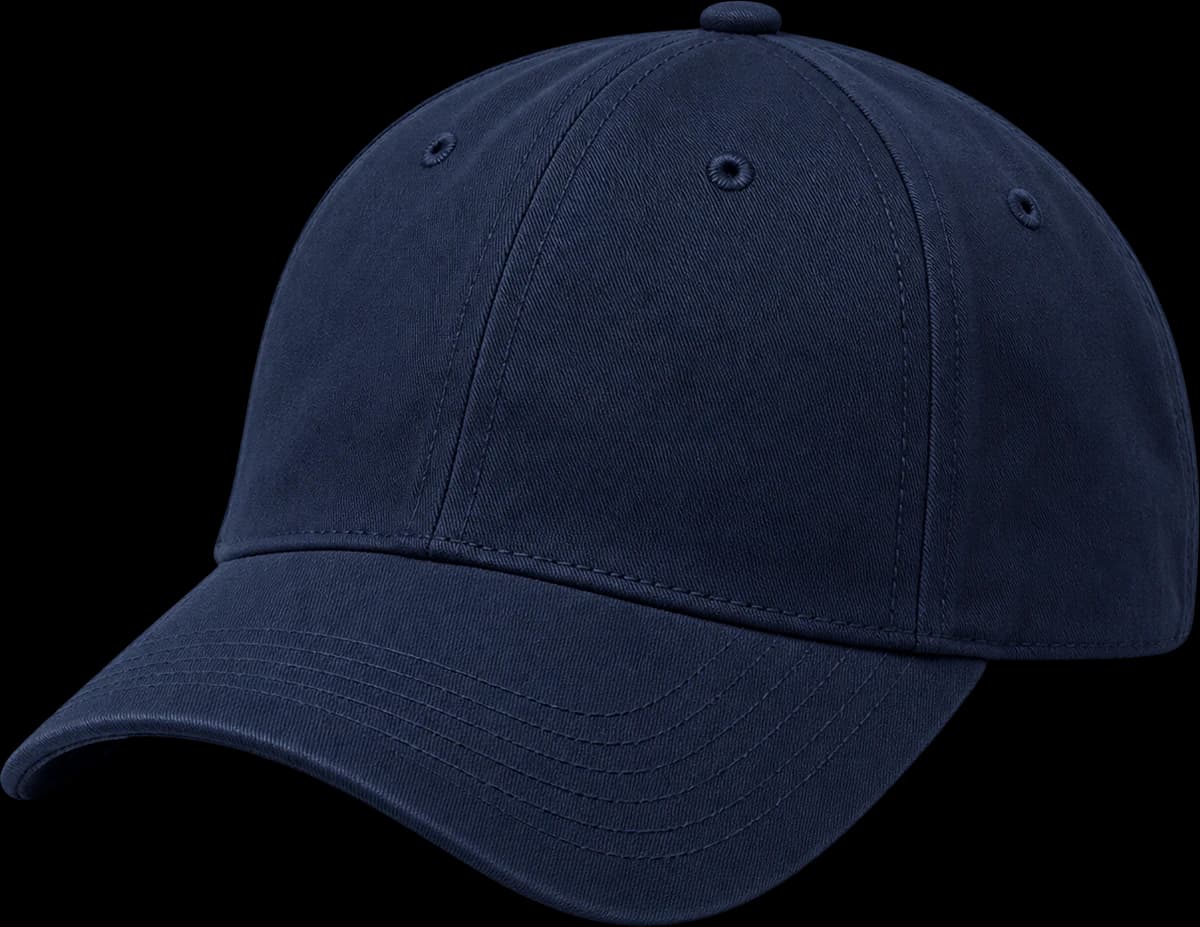
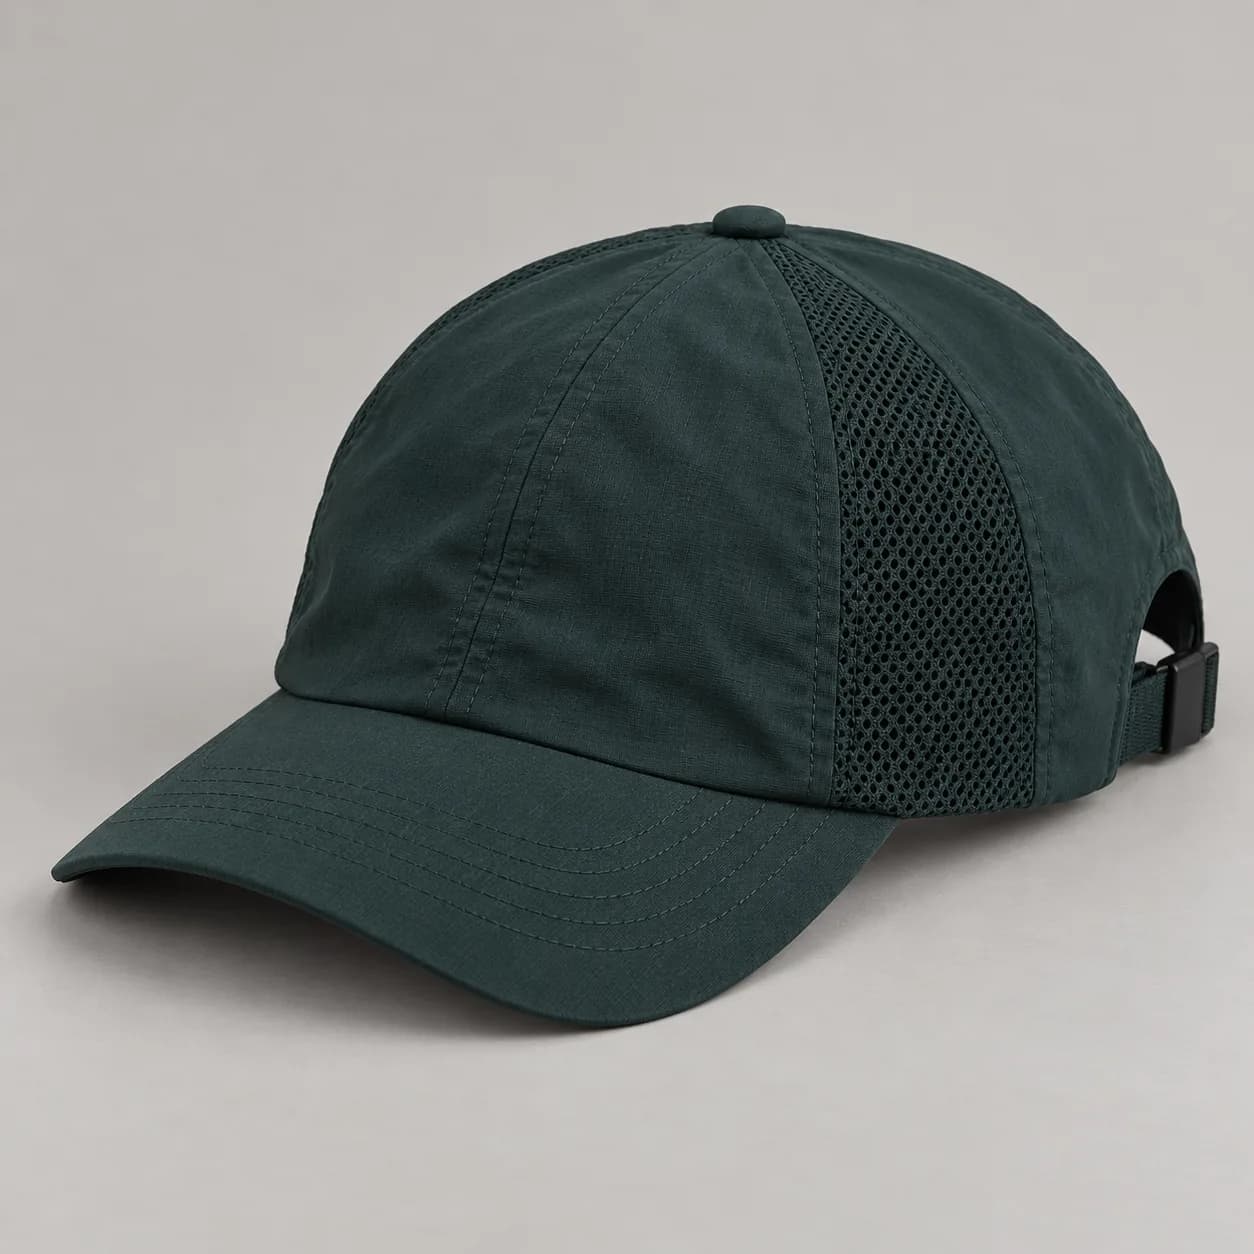
Begin the brief with front, side, rear and top views. Number the two woven front panels, two side-mesh panels and two woven rear panels; keep the brim and adjustment outside that crown count. Mark where the mesh begins and ends. If a reference shows mesh continuing around the back, annotate that difference instead of letting it override the intended woven rear. This panel record gives the sample reviewer a specific shell to compare.
Separate the shell drawing from its measurements. Once the panel arrangement is accepted, mark crown depth, front height and the mesh boundary using repeatable reference points. A request for a lower crown can move the mesh junction or rear opening, so ask the supplier to identify which related dimensions would change before approving the revision.
Mark the seam joining each side-mesh panel to the front and rear woven panels. Show the intended mesh position relative to the brim and rear opening. A revised crown depth can move those boundaries even if the nominal panel count stays at six. Ask which drawing controls when a visual reference has a different layout, then review both sides of the sewn sample. A five-panel camp cap, a trucker with a mesh rear and an open-top visor should remain separate comparisons rather than alternative photographs of this shell.
Approve the woven and mesh material pair
Request identified swatches for the proposed woven cloth and mesh, with composition and weight confirmed separately. Describe the preferred hand and visible mesh structure without substituting a material name for a complete specification. Inspect the joined materials on the sewn sample for puckering, uneven tension and the intended crown drape. Color approval should include the two surfaces together rather than assuming that matching shade names produce the same appearance.
Keep the material reference, dye or print approval and assembled-cap approval identifiable as separate objects. A color trial on woven cloth does not approve the mesh, and a mesh swatch does not establish the sewn junction. If a supplier proposes another mesh opening or backing, review that changed pair rather than accepting the replacement under the previous swatch name.
Review the mesh opening, visible backing if any, and seam allowances at the junction with the woven cloth. Check the actual inner finish instead of inferring it through the mesh from outside. Where the two surfaces should coordinate in color, agree whether that means a close visual relationship or an intentional contrast under the selected review conditions. A lab dip for one dyed component does not approve the other component. Keep any requested performance property and its proposed evidence separate from this visual and construction review.

Inspect the material character and how it meets stitching and decoration.
Inspect the physical sample before approval.Review decoration on the soft shell
Supply the front artwork at finished dimensions and mark its distance from the brim seam and center seam. Compare a print, label or embroidery proposal only after the proposed fabric is identified. Check the surrounding cloth, inside backing or attachment, and the space to the side-mesh junction. If a side mark is requested, identify whether it sits on woven cloth or mesh and ask for that location to be assessed explicitly.
Use the same artwork size when evaluating the proposed methods so a cleaner result is not merely the effect of a larger logo. Check the soft front before and after decoration. If the chosen mark changes the crown character, request a specific adjustment to artwork, placement or method and recheck that result on the complete cap.
Do not let a front decoration trial silently approve a side application. The side-mesh panel has its own edges, junctions and reverse attachment to assess. If several decoration options are compared, identify the proposed method and keep artwork dimensions and location consistent. Record any changes needed for a readable mark on the chosen surface. Inspect the worn front after decoration as well as the flat graphic, and ask for a revised sample when the treatment changes the soft crown character you intended to retain.
Prepare the sample and production handoff
Review the curved brim and crown on the same fit reference at the agreed adjustment setting. Check both mesh-to-woven joins from inside, then inspect the rear opening, strap attachment and spare strap length. Record the finished colorway, labels and proposed packing with the accepted sample. Agree the inspection requirements and how production lots will be identified; a successful development sample does not itself release the bulk goods.
Prepare separate accepted, revise and pending notes for shell, fit, material pair, decoration, closure, labels and packing. Link the final reference to each style-and-color quantity. Identify who will review production findings and authorize release; the factory inspection statement does not by itself select the buyer’s acceptance plan or resolve an omitted requirement.
Separate development review from bulk acceptance in the handover. Identify the approved shell drawing, fit sample, material references, artwork, labels and packing method. List quantities by finished colorway and any proposed size allocation. Before inspecting production, define which goods form each lot, the reference to use, the checks required and who can authorize release. If packing or the adjustment changes after approval, reopen the affected review instead of carrying forward a previous sample decision without checking its scope.
A practical buying example
Consider a hypothetical running-club merchandise brief for 300 slate caps with tonal side mesh, woven rear panels and a compact front wordmark. The quantity is an example meeting the published style-and-color MOQ, not a demand forecast or a product already supplied. The buyer has accepted the shell drawing but has not yet selected the fabric pair. Keep that material decision pending rather than calling the whole cap approved.
Suppose the first decorated sample has the right mesh boundaries but a visibly firmer front than the agreed undecorated reference. Record the sample and artwork version, show matching worn views and ask the supplier to assess the decoration’s effect. Preserve the accepted six-panel layout while comparing a specific proposed change to the mark or application. Changing the fabric, logo width and front height together would make the result harder to interpret.
On the revision, recheck the front drape, inside decoration finish and both side joins. Then review the rear adjustment at the recorded setting and the brim after the proposed packing. A successful logo correction should not conceal an unresolved strap or material substitution.
Questions to settle before requesting a sample
Does side mesh establish running performance? It identifies the proposed panel construction. The design reference does not establish airflow, drying time, protection, finished weight or another measured result. State any required property in the brief and agree the evidence before using it in a claim. Composition and fabric weight also need confirmation for the actual material proposal.
What should the buying team send? Include the six-panel map, woven and mesh preferences, worn fit reference, adjustment details and curved-brim profile. Supply artwork at finished size, inside and outside label files, packing needs, destination and quantities for each colorway. FORMBRIM’s MOQ is 300 pieces per style, per color; a requested size split still needs project confirmation. Mark which details are fixed and which need OEM/ODM development input.
Carry the approved material and print submissions into the sewn-cap record using the lab dip and strike-off guide. For production, use the AQL inspection guide to agree lot identity, selection records, report coverage and corrective action. Name the buyer’s release approver and keep development acceptance distinct from the evidence needed for the shipment.