
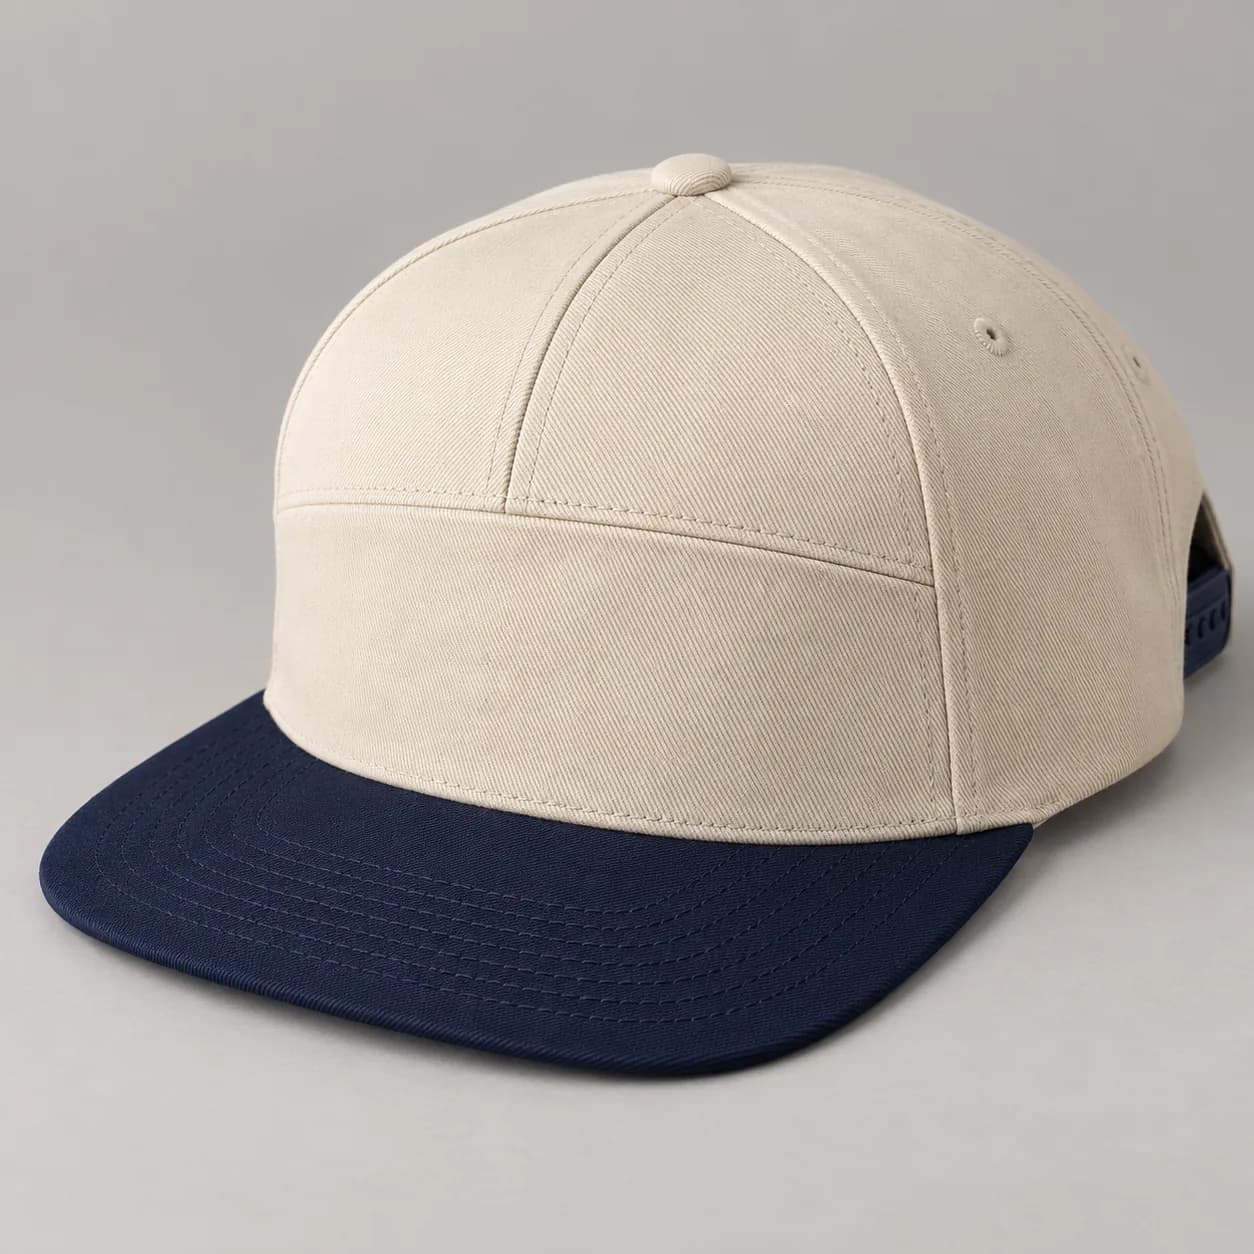
Custom 7 panel hats: number every crown piece
Number the seven crown pieces in a drawing: one lower-front insert, two upper-front pieces, two side pieces and two rear pieces. Keep the brim outside that count. Confirm the six upper pieces meet at the crown rather than substituting the existing five-panel pattern.
Label the insert as piece 1, the upper-front pair as pieces 2 and 3, the side pair as 4 and 5, and the rear pair as 6 and 7. Show the joins from above as well as from the front. The six upper pieces meet toward the crown; the lower-front insert remains a separate broad graphic surface. This is the proposed pattern to develop, not a universal definition of every seven-panel hat. If the supplier suggests another arrangement, ask for the revised numbered drawing before assessing the sample. A closure, top button or brim does not add to the crown-panel count.
Give the drawing its own revision identifier. When a seam moves, replace the controlling drawing and show the changed boundary, not just a new style name. Ask whether the proposal changes only the visible seam route or also the piece shape and neighboring joins. Keep front support and inside tapes identified separately from the outer crown pieces so an internal layer is not mistaken for an eighth panel.
Set lower-front insert height and logo margins
Set the insert height, upper seam and front support together. Mark the intended crown profile in a side view and define the logo area inside the insert boundaries. The proposed insert has no vertical seam through that front graphic area.
Measure the insert using marked points at its upper and lower boundaries. Distinguish that visible height from total front height, and state how any curved measurement is taken. Check the insert corners where several edges meet, the seam above the artwork and the side profile on the intended fit reference. A taller insert can change the logo space and the balance of the upper-front pieces. If that proportion is revised, keep the accepted brim projection and artwork size fixed initially so the reviewer can see the effect of the pattern change.
Describe the desired support at the insert and upper front independently. An upright logo area does not require an unspecified firmness everywhere in the crown. Review the inside proposal and its effect on the worn shape, including the upper insert edge. If the seam looks raised, mark the location and ask what construction change is proposed; lowering the whole front may not address a local junction.
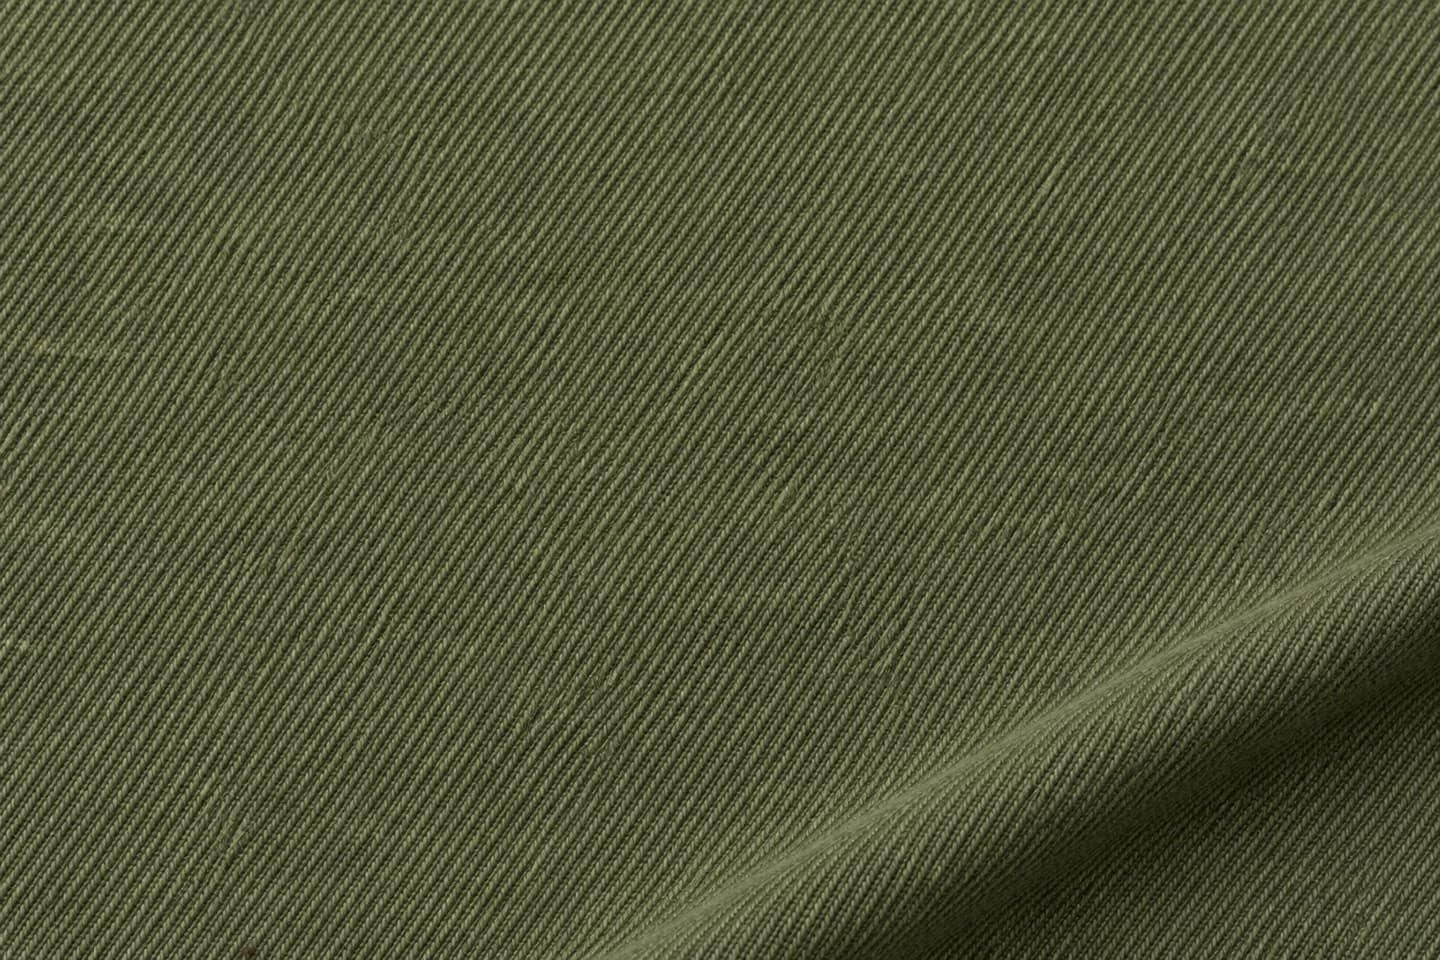
Name the composition, weight and finish you require. Compare the cloth and decorated sample together.
Connect material approvals to the panel map
Identify woven fabric, insert, brim, underbrim, snap and thread colors separately. Review the cloth and joined crown before accepting the decorated sample; the actual composition, weight, panel dimensions and seam construction remain project decisions.
Request the proposed fabric reference with composition and weight where available, then identify the matching sample. If the insert and upper crown use different cloth or colors, record each separately. Add the brim underside, snap, eyelets, button, seam stitching and decoration to the map. A lab dip can represent a dyed fabric approval, while a print strike-off represents its identified print submission; neither approves the assembled seven-piece crown. Keep each approved material or artwork object linked to the current panel drawing instead of treating a palette image as permission to substitute a component.
For artwork within the insert, include the complete outline and required margins, not only the lettering. Check it on the curved sample below the upper seam. If a printed fabric is proposed for this area, distinguish approval of the print’s scale and color from approval of its position after cutting and sewing. Name the reference that controls each decision, and review a changed insert dimension against the artwork again.
Inspect the crown joins and snap setting
Check the insert corners and upper join, then review the top, rear opening and snap attachment. Retain a numbered panel drawing, fit setting and artwork revision with the approved sample so a later change cannot silently turn seven pieces into a different shell.
Use one sample identifier for the front, top, side, rear and inside photographs. Check the insert join for unevenness, the upper crown for the intended symmetry, and the snap at the recorded fit setting. Inspect any front support or decoration backing inside the insert area without inferring its material from the exterior. Record which physical sample establishes the finished shape. For bulk preparation, attach that sample identity to the final panel map, artwork, labels and packing brief, then agree how the inspection lot and acceptance decisions will be documented.
A practical buying example
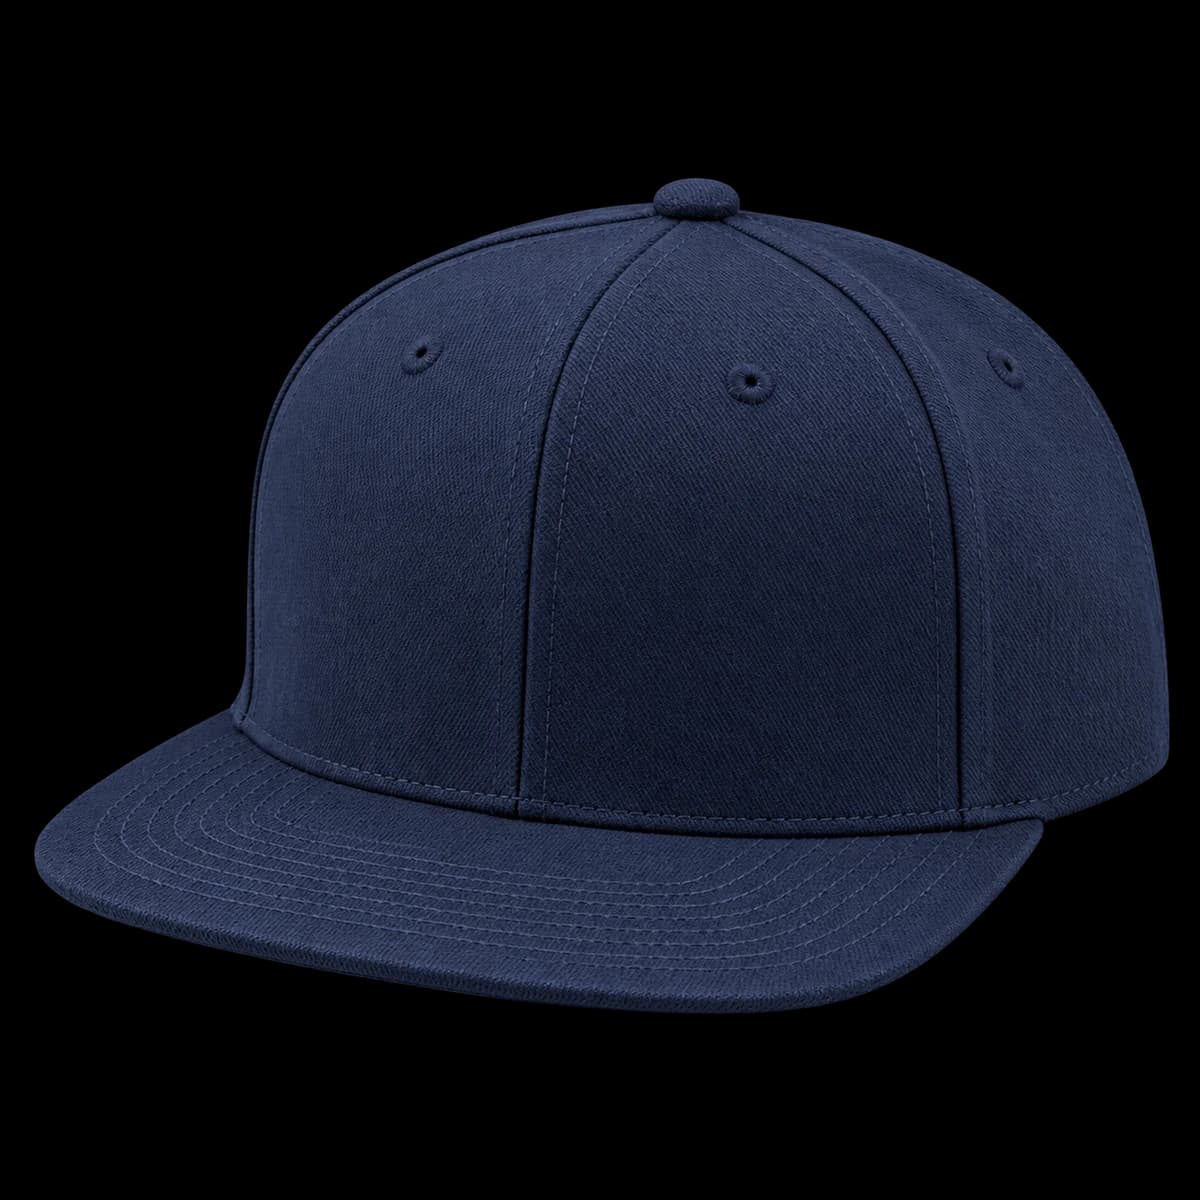
Imagine a brand developing 300 navy seven-panel snapbacks with a cream front mark. This is an illustrative planning brief, not an account of an existing FORMBRIM order. The design calls for one lower-front insert and six pieces above and around it. The first proposed drawing shows a broad seam-free front but omits the separate insert. Even if the front logo looks attractive, ask for the panel map to be corrected before approving the shell.
On the next sample, suppose the seven pieces are correct but the insert looks too tall. Mark its accepted lower boundary and the proposed upper boundary on matching front and side views. Ask the supplier to assess the change while retaining the agreed logo dimensions and brim projection. Check whether the upper-front pieces and front support need a corresponding revision; do not assume reducing one visible strip is an isolated operation.
After the pattern revision, check the artwork margins, insert corners and worn crown again. Approve the shell, material and decoration with separate statuses. The useful record explains which dimensions changed, which references remained controlling and which sample is retained for the bulk discussion.
Questions to settle before requesting a sample
What makes this different from the minimal five-panel snapback? The numbered seven-piece shell and separate lower-front insert are the starting requirements. A wide front alone does not establish that difference. Compare the top and side drawing as well as the logo view before choosing between the two development directions.
What is needed for quotation and sampling? Send the panel map, front and worn-profile references, material preferences, full-size artwork and snap details. Identify labels, hangtags and packing, destination and quantities by finished colorway. FORMBRIM’s MOQ is 300 pieces per style, per color. Keep fabric composition, weight, final dimensions and workable tolerances as items to agree for the sample instead of copying another supplier’s specification.
Before production, retain one accepted drawing and sample revision, and list any conditions still pending. Use the lab dip and strike-off guide to separate material approvals from the sewn-hat decision. Use the AQL inspection guide when defining production lots, report scope, corrective action and release responsibility. A development approval and a shipment release require their own identified evidence.