
Solid × open

Trucker caps

One cap. Two visual weights.

The front speaks; the mesh changes the profile. Build the design around their balance, then resolve the brim and rear adjustment.

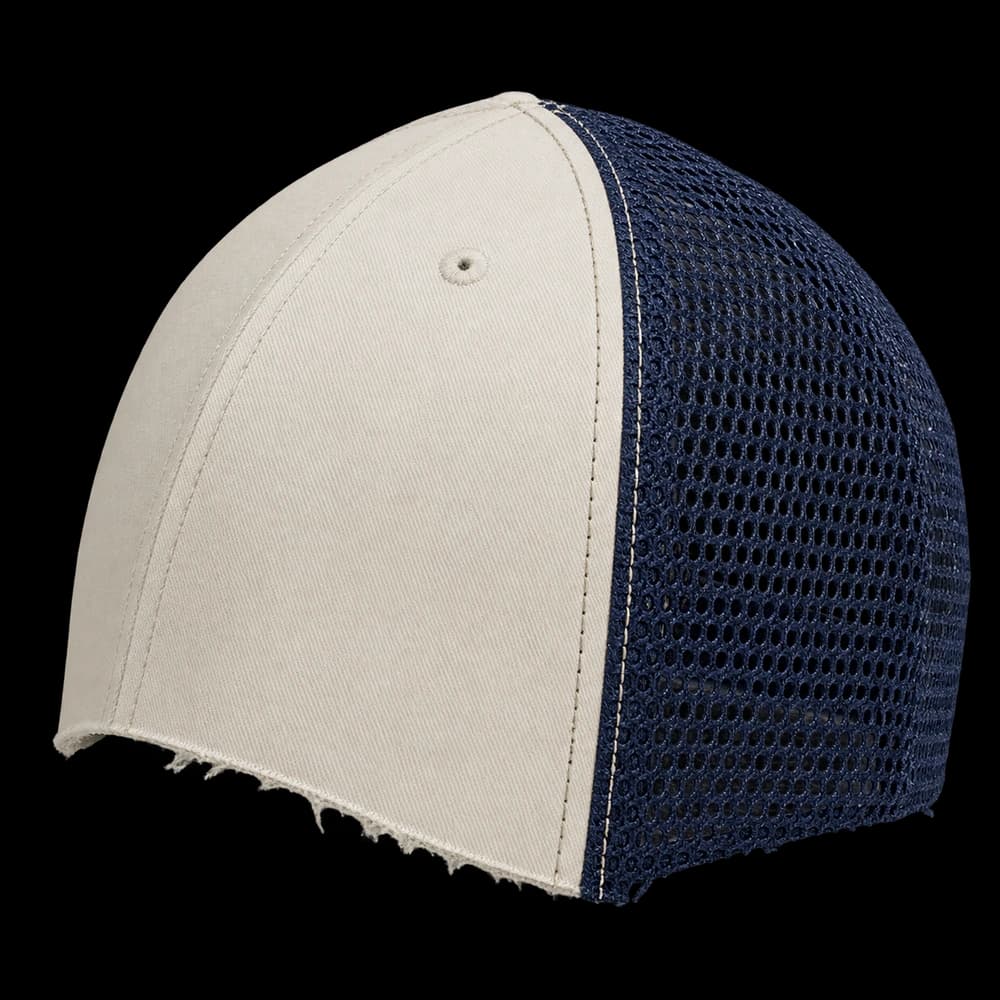
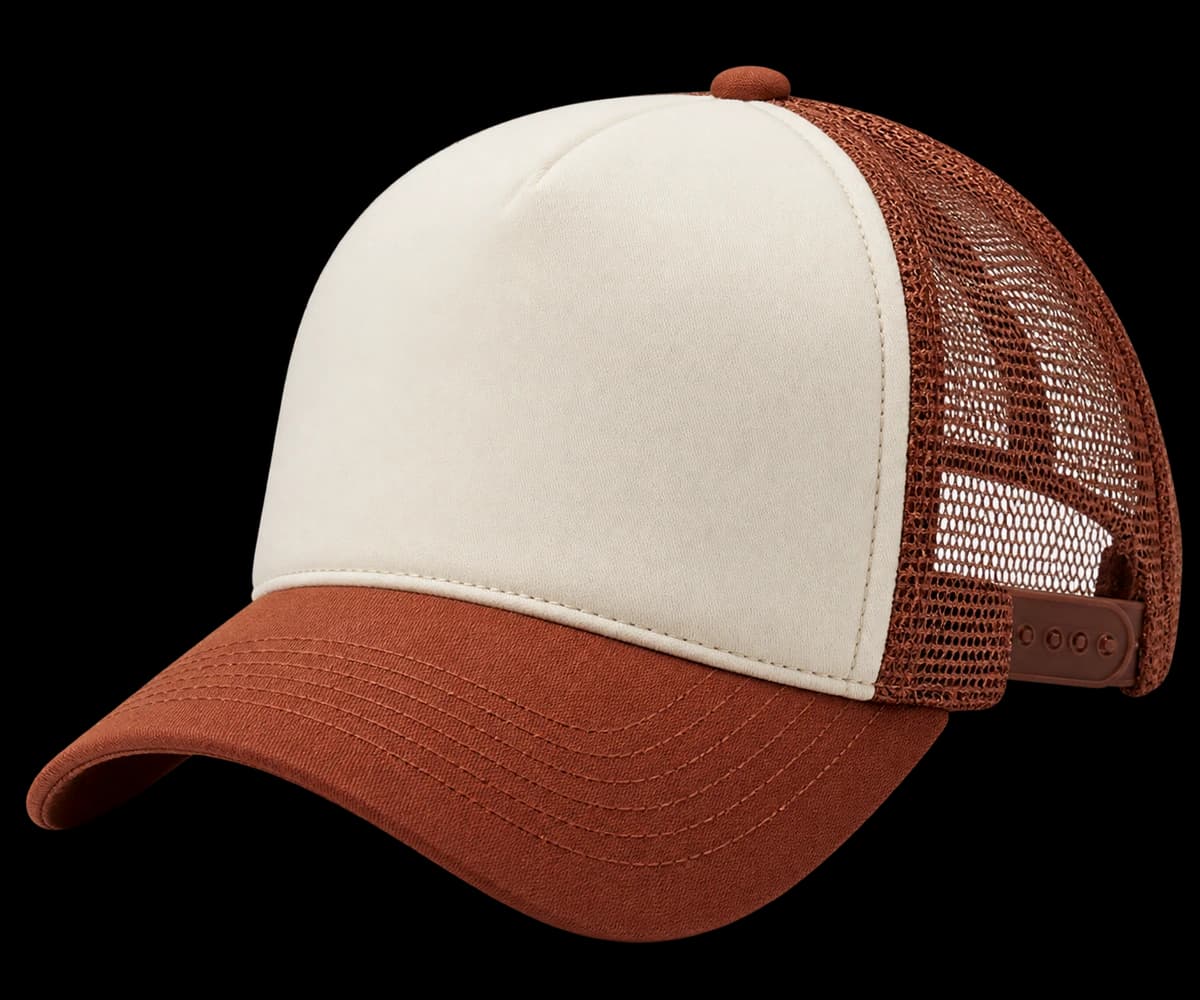
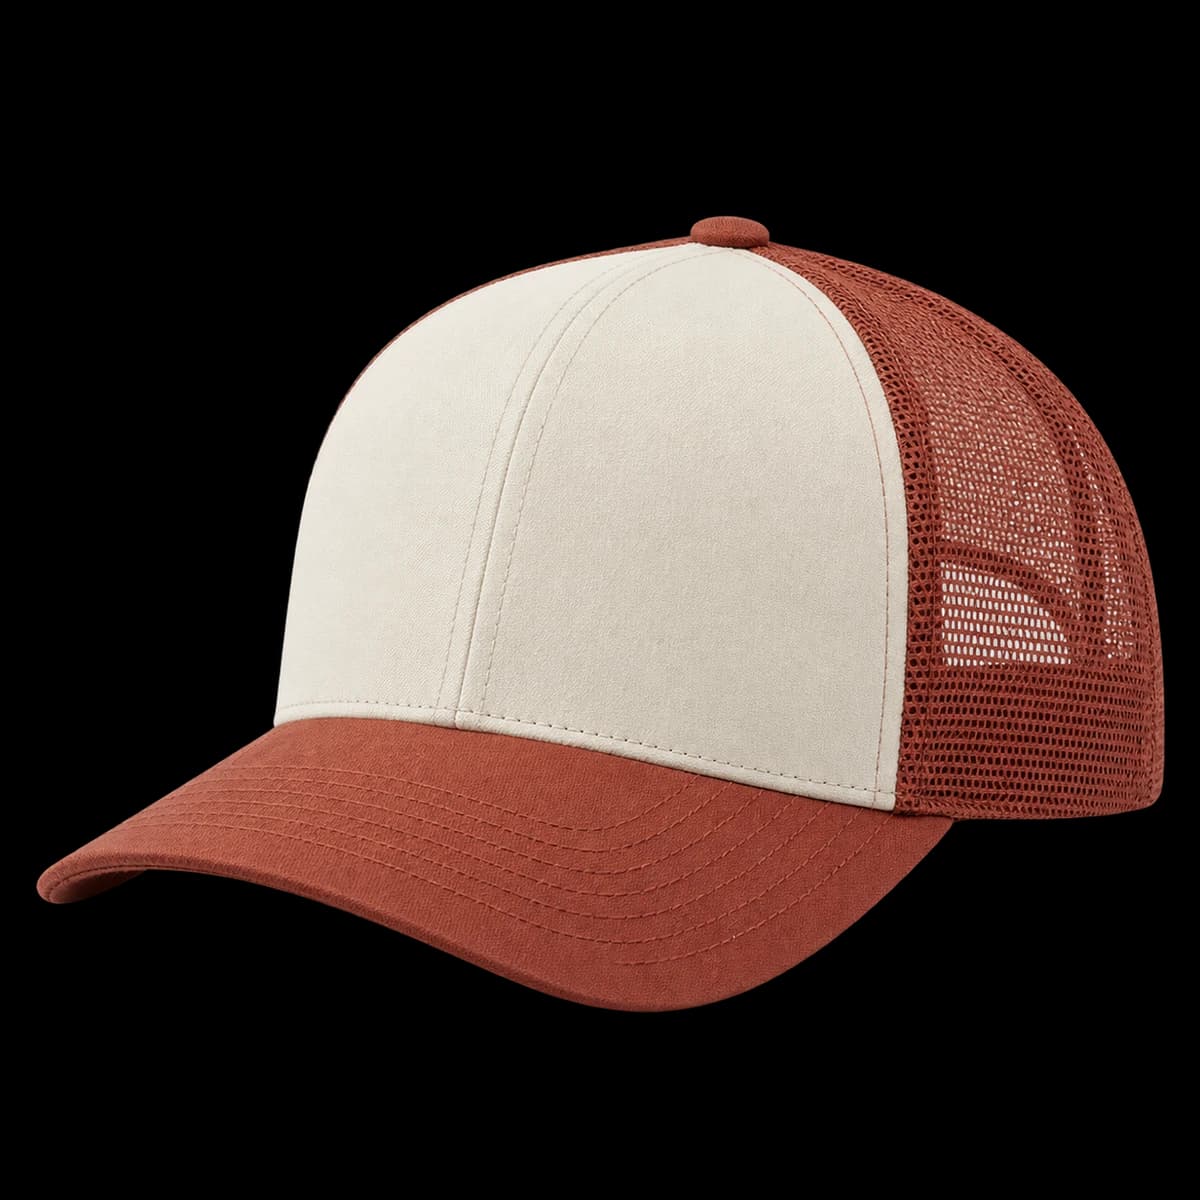
01Isolated cream and rust mesh trucker cap, front three-quarter view
01 / Front & silhouette
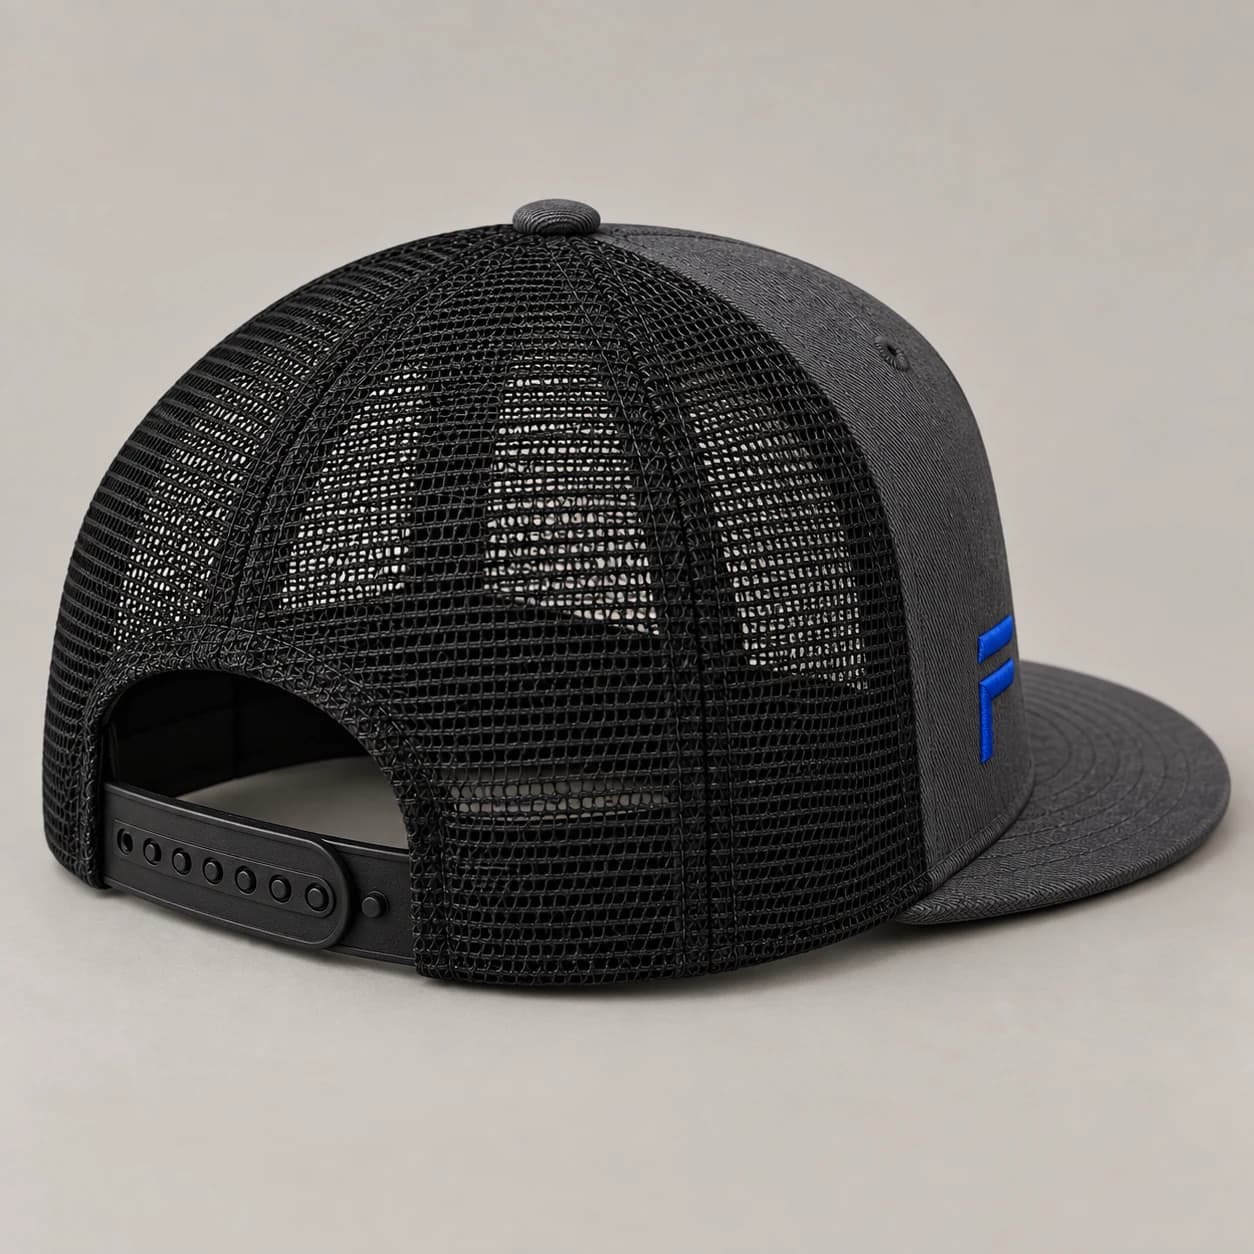
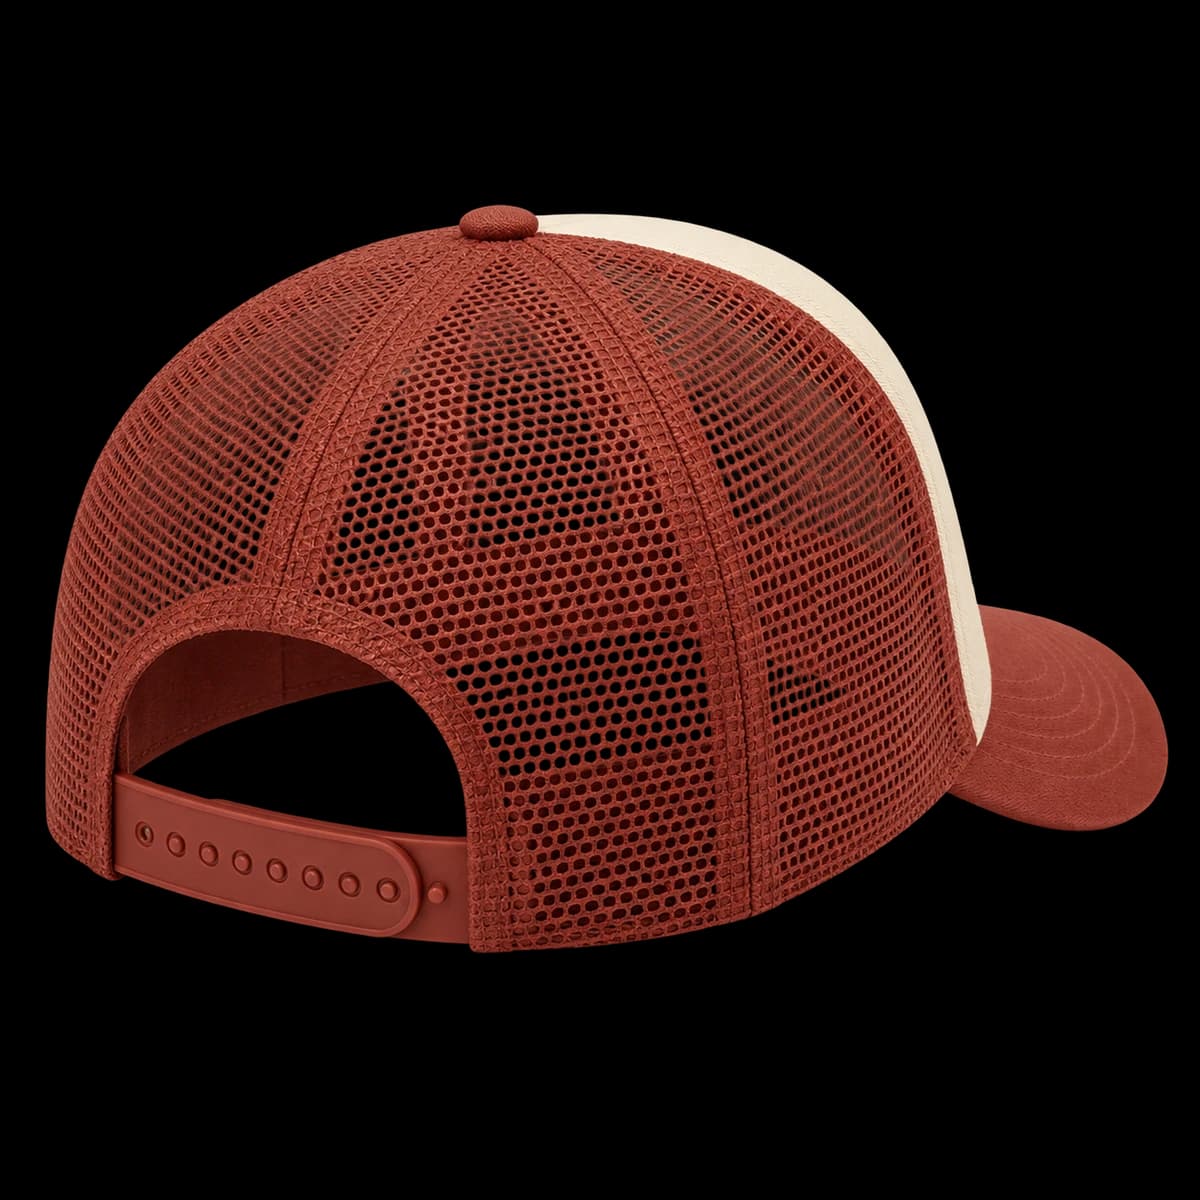
02Isolated rust mesh trucker cap, rear view with adjustable snap closure
02 / Rear & profile

Graphic front

Start with foam and a clear artwork hierarchy. Check the decorated front for shape changes.

Discuss this direction ↗

Generated design references. Construction, dimensions and finish are established with the physical sample.

The design library / 04 references

Front statement. Mesh character.

See both surfaces of each concept together. The front, mesh and visor need to form one complete colorway.

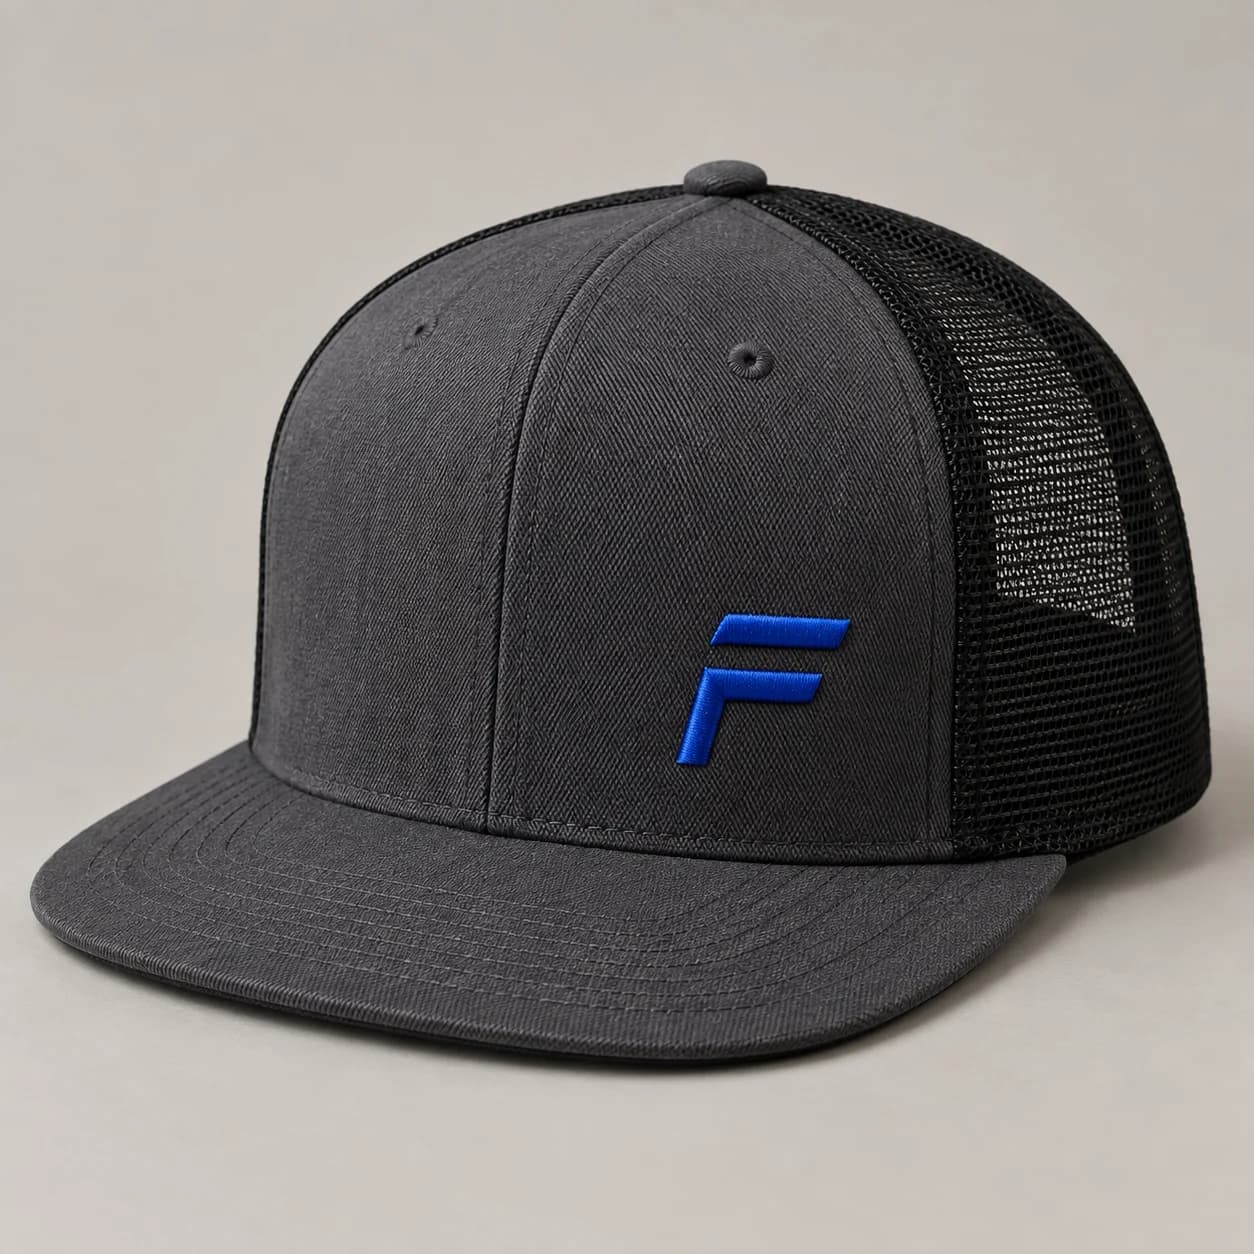
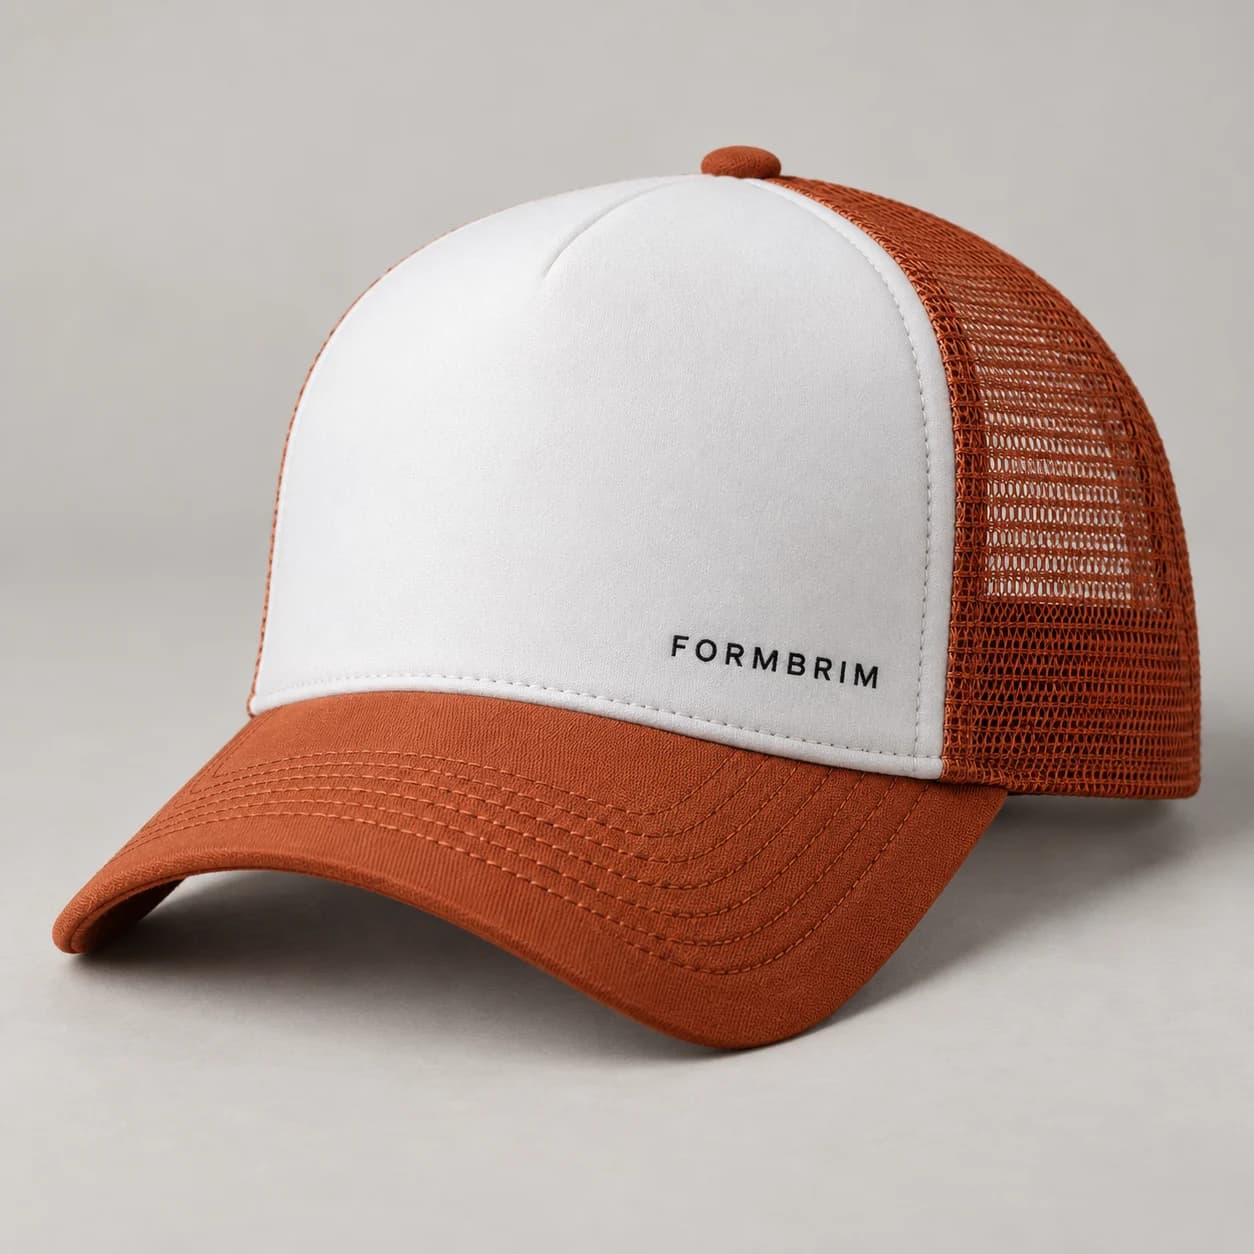
01 / Design referenceAI-generated foam-front trucker design reference illustrating broad front / mesh rearFoam-front trucker: Rear & profile. Generated design reference.
Design reference

Foam-front trucker

A foam-front design direction with a generous graphic area and a contrasting mesh back. The character is immediate and playful. Focus development on front-panel shape, graphic scale and the balance between the solid face and the open mesh.

Broad front / mesh rear

Foam-front / mesh direction
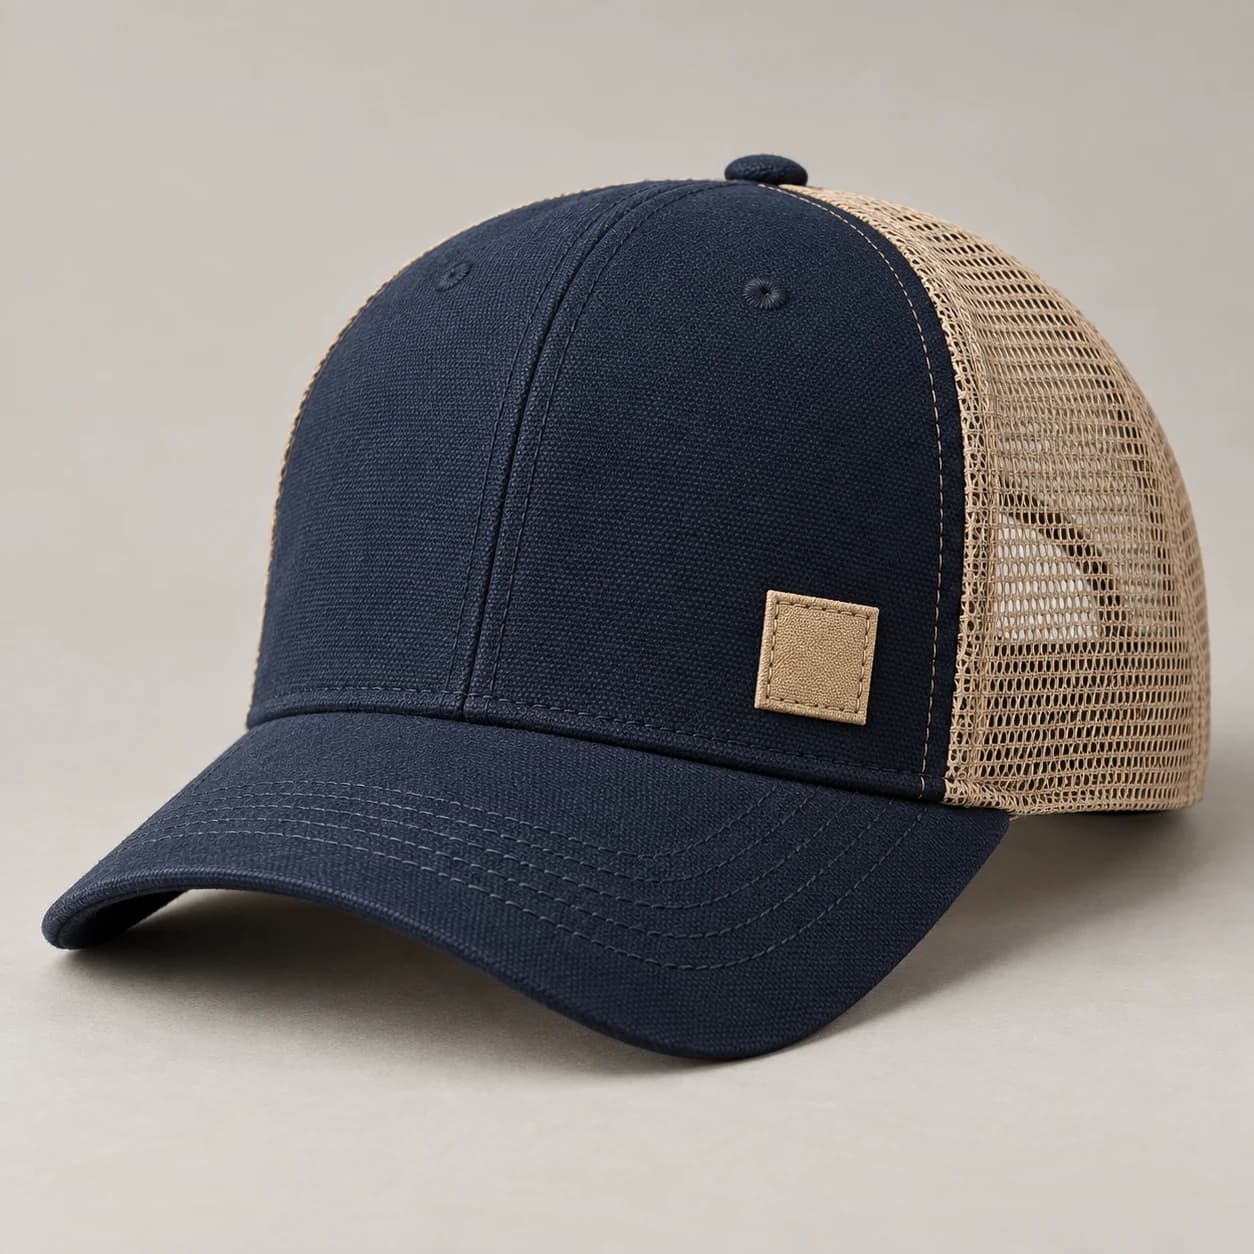
02 / Design referenceAI-generated canvas mesh trucker design reference illustrating textured front / curved brimCanvas mesh trucker: Rear & profile. Generated design reference.
Design reference

Canvas mesh trucker

A canvas-front trucker concept that exchanges the flat graphic feel of foam for a more tactile woven face. Pair a quiet front mark with tonal mesh or give the brim a separate color. The sample should establish how the selected canvas shapes the front profile.

Textured front / curved brim

Canvas front / mesh rear

03 / Design referenceAI-generated flat-brim trucker design reference illustrating defined crown / flat brimFlat-brim trucker: Rear & profile. Generated design reference.
Design reference

Flat-brim trucker

A trucker reference with a flat-brim direction and a defined front. The flatter line makes crown height and artwork placement especially visible. Develop the shape around the desired streetwear or graphic collection identity, with the brim profile explicitly recorded.

Defined crown / flat brim

Woven front / mesh rear

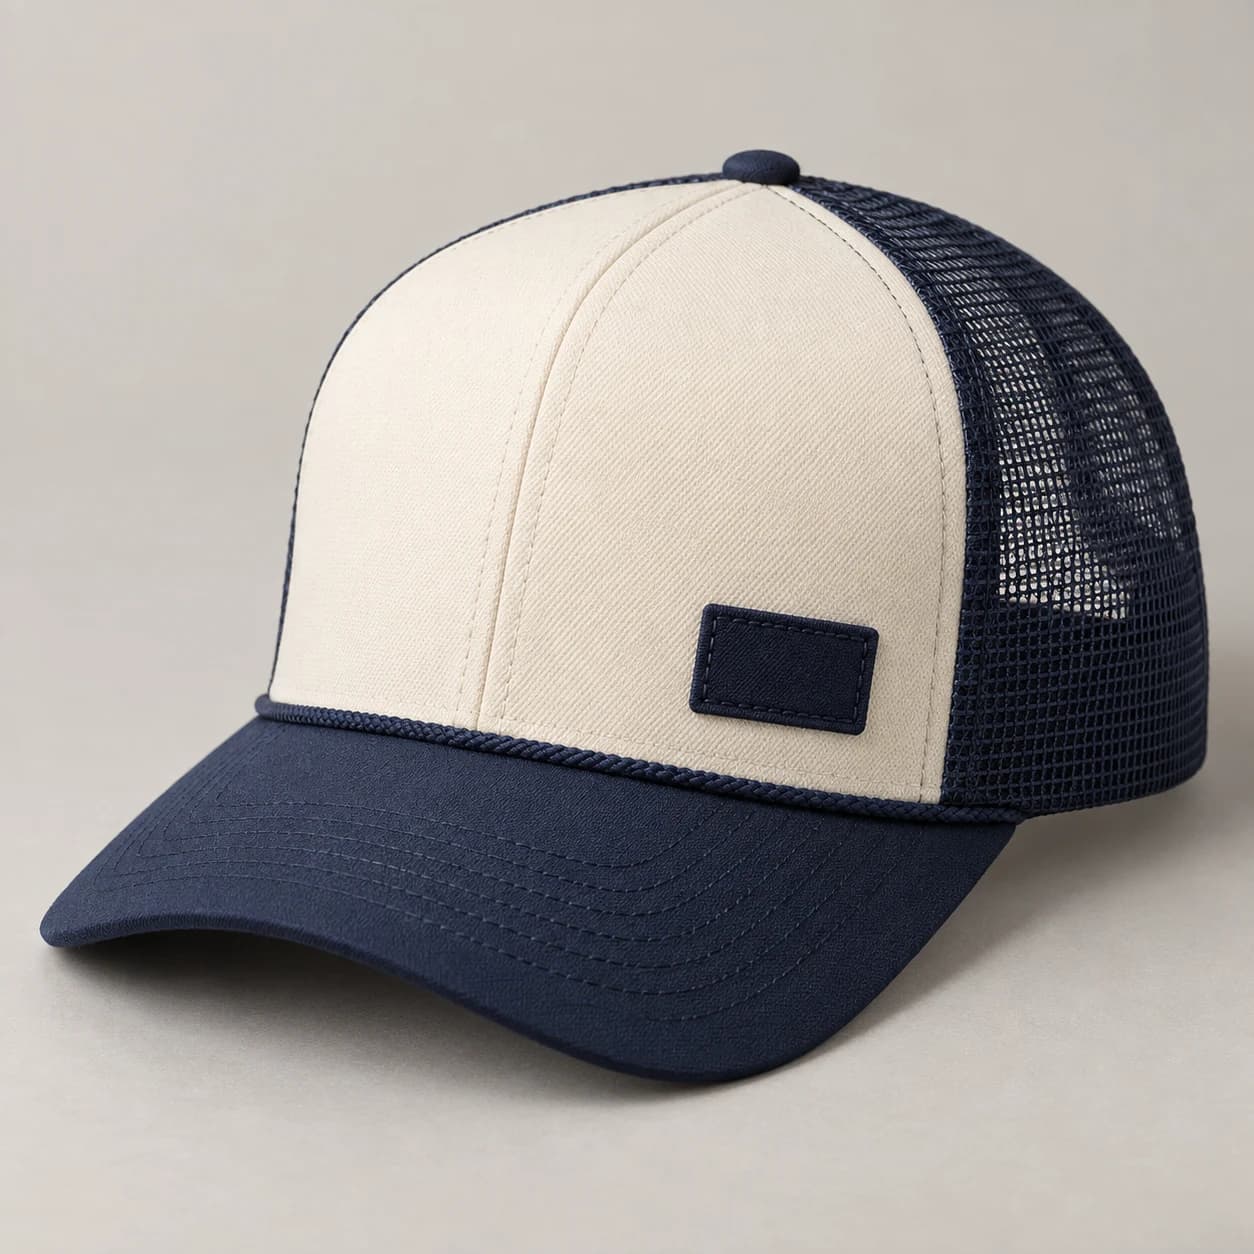
04 / Design referenceAI-generated rope trucker design reference illustrating accent-front / curved brimRope trucker: Rear & profile. Generated design reference.
Design reference

Rope trucker

A mesh-back cap with a rope accent at the crown-to-brim junction. The accent creates a second graphic line, so it needs a considered relationship with the logo, front color and brim. This is a custom design discussion, with trim availability and attachment confirmed during development.

Accent-front / curved brim

Woven front / mesh / rope accent

Compare your directions

Design starting points; final specifications are developed with your brief.
DecisionAI-generated foam-front trucker design reference illustrating broad front / mesh rearFoam-front truckerAI-generated canvas mesh trucker design reference illustrating textured front / curved brimCanvas mesh truckerAI-generated flat-brim trucker design reference illustrating defined crown / flat brimFlat-brim truckerAI-generated rope trucker design reference illustrating accent-front / curved brimRope trucker
MaterialFoam-front / mesh directionCanvas front / mesh rearWoven front / mesh rearWoven front / mesh / rope accent
SilhouetteBroad front / mesh rearTextured front / curved brimDefined crown / flat brimAccent-front / curved brim
BrandingGraphic print to discussEmbroidered mark or patchCentered front embroideryCompact badge or embroidery
Discuss these directions ↗
Minimum order
100 pieces per style, per color
Sampling
7–10 working days
Bulk production
30–45 working days
From your reference to a production brief

The contrast is part of the product.

Foam, canvas and mesh create different surfaces for your brand. A larger front mark needs to be considered with the softness of the front, the mesh color and the visor proportion.

Foam-front trucker: Surface & seam. Generated design reference.
Foam-front / mesh directionBalance a bold front graphic with the height and softness of the proposed foam.Foam-front trucker guide ↗
Canvas mesh trucker: Surface & seam. Generated design reference.
Canvas front / mesh rearLet the canvas provide the visual weight while the mesh supports the profile.Canvas mesh trucker guide ↗
YOUR HAT / OUR MANUFACTURING

Two materials. One resolved silhouette.

A trucker cap connects a solid front to an open mesh body. Our OEM/ODM process brings those materials, the front graphic and the rear adjustment into one development brief.

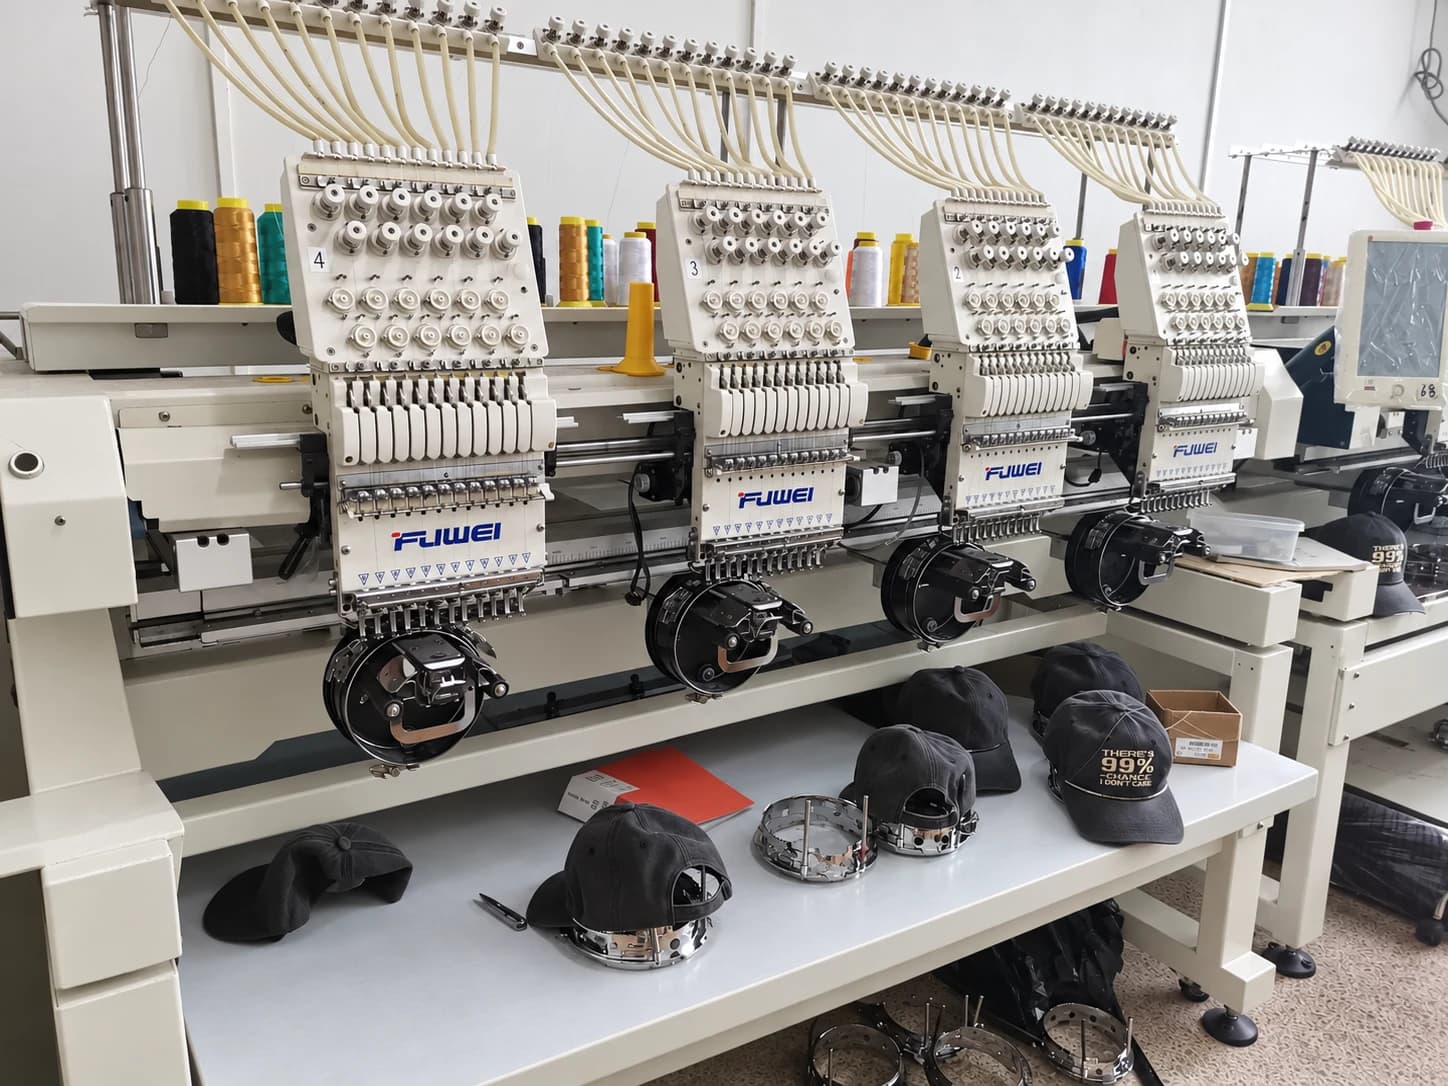
Cap embroidery machines with headwear frames
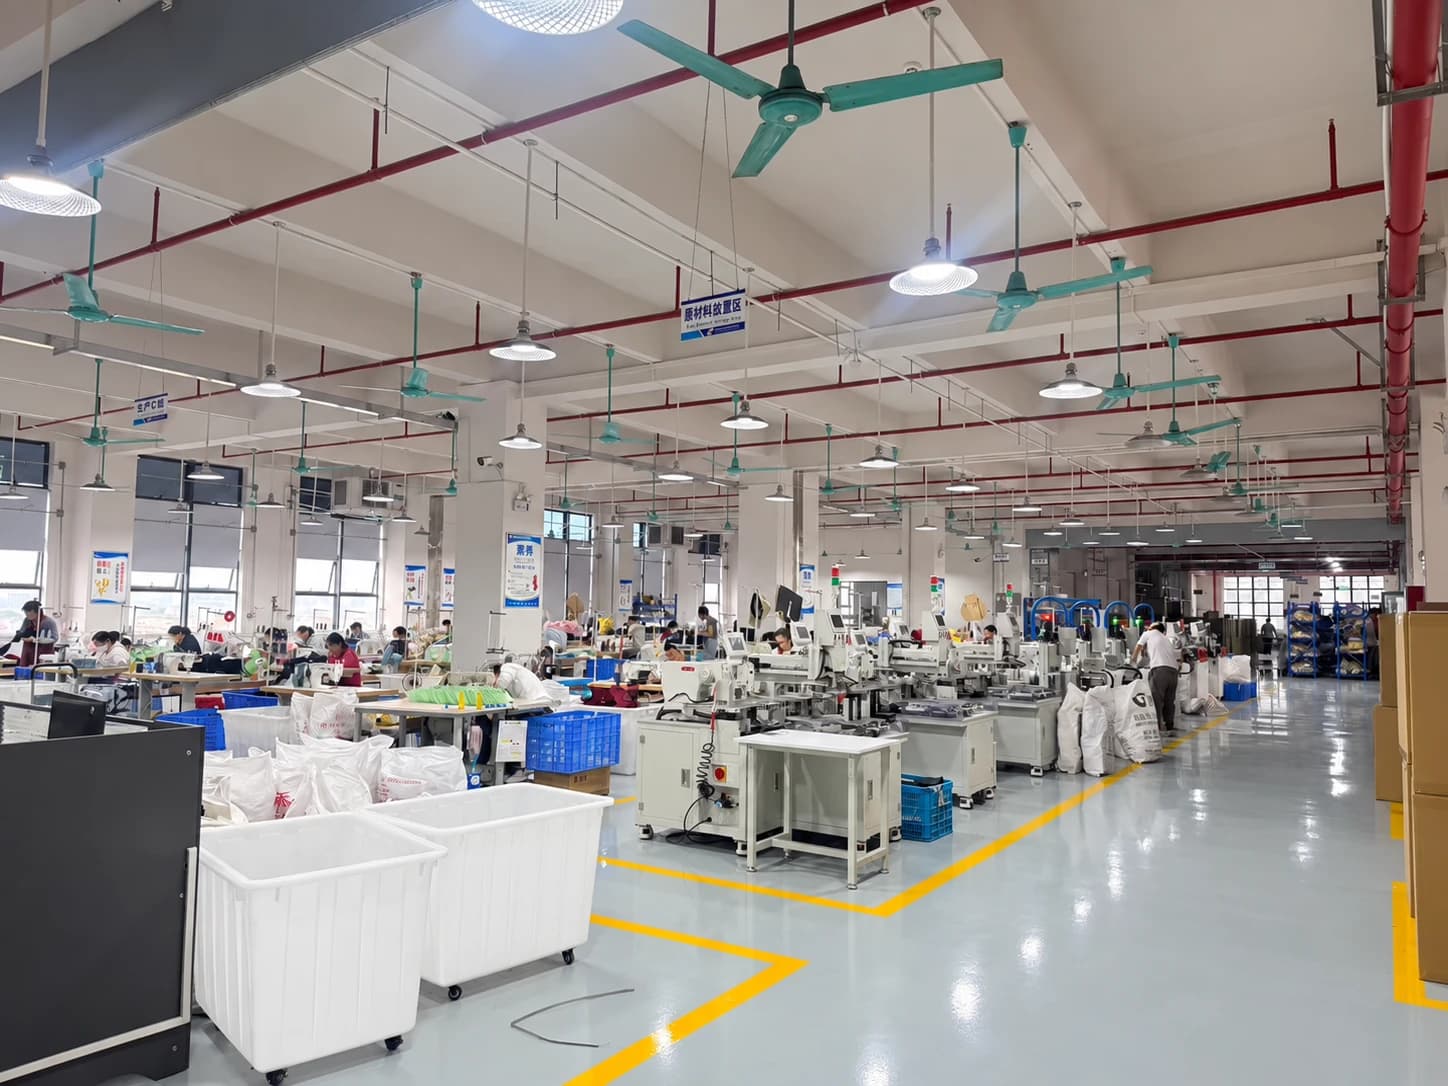
Factory photography from our production, sample and storage spaces.
Hangzhou, Zhejiang, China
Production lines
8
Employees
200+
Established
2016
Inspection
100%
Explore our factory capabilities
Inside the production brief / Trucker caps

Approve the contrast as a physical sample.

Track the junction between the front and mesh, then check how decoration, brim shape and adjustment affect the whole cap.

Illustrative cotton front and mesh junction with visible joining stitches
Material direction / panel relationshipGenerated component study. Confirm the finished construction with your sample.

Specify the front

Choose the foam or fabric direction and discuss the required front height and firmness. Review distortion after decoration on the sample.

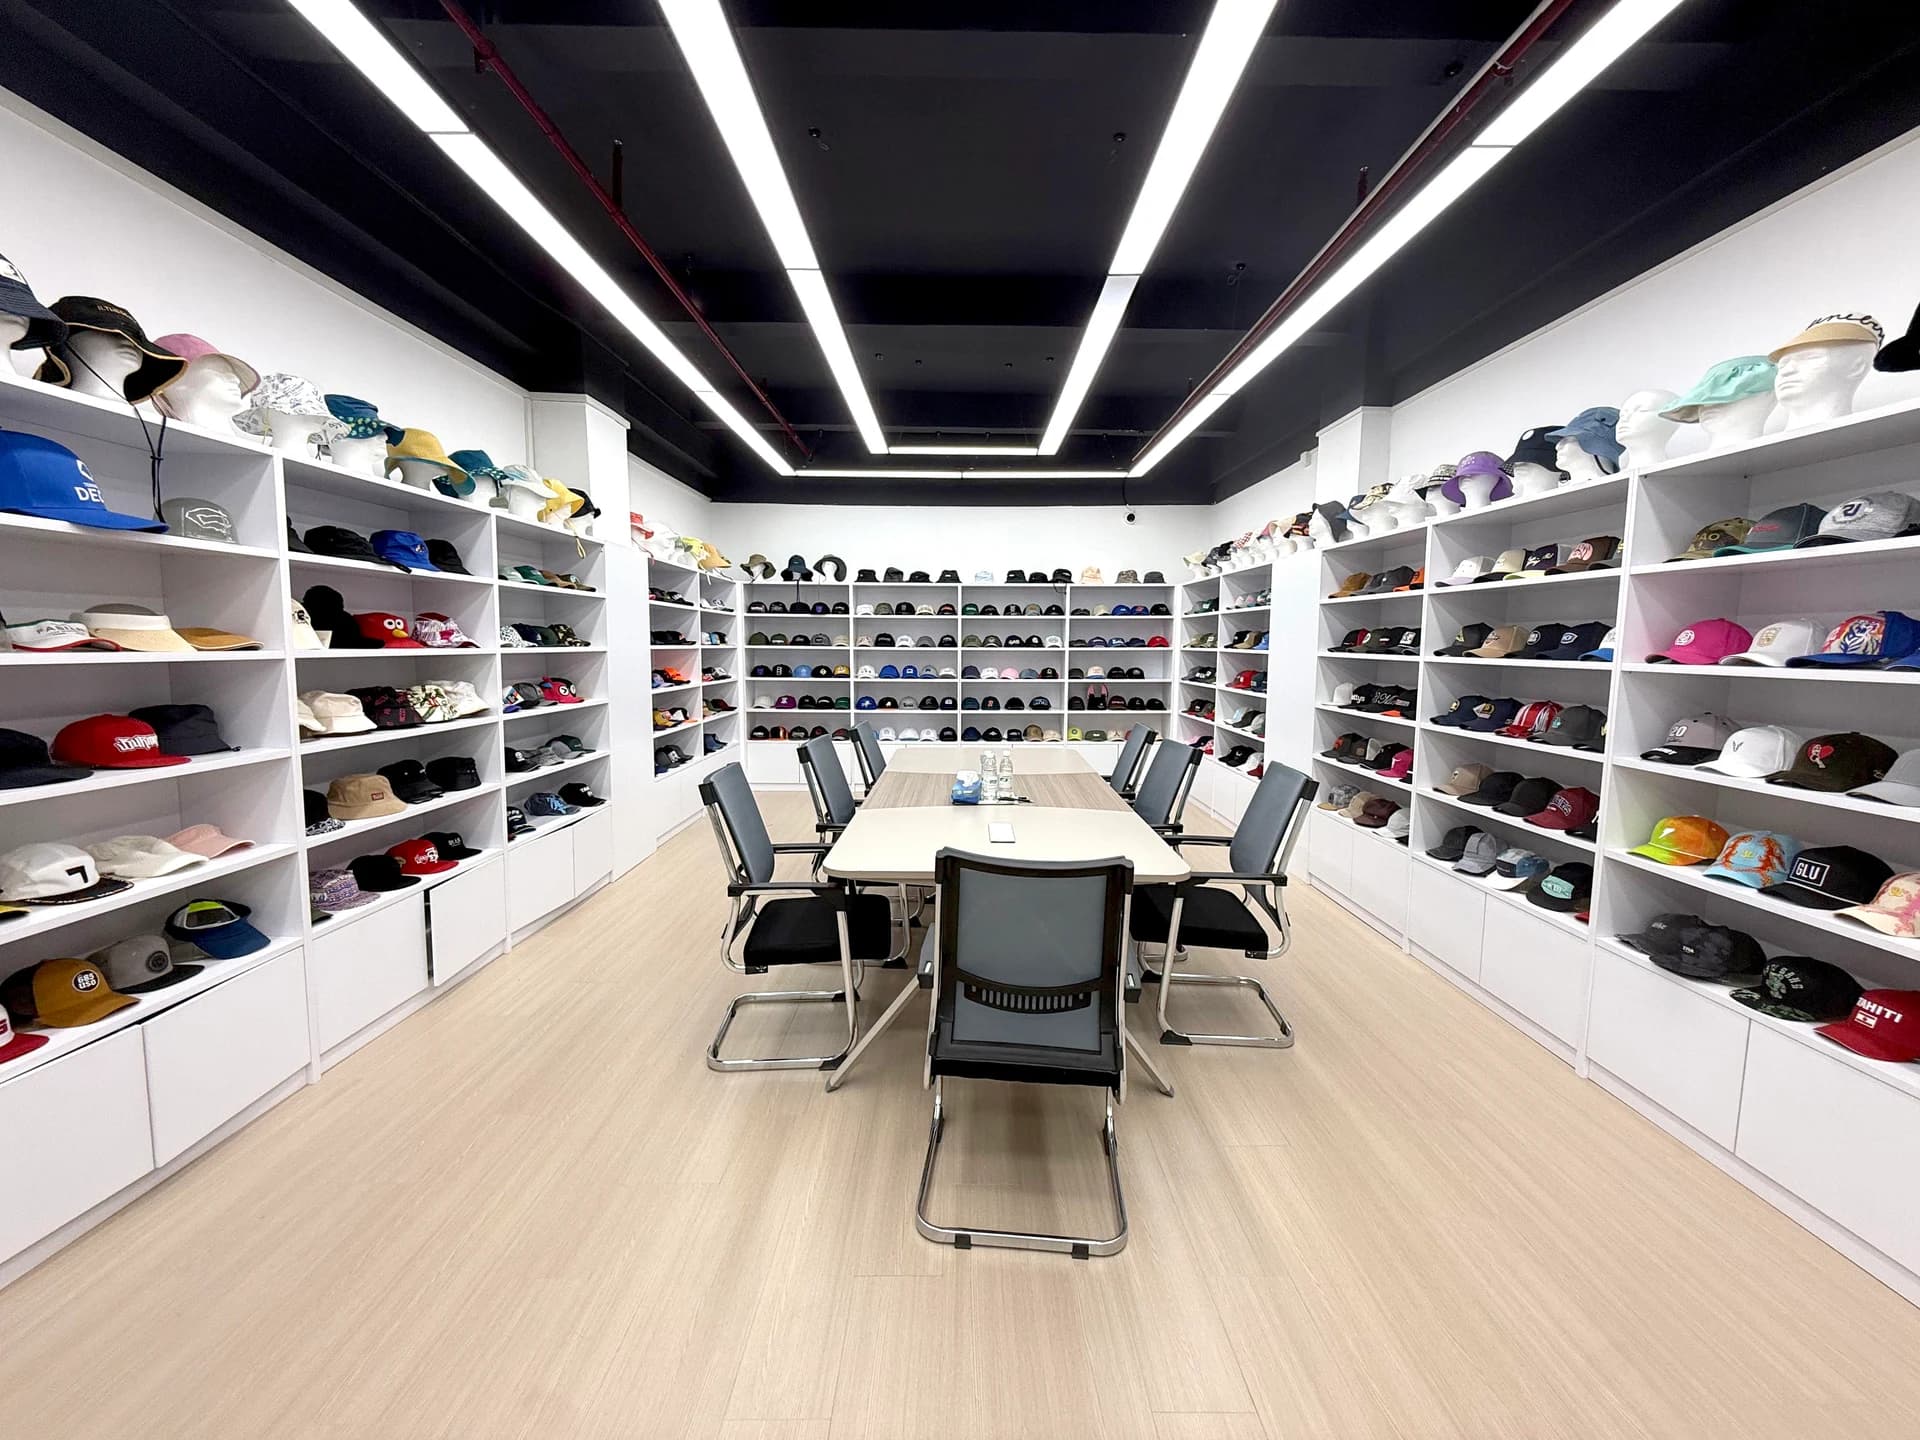
Headwear sample showroom with a discussion table
7–10 working days / sample development
OEM / ODM

Approve the contrast as a physical sample.

Front and mesh reference

For an existing design, supply both front and side views. Identify the front material and intended rear transparency separately; a single front photograph cannot define the mesh portion.

Graphic and surface development

If the design starts with a logo, compare its size and decoration direction with the proposed front construction. Review the decorated sample for surface distortion before treating the artwork as resolved.

100% inspection

Every piece. Agreed details.

Every-piece inspection needs a clear trucker reference: front-to-mesh seams, rear opening, snap attachment and the relationship between the decorated front and the visor.

  • Foam or woven front
  • Mesh shade and panel transition
  • Flat or curved brim
  • Snap or other closure reference
Discuss my inspection brief ↗
Sewing workstations across a factory floor
Logo / label / hangtag / packaging

Carry the identity through.

Keep artwork and mesh colors in the same specification. A change to the front shade may require a separate decision about thread, patch edging, mesh and closure colors.

  • Decoration size on the selected front surface
  • Front-to-mesh color relationship
  • Rope or patch attachment where the design includes it
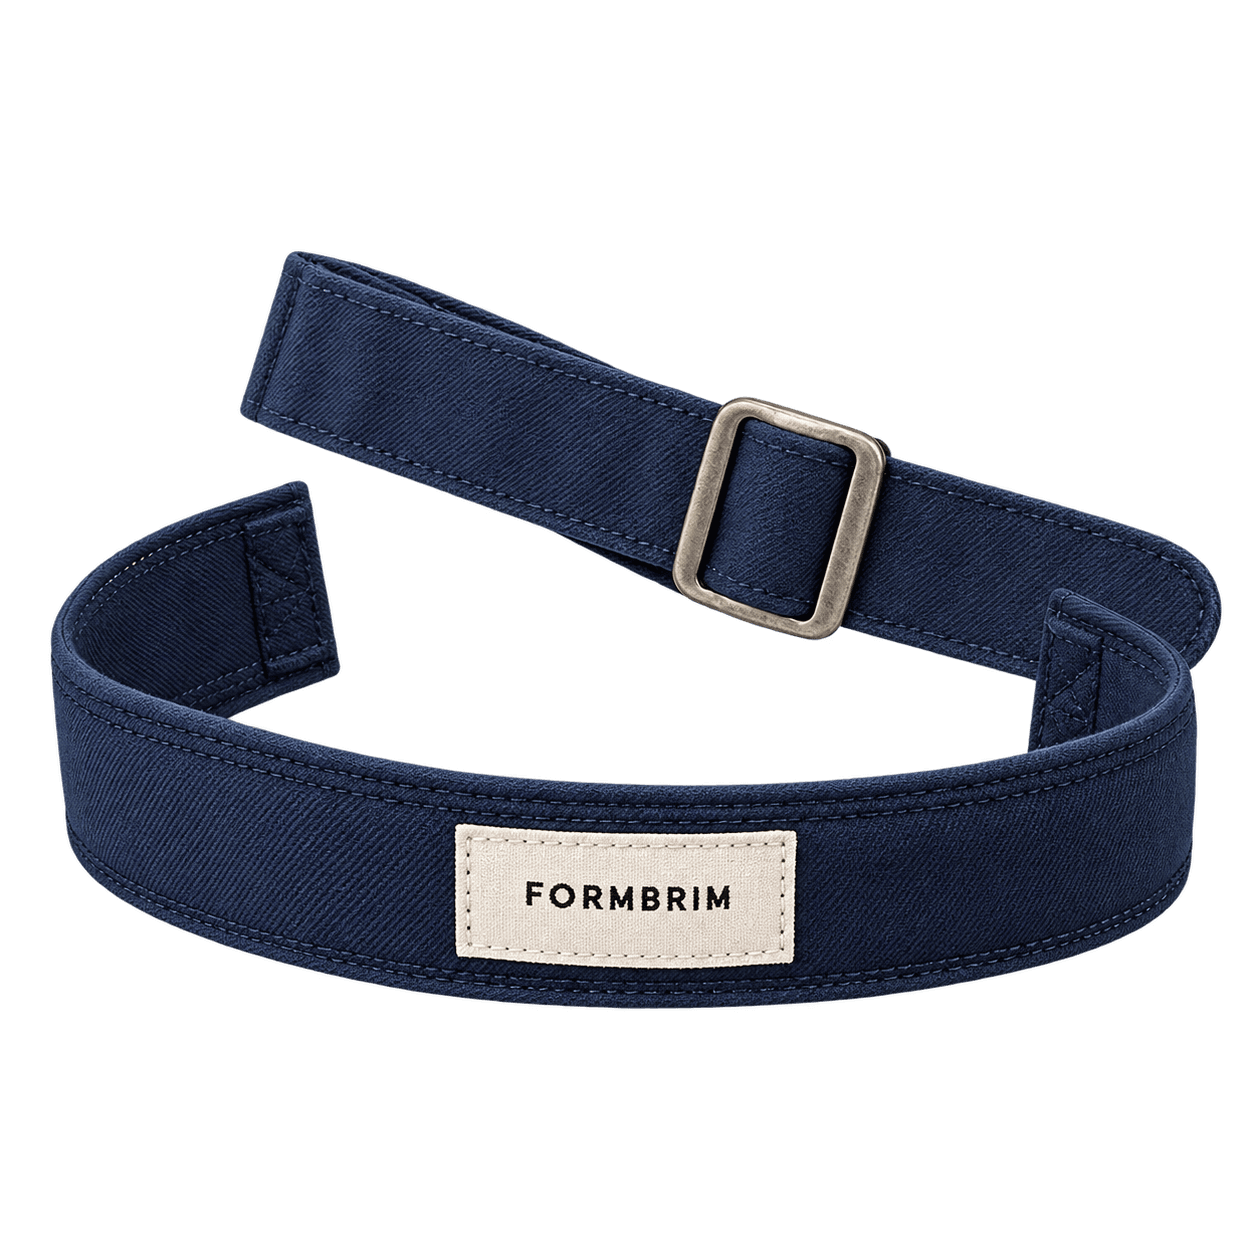
Illustrative woven inside label, sweatband and adjustable strap
Generated component study. Confirm the finished construction with your sample.

Your buying brief / Trucker caps

Prepare a front-to-mesh specification.

Make the contrasting surfaces legible before sampling, with a separate instruction for each component.

Two surfaces. One finished colorway.

Generated construction study: woven front, mesh back and foam-backed material compared

Front surface / mesh / material edge

Generated component illustrations; final construction is agreed through sampling.

Define the front and rear as separate materials. A useful color brief names the front, mesh, visor and adjustment individually; matching names alone do not establish how unlike surfaces will look together.

Should the mesh blend with the front or deliberately contrast?Generated component study · construction and materials are agreed through sampling.

Three decisions to bring into sampling

01

Choose the front-panel direction

Foam-front and woven-front references communicate different surfaces and shapes. Identify the look you want and show the front-to-mesh junction in your reference.

Bring: front and side views of the intended construction.
02

Build a complete colorway

List front, mesh, brim and closure colors independently. A front color alone does not define the finished cap, especially when the mesh is intended to contrast.

Bring: a component-by-component color list.
03

Review decoration on the chosen front

Share the logo and whether you prefer embroidery, a patch or printing. Treat finished size and position as sample decisions tied to the selected front material.

Bring: artwork, technique preference and placement reference.

From reference to enquiry

Build your enquiry checklist

Select the information you have ready. Your selection travels with you to the project form; missing details can be discussed together.

0 / 4 items ready

Take my checklist to the project form

Practical buying answers

Before you commit to a sample

Will a mesh color look identical to the front fabric?

Different surfaces can make the same color direction appear different. Supply references for both and review the combination together. Describe whether you want visual coordination or intentional contrast.

Can I request a flat brim instead of a curved brim?

Include your preferred brim shape in the enquiry along with a side view. Agree the profile together with the crown and front construction during sampling.

What needs checking at the mesh junction?

Look at how the front meets the mesh, the seam appearance and how the assembled crown holds its shape. Include inside and side views in your sample feedback so the comments identify the exact area.

Explore quantity and timing guides
YOUR COLLECTION / OUR NEXT CONVERSATION

Make this shape your starting point.

Describe the design you are considering and the changes you would like to make. We can discuss material, branding and the sample brief together.

Project brief
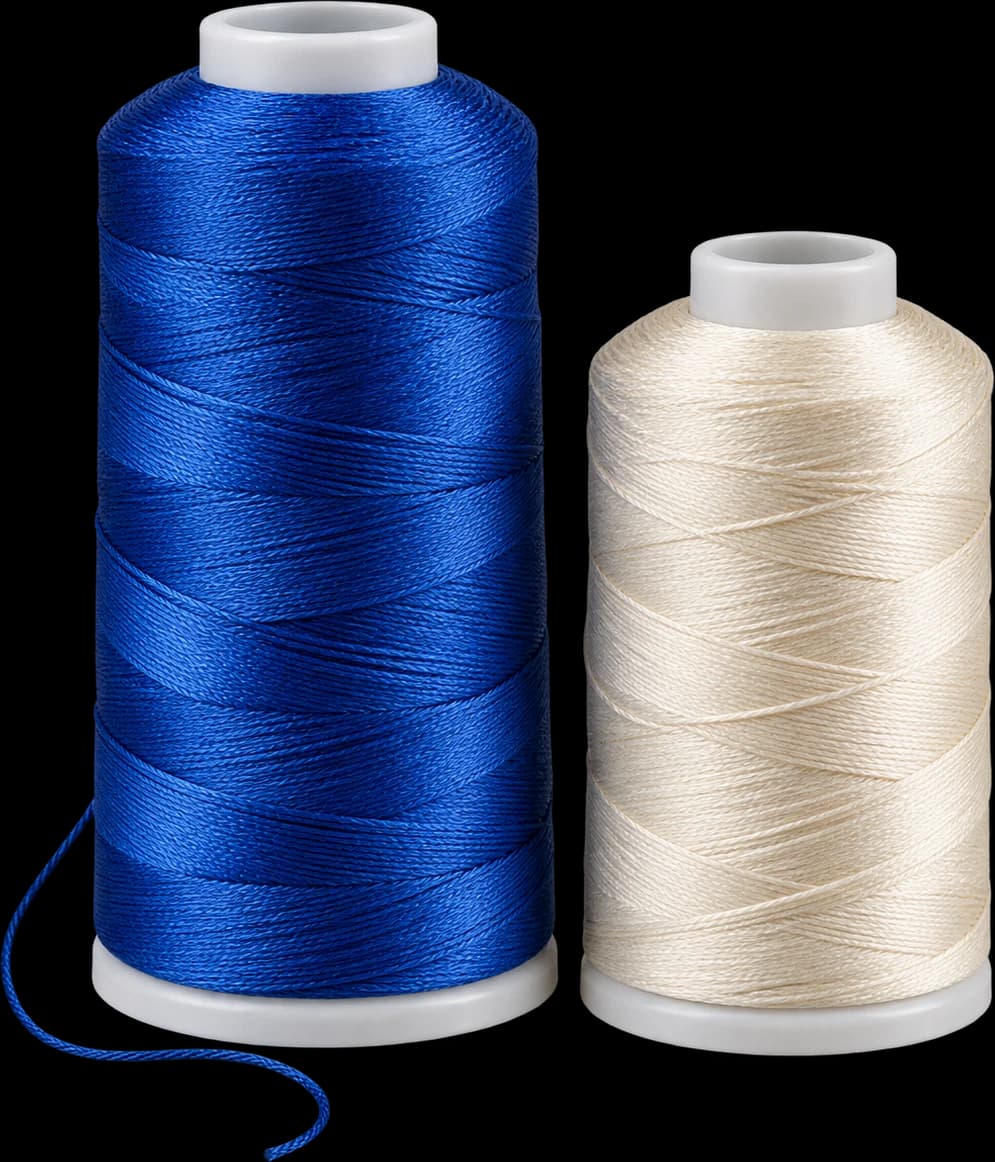
Foam and mesh trucker capGenerated cobalt and ivory embroidery thread spools
FORMBRIMTruckerOEM / ODM

Bring your shape, artwork and quantities together. Generated component references.

YOUR NEXT CONVERSATION
  1. Chosen silhouette or design
  2. Changes to fabric and artwork
  3. Quantity for each color
MOQ
100 pieces per style, per color
Sample
7–10 working days
Production
30–45 working days

Prefer a direct conversation?

WhatsApp +86 158 0073 8029[email protected]

Fields marked * are required. Other details can be decided together.

MOQ: 100 pieces per style, per color. List different styles and color quantities in your project description.
Share an http(s) link to your artwork or tech pack and check that we can open it. This form accepts links, not file uploads.
Continue on WhatsApp

Your filled-in details will open in WhatsApp. Review them there before sending.

WhatsApp