
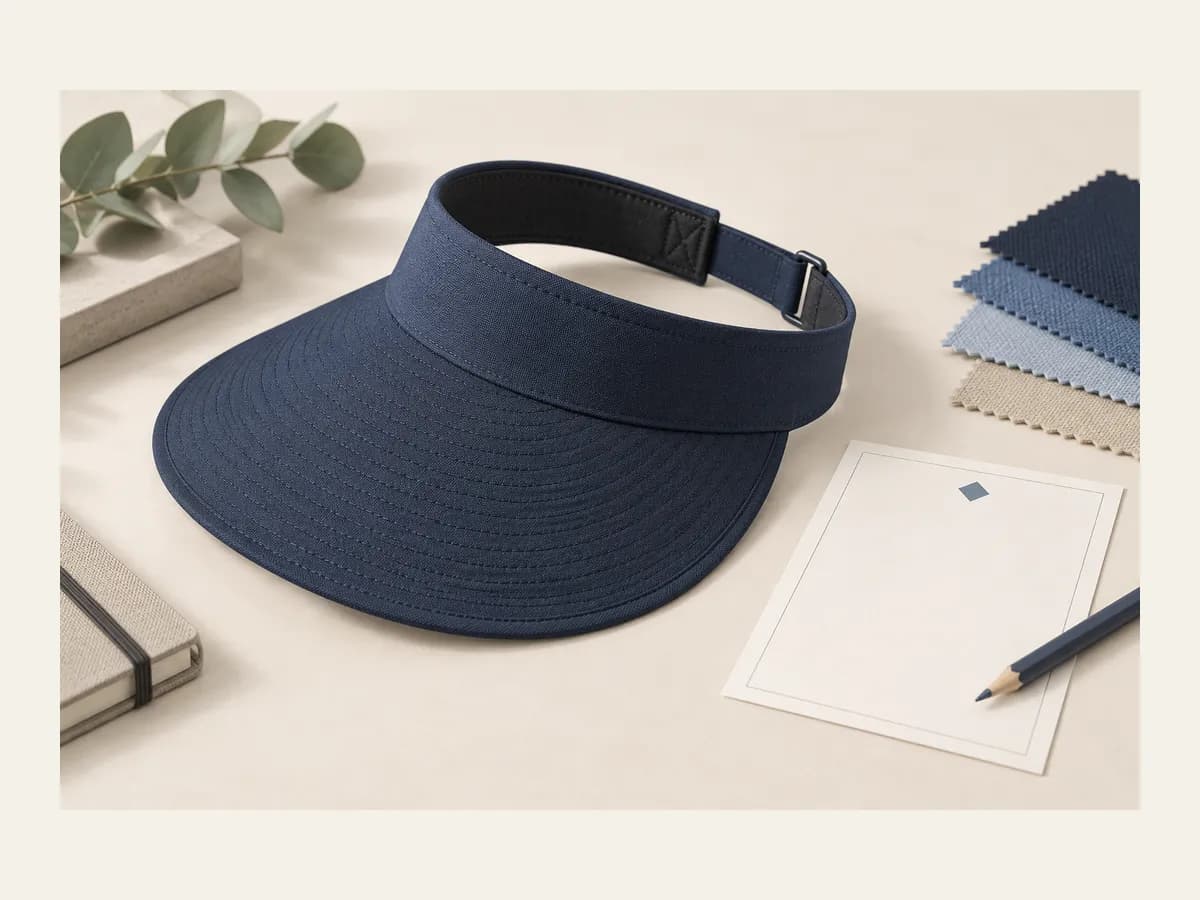
Measure the brim from repeatable points
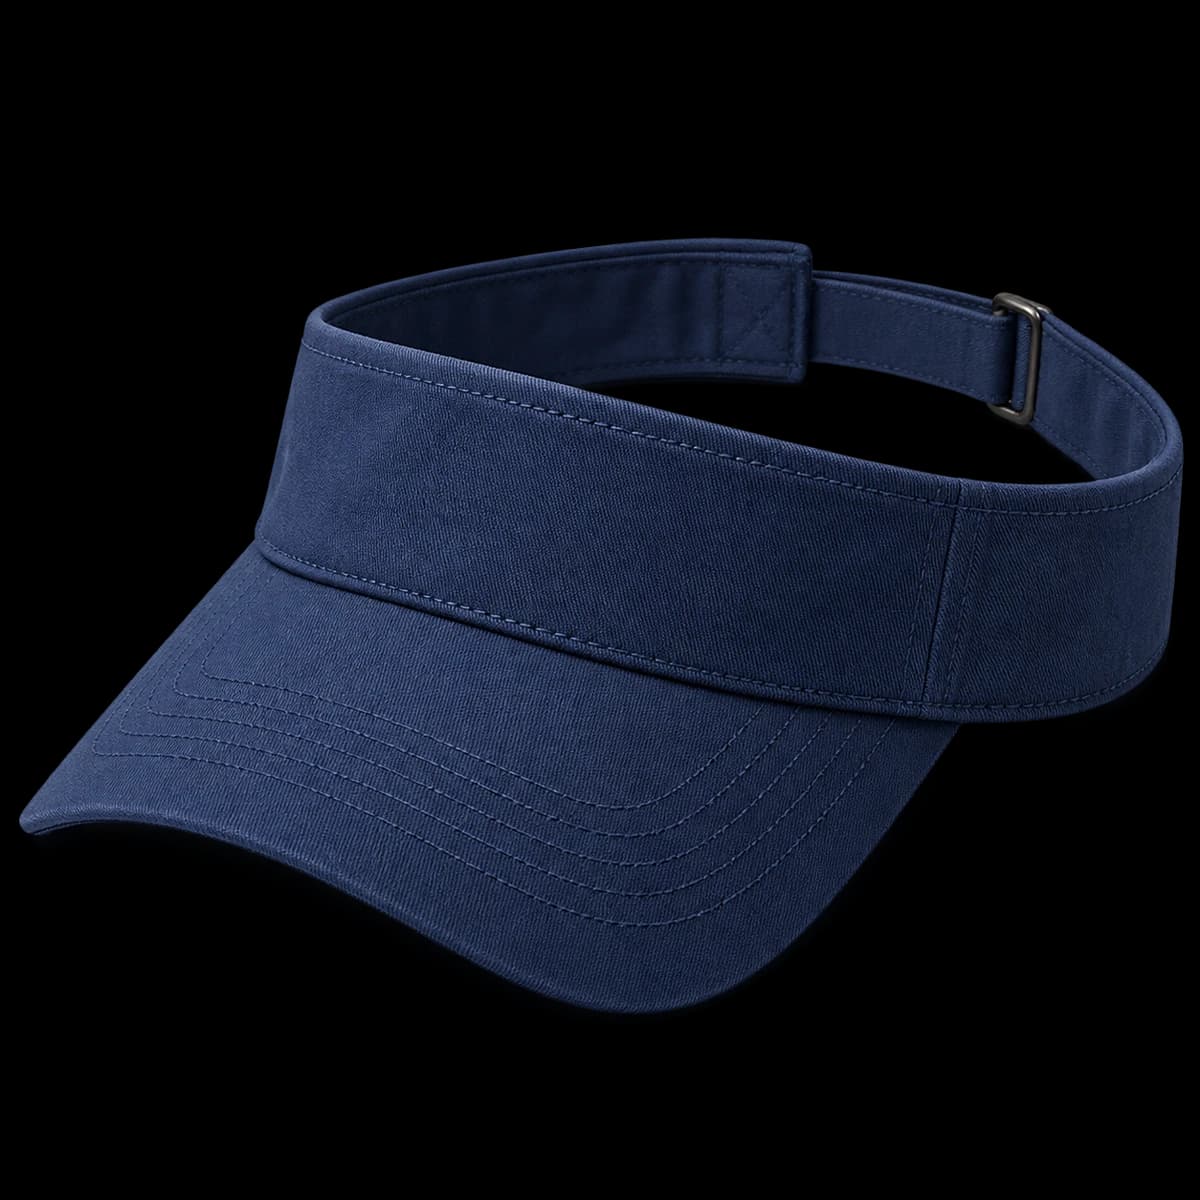
Name the sample and specification revision before measuring. Mark the center front, the band-to-brim join and the outer edge on a top view. Describe forward projection and side width separately. A visor can look broader in a photograph because of its curve or camera angle, even when the pattern dimensions are similar.
Agree whether each dimension follows the surface or spans a straight line. Use the same method on the reference and proposed sample; do not compare a flexible tape following a curve with a ruler bridging it. Record the units and the condition of the visor without flattening its brim to obtain a neater number. Ask the manufacturer to agree workable tolerances for that construction rather than importing a generic limit.
Review the profile while worn as well as from above. Identify the desired edge position and whether the brim interferes with the intended ordinary use. Keep any protection or performance requirement separate: the visual extent of a brim does not establish a tested rating or replace the evidence needed for a commercial claim.
Review band balance at the intended setting
Use the same wearer or fit reference, the same band position and a recorded adjustment setting for the comparison. Place the complete visor as intended before tightening it. Note where the band sits above the ears and at the rear. If it tips forward, record when this happens and which part moves; a photograph of the loose visor on a table cannot answer that question.
Check the rear adjustment through the settings intended for the wearer group. Look for uncomfortable pressure, an unstable position, an exposed strap end or a closure that has little useful engagement. A maximum strap measurement is not a complete fit specification. Record the setting that produces the accepted fit and discuss how other intended sizes will be reviewed.
Do not solve every balance issue by demanding a tighter strap. Brim construction, band shape, inner thickness and the worn position may interact. Ask the supplier to identify the proposed change and review the revised assembly. Keep an accepted feature fixed where possible so that you can tell whether the change resolved the original problem.

Identify the fit reference and adjustment. Compare the band position and brim profile. Record the precise change to review.
Confirm the method and result on your project sample.Check sweatband, edge finish and decoration together
Inspect the inner sweatband where it contacts the wearer. Record its material reference, thickness, joins and attachment rather than approving only its color. Run through the intended handling and adjustment without treating that informal review as a laboratory performance test. If an absorbency or care requirement is important, agree what evidence and test method are needed for the project.
Follow the brim edge around both sides. Mark uneven binding, an unwanted seam position or distortion at a particular location. Review top and underside photographs of the same sample. A broad instruction to improve the finish gives the supplier less useful information than a marked image and a description of the accepted reference.
The larger brim does not create a taller forehead band for the logo. Check the mark at actual size on the worn visor, including its distance from the brim join and upper edge. For embroidery, review open spaces, surrounding fabric and inside backing. If a revised logo changes dimensions or placement, give it a new artwork revision and check it on the actual band before approving it.
Inspect the visor after the proposed packing
Ask for a packing arrangement using the same visor construction as the approval sample. Identify where the band and brim contact wrapping, another visor or the carton. Discuss whether nesting or folding is intended. Flexibility alone does not prove that a brim returns to its accepted profile after handling, and a compact packing photograph does not show the unpacked result.
Agree the review conditions with the supplier, then compare the visor before packing and after unpacking from matching angles. Look for changed curvature, creases, scuffing, distorted binding and pressure on decoration. Record which packing method and sample were used. If the method is changed, repeat the affected review instead of assuming approval transfers automatically.
A proposal with fewer cartons is not necessarily the better option. Compare product protection, actual carton dimensions, quantity per carton and receiving needs together. Use the dedicated packing guide for the volume calculation. Keep shipping cost and delivery responsibility in the quotation discussion; a shape review cannot establish either one.
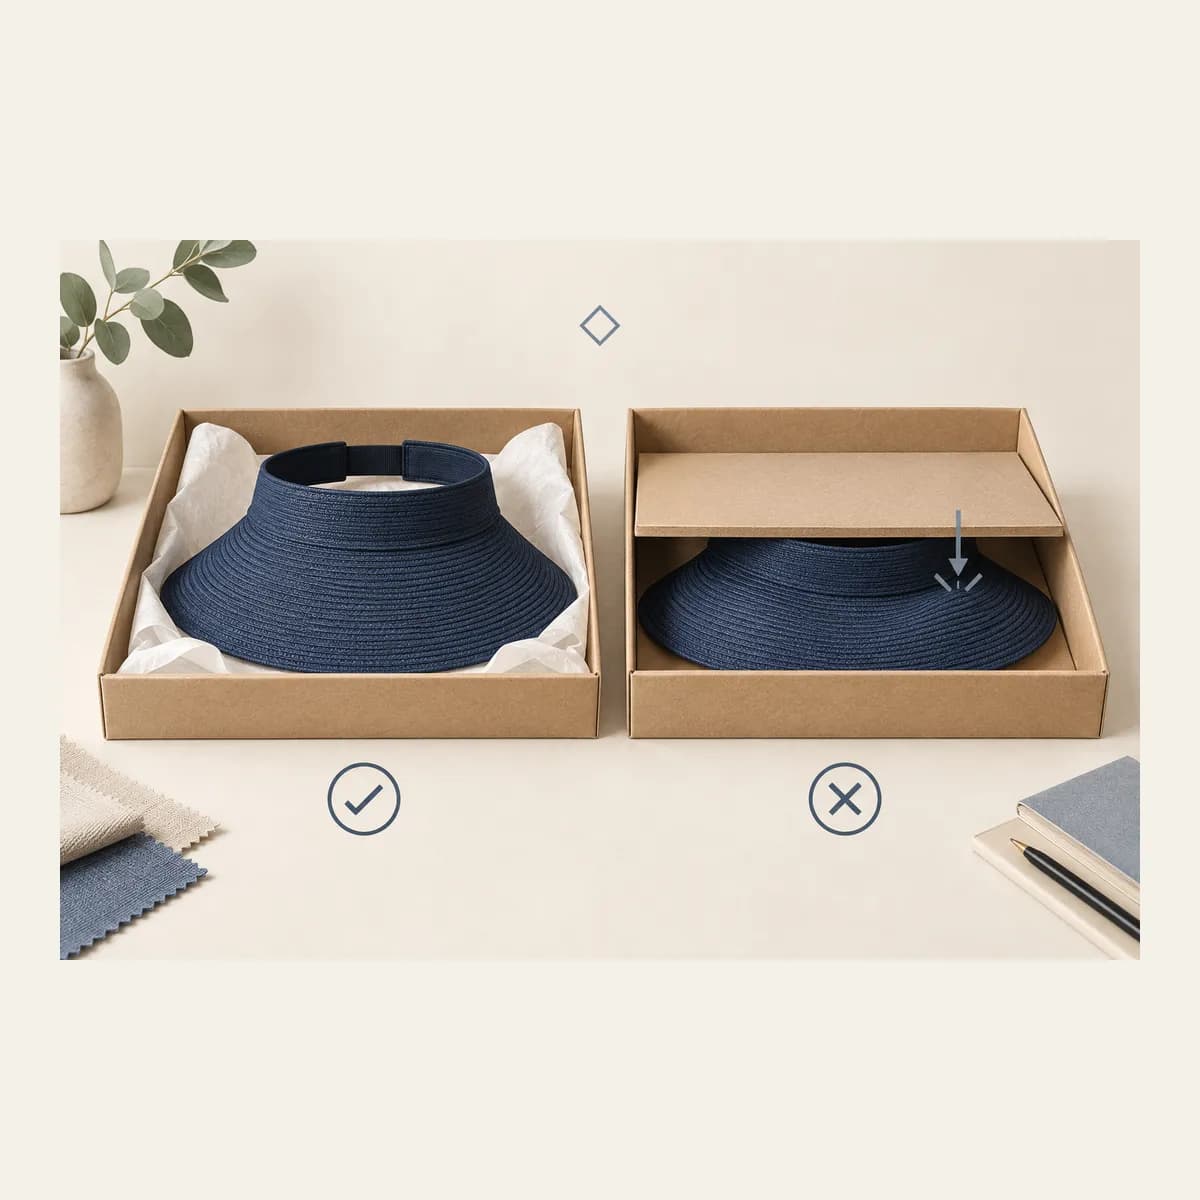
Review the actual packing proposal. Identify pressure on the brim and band. Compare the sample before and after handling.
Confirm the method and result on your project sample.Example: keep the width, resolve the forward tip
Imagine a buyer who likes the sample’s wide brim but finds that the visor tips forward on the intended wearer. The buyer sends a side view with the adjustment setting identified, marks the accepted brim width and describes the unwanted movement. This is an illustrative review method, not a report of a FORMBRIM customer order.
Instead of asking for a smaller visor, the buyer requests a proposal addressing balance while preserving the accepted projection. The supplier may need to review the band, inner construction or brim support; the remedy must be assessed on the actual sample. The review record names the proposed change and which details should remain the same.
When the revision arrives, the buyer repeats the original wearing setup and compares the two versions. The decision includes comfort, stability, profile and decoration, because a change that fixes one concern can affect a neighboring detail. If the brim support changed, the packing review is reopened as well. A clear revision is narrower and more useful than a general instruction to make the hat better.
Close the approval record before the bulk order
Use accepted, revise and pending statuses for the brim, band, adjustment, sweatband, edge, artwork and packing. Link each status to the identified sample and current specification. Approval of the shape should not silently approve a missing label, a substitute inner band or an unseen colorway. Confirm who will issue the consolidated decision for the buying team.
Send the finished style and color quantities with the request. FORMBRIM’s production minimum is 300 pieces per style, per color. Confirm sample scope, schedule and any changes to the quotation separately. If your brief needs an all-around brim or crown coverage, compare the outdoor hat category rather than expecting this open-top visor construction to provide those features.
Your next step is a marked sample record: matching photographs, agreed measurements, the worn setting, specific changes and the version to be retained. Keep this record with the supplier’s response. It gives the bulk-order discussion a defined product to reference and makes later changes visible before they become production assumptions.