
Define the upper crown, side pieces and lower band
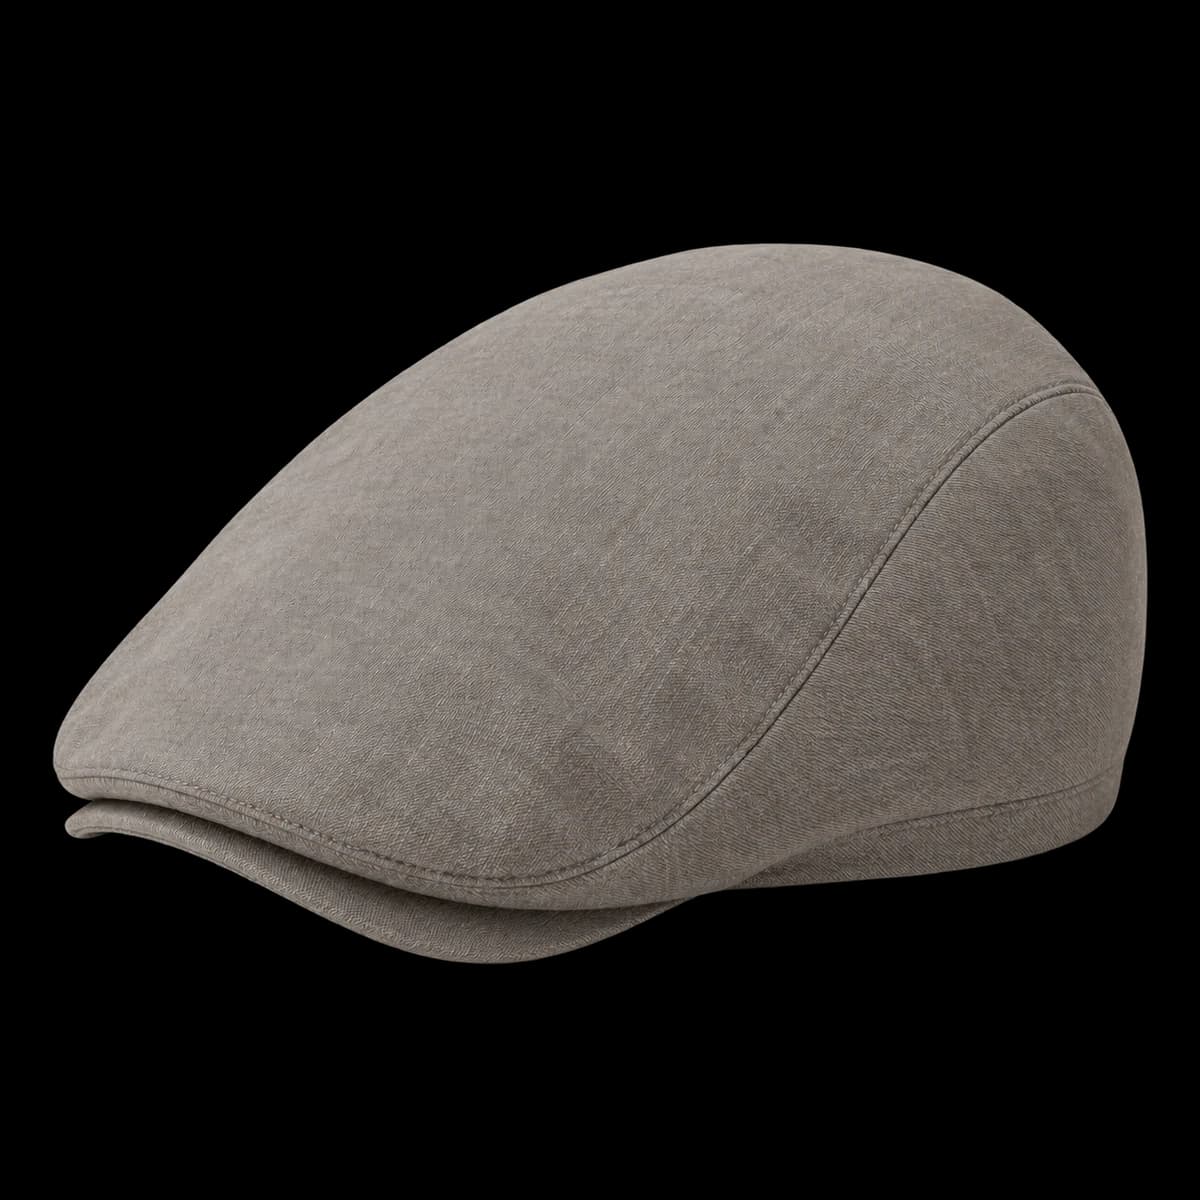
Begin with a pattern map for the low, elongated crown. Identify one continuous upper piece that narrows toward the front, the separate curved side pieces and the lower band carrying the opening. Show the upper-to-side joins from above and in profile. The crown should slope toward the short peak beneath it; a front photograph alone can hide both the side-piece shape and how much crown extends over that peak.
Give the drawing a reference and mark the same joins on front, rear and inside views. The existing cycling cap also uses a center piece and paired sides, so piece count cannot define this flat-cap proposal. Its broad draped upper contour, separate lower band and tucked peak must remain evident. A cadet cap has a separate flat top and upright wall, while a fuller newsboy crown uses a different arrangement of gores. Use those designs only for a named material or artwork reference.
Keep the illustrated rear complete while the first pattern is reviewed. It has no strap opening or adjustment hardware. That is a development choice, not an approved size. If the buyer requests a rear adjustment, ask for a revised band and crown connection proposal and identify which views and fit references need to change with it.
Resolve the tucked peak and crown-to-band junction
Use a matching profile and an underside view to identify the peak root, the lower band and the crown edge above them. Record peak projection from a stated starting point, the proposed curve and the amount visible beneath the crown as separate observations. Agree whether a measurement follows the surface or a straight span. Do not infer an attachment from the small portion of peak visible in the front image.
Ask the technical team to mark the proposed crown-to-band and peak attachments on the same construction view. Identify where the curved side piece ends and how the front assembly meets the band. For this proposal, the short peak remains under the tapering upper crown rather than projecting from a distinct upright front wall. Review the inside front junction for a displaced edge, local bulk or an attachment that changes the intended outer contour.
When a sample comment says that the front looks too long, locate the requested change before revising the pattern. The buyer may mean peak projection, crown overhang or the slope of the upper piece. Alter one named feature, retain the accepted joins and request matching profile and inside views of the revision. Let the technical supplier define a feasible attachment and finish; the reference image does not establish a universal seam allowance or assembly method.
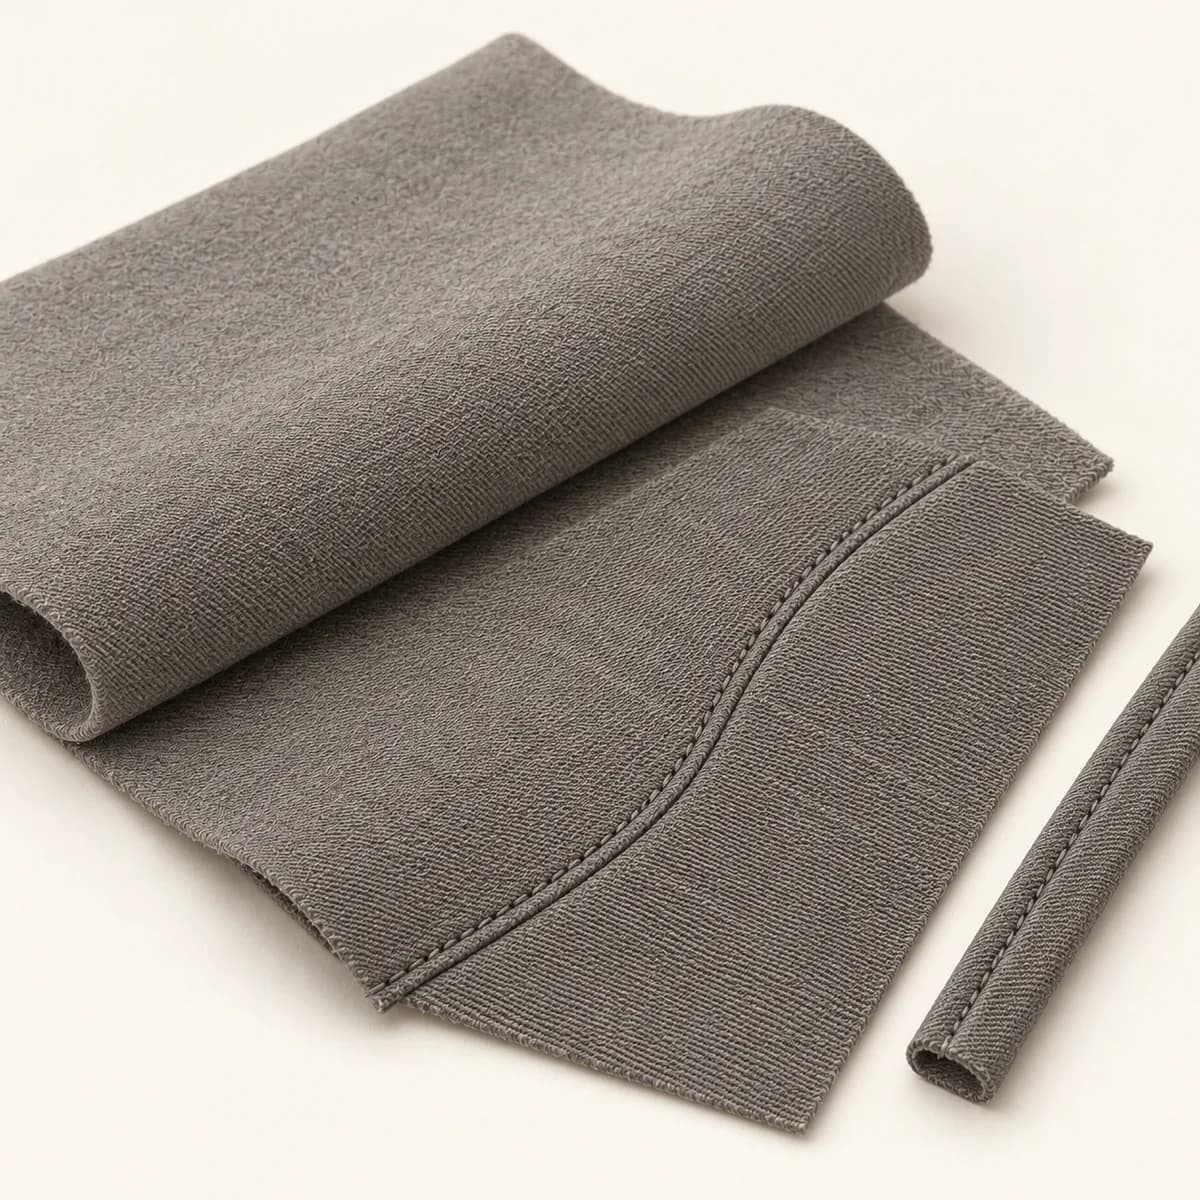
Material development reference · agree the cloth, curved join and inside finish through sampling
Compare the cloth, opening and artwork on the same sample
The warm gray woven cloth is a material direction. Request identified submissions with composition, weight, finish and hand before selecting it for the project. Compare how each proposed cloth forms the upper contour and side curve on the same pattern reference. Keep the peak covering, lower band and inside contact surface identifiable. A matching color does not establish that these parts use the same material or have already been approved.
Supply the intended worn reference and agree the opening measurement route, crown-depth points and sample position. Review the complete rear and lower band together with the tapering front. If the cap sits differently, distinguish an opening change from an upper-crown contour change. The proposed self-cloth interior, bound seam allowances and separate contact band also need review on the actual sample; their illustrated appearance does not settle the final inside specification.
Keep each proposed mark within a named pattern area. Give finished artwork dimensions and distances from the upper-to-side join, band edge or peak junction that controls placement. Ask the technical team to review decoration feasibility on the chosen cloth. Inspect its reverse attachment and check that the decorated area retains the agreed crown contour. An inside label belongs in the same review, with its wording dependent on the confirmed material and order requirements.
Issue one pattern revision and a complete bulk brief
Close the sample discussion with a drawing reference and a short list of retained and revised features. For example, a request to reduce visible peak projection should identify the peak revision while retaining the accepted upper contour, side joins and rear band. If the technical response requires a wider change, name the affected components and return them for review. A replacement sample should not silently combine a new cloth, a new crown slope and a new opening.
Retain front, rear, inside and junction views of the same version beside the component references and artwork. Record accepted, revise or pending status for the upper-to-side relationship, band, tucked peak, opening and inside finish. Ask for clarification where a concealed attachment is not shown. A pleasing outside profile cannot resolve an unidentified inside join, and a matching cloth swatch cannot establish the finished fit.
For a quotation, send the agreed pattern direction, proposed material references, decoration, labels, finished colorways and quantity allocation. FORMBRIM's bulk minimum is 300 pieces per style, per color; confirm the size allocation and sample scope separately. Include the packing proposal and destination, then review the crown and tucked peak after unpacking the sample. Keep development, approval, bulk production and transport in the schedule as separate stages.
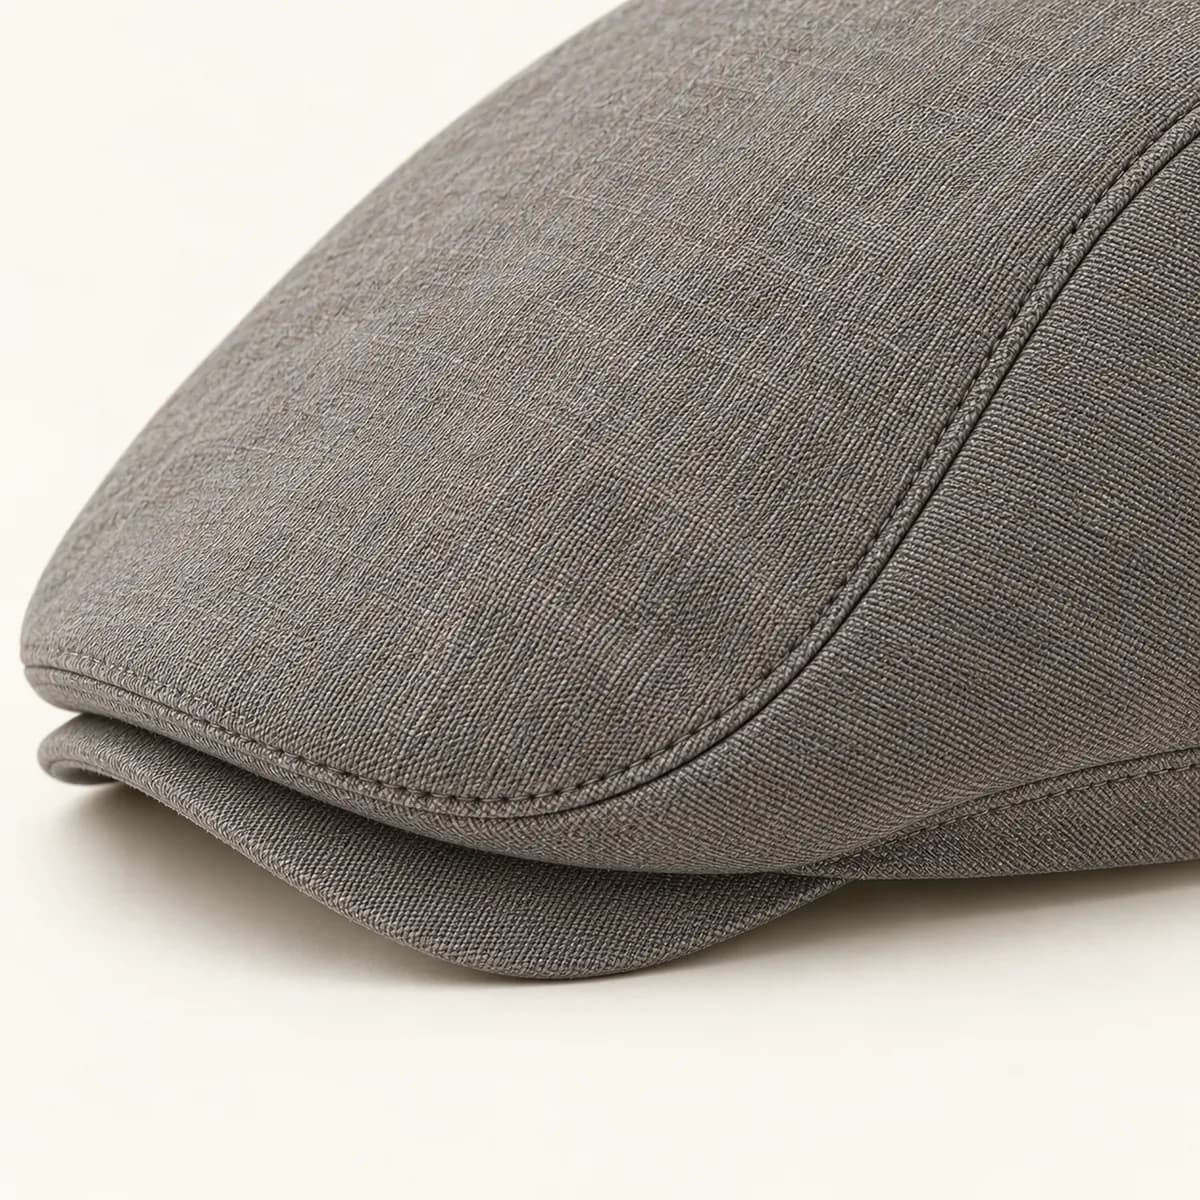
Trace the upper-to-side seam into the lower band and short under-crown peak junction.
Inspect the physical sample before approval.A practical buying example
Suppose the upper contour, curved side joins and complete rear are accepted, but too much peak is visible beneath the front. Mark the peak root and projection on the governing profile, then request a peak proposal that retains the agreed crown overhang and band. Ask the technical team whether the attachment permits that local revision and review matching profile and inside-front views of the next version. Lowering the entire crown or changing the opening would reopen separate decisions. This is hypothetical sample feedback, not a completed order or an approved physical sample.
Questions to settle before requesting a sample
Before requesting a flat-cap sample, identify the drawing that controls the tapered continuous upper, separate curved sides, lower band and tucked peak. Ask which cloth submissions and proposed inside finish it represents, how the opening and worn position will be reviewed, and which view resolves the front attachment. Send finished-size artwork with clearances from the upper-to-side join or band edge. Name one requested pattern change and the accepted features to retain. Include quantities by finished style and colorway, with the size allocation agreed separately; the bulk minimum is 300 pieces per style, per color.