
Name the top, wall and perimeter seam
Draw the flat oval top as one component and the surrounding upright wall as another part of the assembly. Mark the perimeter seam that joins them, including where any wall seam finishes at the rear. Keep the short forward brim, inside contact band and labels outside this top-and-wall description. A top view shows the outline; a profile shows wall height. Ask for both rather than interpreting a low front photograph as proof of a flat top.
Give each reference a job. An existing baseball cap may communicate the desired cloth color, but its radial crown seams should not replace this pattern. A camp-cap reference may suggest a short brim while describing a different roof and side-panel arrangement. Identify the drawing that controls the cadet geometry and mark any other photographs as material or decoration references.
Review the top perimeter from both sides and behind the cap. Record a local dip, uneven wall height or an unwanted change of outline at its actual position. A comment such as make the crown lower does not say whether the buyer wants less wall height, a different top outline or a different worn position. Keep those changes separate when requesting the next sample.
Review the brim with the fixed rear proposal
Mark the short brim from the same wall-to-brim join in every view. Agree where projection starts, whether a measurement follows the surface or a straight span, and how the brim is held during review. Record angle and curve separately from length. These instructions let the buyer compare a revised brim without confusing a changed camera position with a changed pattern.
The illustrated proposal has a complete rear wall without a strap opening or adjustment hardware. It is a starting point for development, not an approved fixed size or a fit range. Supply the intended fit reference, opening measurement route and crown-depth points for the actual sample. If an adjustable rear is requested, describe it as a new construction decision and recheck the affected wall, inside band and fit.
Select the proposed woven cloth using identified submissions. Ask for composition, weight, finish and hand rather than treating the gray olive appearance as a full specification. A softer cloth and a firmer proposal may sit differently around the same perimeter. Compare the complete shell and brim on the intended fit reference before accepting the material choice. No protective or official uniform specification follows from the cadet name.
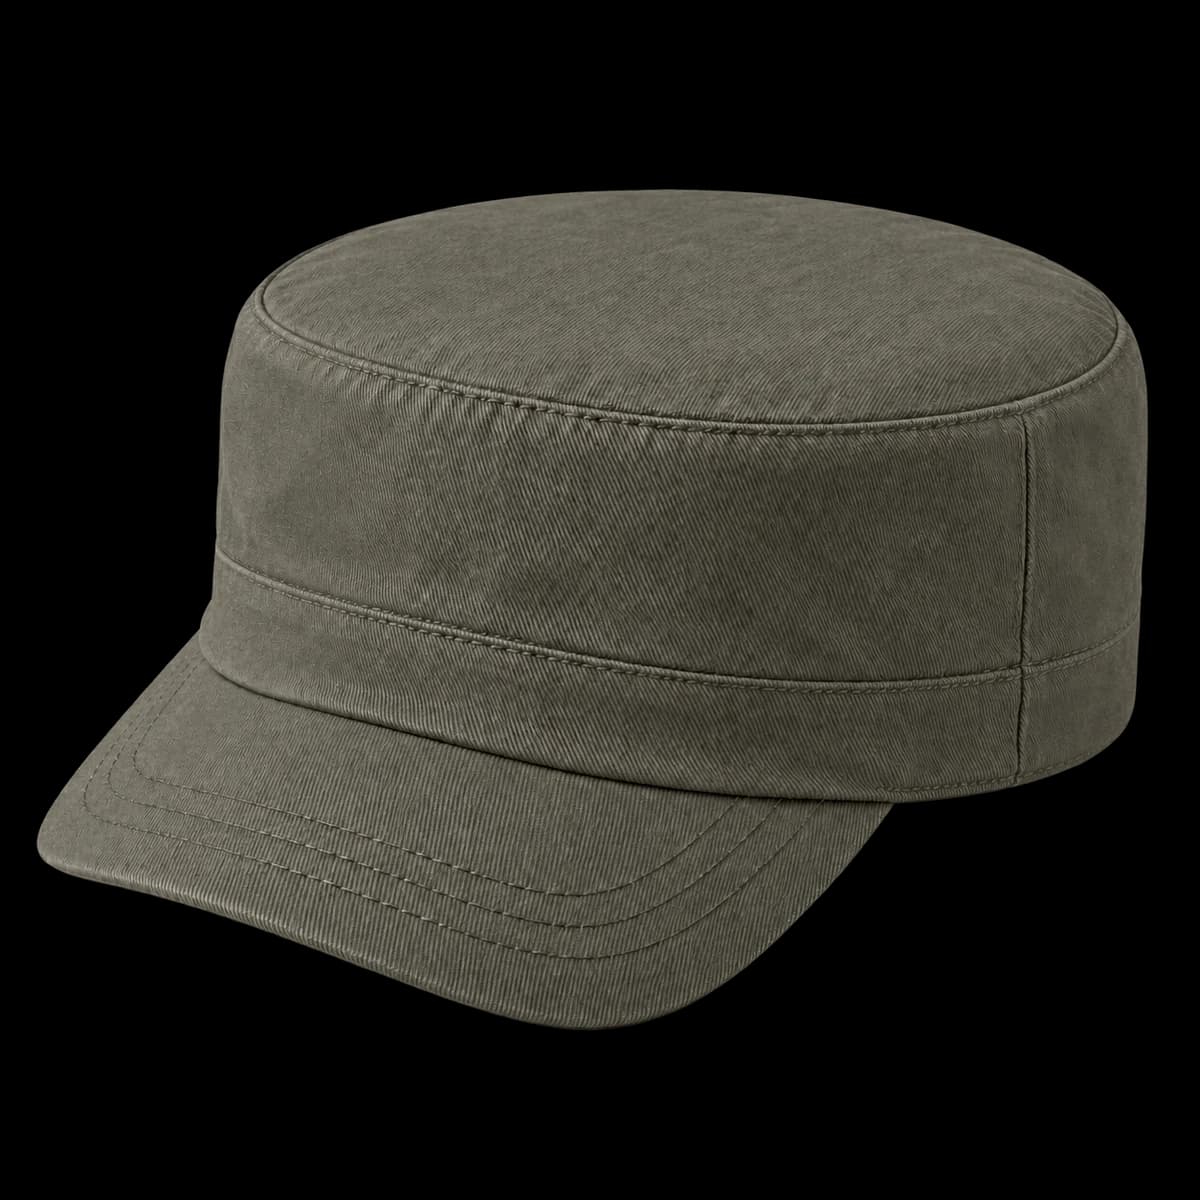
Read the separate top, upright wall and short brim as one development proposal.
Inspect the physical sample before approval.Set artwork boundaries on the straight wall
Place artwork against stable construction points: the top perimeter seam, brim attachment and the identified center line or rear wall seam. Supply finished width and height for each proposed mark. A wall that looks uninterrupted from the front still has limited usable height between its upper join and the brim; leave those clearances explicit rather than asking for the largest possible logo.
Compare a small direct decoration proposal with a separate sewn label if both are under consideration. Keep the wall pattern, cloth and artwork position fixed during the comparison. Review readability on the actual selected surface, then inspect the reverse attachment and any change to the wall profile. The proposal does not establish a particular decoration method or label material until it has been reviewed for the project.
If the mark crosses or approaches a perimeter or wall seam, identify the exact edge involved before changing its scale. A smaller mark, revised placement or different treatment answers a different question from lowering the whole wall. Retain the accepted artwork revision with matching front and inside sample photographs, and keep any care or composition label text dependent on the agreed material specification.
Approve one assembled sample and order scope
Inspect the inner top-to-wall join, contact band and brim attachment on the same sample used for fit and artwork review. Record where seam bulk, an exposed edge or an attachment needs revision. The inside image explains the proposed assembly; it cannot establish comfort for every wearer or confirm a composition that has not been specified. Keep material identification and any requested evidence in the sample record.
Use accepted, revise and pending statuses for the top outline, wall, brim, rear treatment, fit, decoration and inside finish. Name the governing drawing and sample revision beside those decisions. When one feature changes, list which nearby approvals need another look. For example, a changed wall height can move both the apparent brim position and the available artwork space even if the logo file stays the same.
For a quotation, list each finished style and colorway with its proposed size allocation, artwork, labels and packing requirements. FORMBRIM’s bulk MOQ is 300 pieces per style, per color; confirm size allocation and sample scope separately. Review the cap after the proposed packing, especially the top perimeter and short brim. Share the destination and required arrival date, allowing separate time for review, revisions and transport.
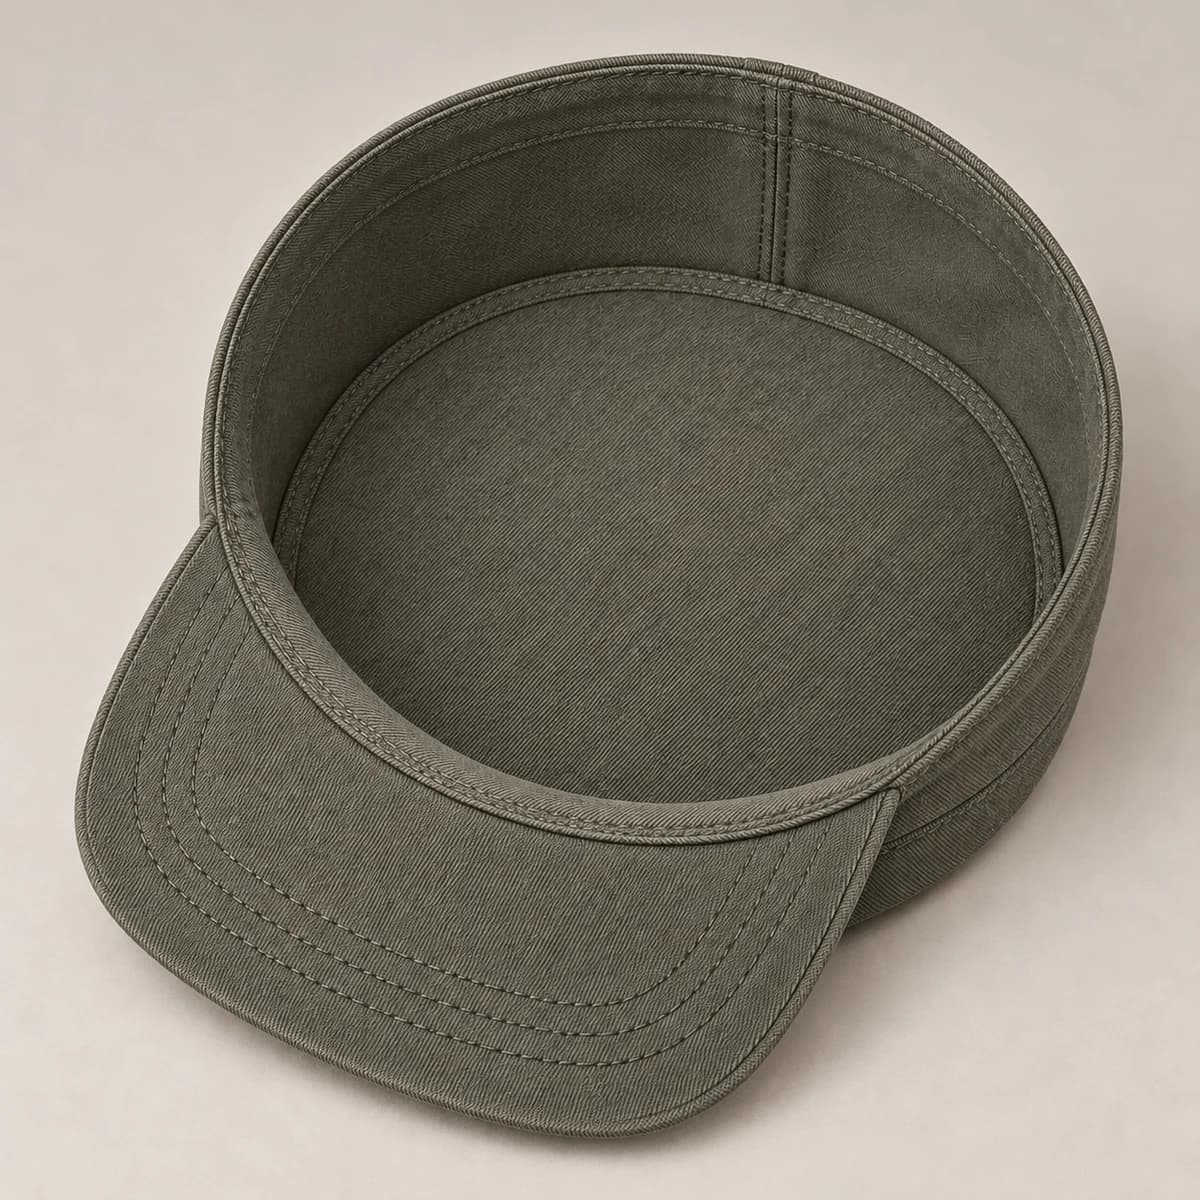
Trace the top perimeter, inside contact band and brim join on the same cap.
Inspect the physical sample before approval.A practical buying example
Suppose the top outline and fixed opening are accepted, but the front wall looks too tall above the short brim. Mark the wall-height points on the governing profile and ask for that revision while retaining the accepted top outline and opening reference. Recheck the perimeter join, brim position and available artwork height on the next sample. Moving the logo down alone would not settle the wall-shape question, while a general request to make the hat smaller could alter fit that was already accepted. This is a sample-feedback example, not an account of a customer order.
Questions to settle before requesting a sample
Before requesting the next cadet sample, identify which drawing governs the oval top and wall, which cloth submission is being used and whether the complete fixed rear remains the intended proposal. Ask which measurements and worn reference will be reviewed, how the inside perimeter will be finished and what the short-brim drawing controls. Send final-size artwork with seam clearances and a finished-colorway quantity table. Keep any new rear adjustment or material change visible as a separate decision rather than allowing it to replace an accepted feature unnoticed.