
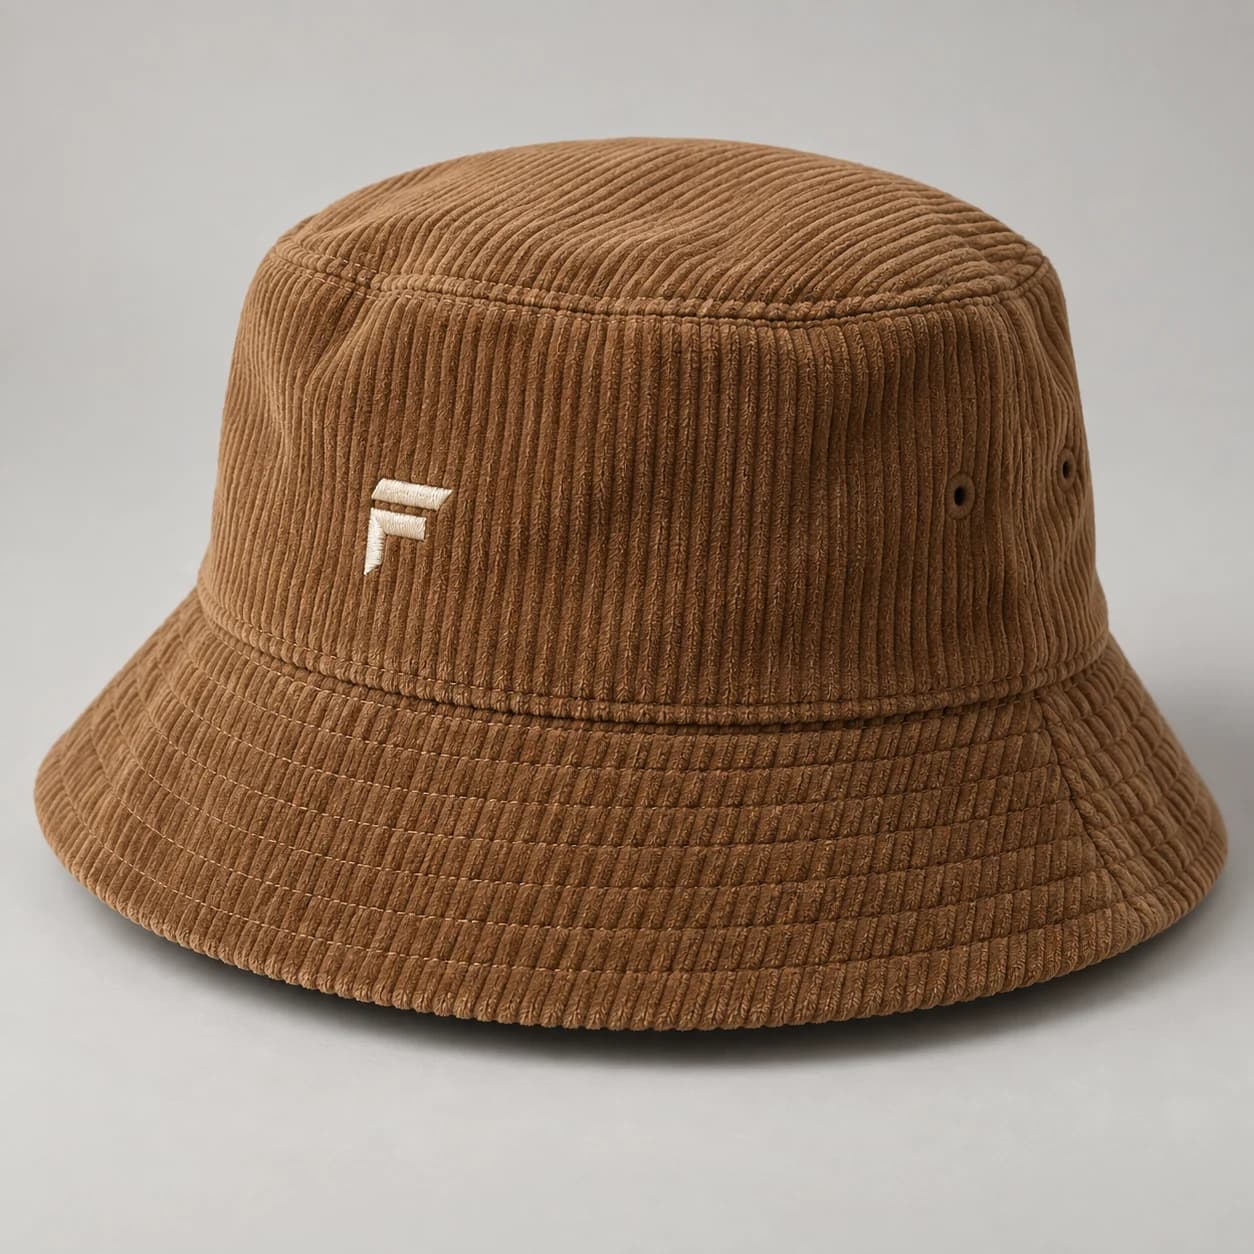
Choose rib scale for the bucket silhouette
Compare fine and wider wale references at the actual size of the hat. A broad rib can dominate a small crown while a fine rib reads more quietly. Identify the tactile quality you want alongside the appearance. A close-up material image is useful inspiration, but the sewn sample should determine the final balance.
Place the selected embroidery artwork beside each fabric option at actual size. A wider rib can make the same mark seem smaller because the surrounding texture is more assertive. If the design should remain understated, a quieter wale may be preferable to increasing the branding. Decide which part of the product should command attention first.
Map crown and brim rib direction
Mark the preferred rib orientation on the crown top, side section and brim. Ask which construction options can realize the intended relationship. Review the resulting seams from the side and rear as carefully as the front. A bucket is viewed around its circumference, so one attractive angle is not enough for approval.
Look at the crown top and side seam together under angled light. The ribs create shadows that can emphasize the join, even when the fabric color matches. Explain whether you want the top to read as a distinct piece or blend visually into the side section. Use the approved orientation as a shared reference.

Read the back, panel junctions and adjustment or continuous crown.
Generated design study; inspect the physical sample before approval.Control brim bulk and drape
Texture, layers and stitch rows can combine into a visually heavy edge. Decide which detail should lead and keep the others quieter. Review whether the brim droops, projects or curls in a way that suits the design. Adjust the construction through sampling rather than making assumptions from a flat fabric swatch.
Check the brim edge from the side at the natural wearing height. If the texture makes it appear heavier than intended, compare a narrower visual width or quieter stitch treatment before abandoning the fabric. Ask for one controlled revision so the effect of the adjustment can be judged against the original sample clearly.
Keep the label readable over the ribs
Choose a mark with sufficient contrast against the ribbed ground. Approve the embroidery artwork at final size and then review it stitched onto the selected corduroy. Check that strokes remain clear over the ribs and the stitching does not distort the crown. Record the final placement relative to a seam.
Compare dark and light embroidery thread against the chosen corduroy shade. Small changes in contrast may improve readability without enlarging the mark. Inspect stroke edges and the surrounding ribs after stitching. The finished embroidery should preserve the crown shape without pulling the texture into a stiff patch.

Inspect the material character and how it meets stitching and decoration.
Generated design study; inspect the physical sample before approval.A practical buying example
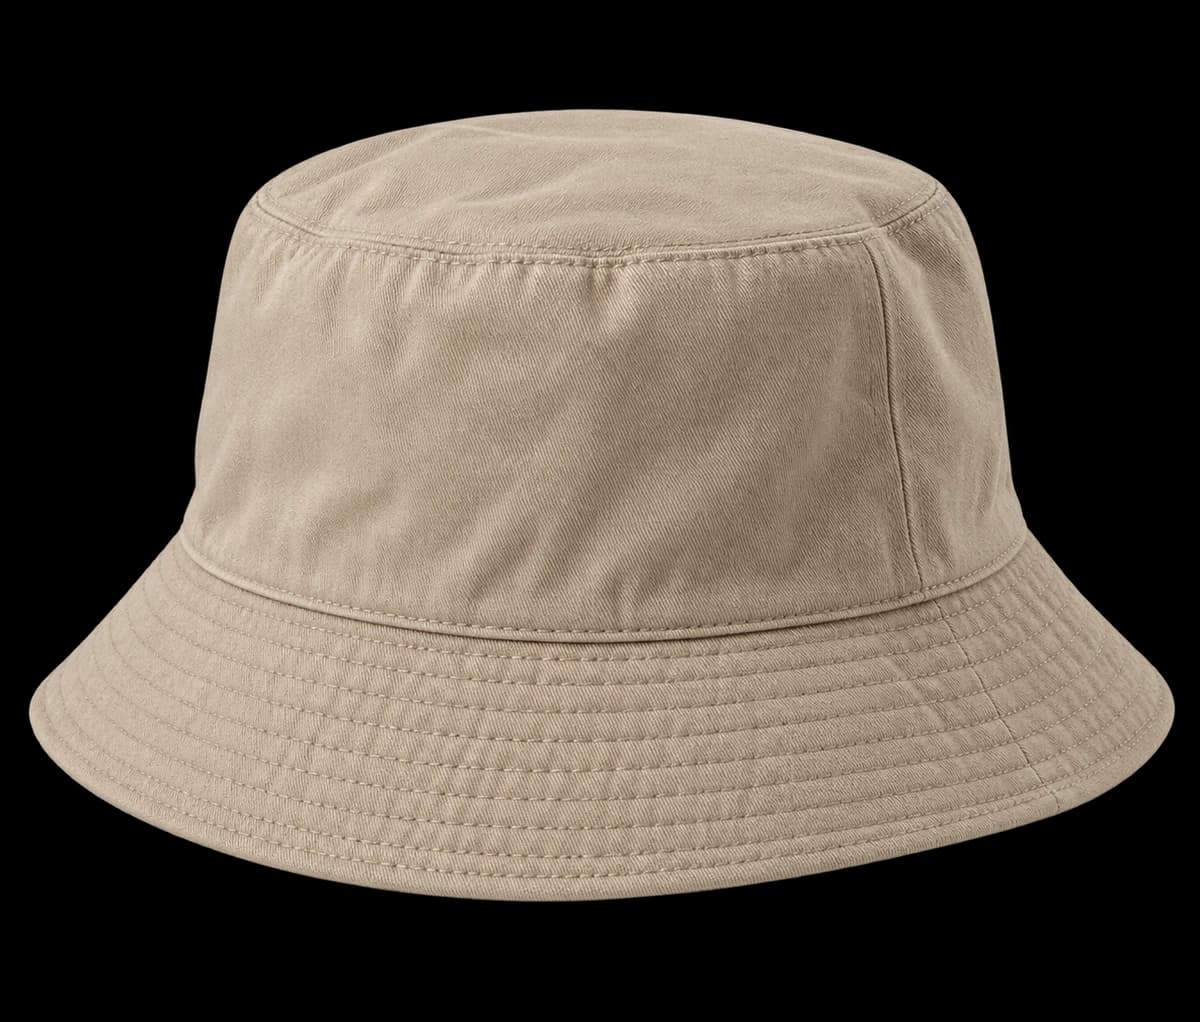
If the crown looks darker than the brim in a sample photograph, first check the physical fabric direction and lighting. Do not immediately replace one component with a lighter color. Once orientation is agreed, compare the brim fall and thickness at the edge. A small woven label can provide a clean lettering surface, but its attachment still needs to sit neatly over the ribs.
Questions to settle before requesting a sample
Choose rib scale with the intended label size in view. Broad ribs may dominate small branding, while a large patch can obscure the textile that motivated the design. Ask to inspect the inside band, seam junctions and brim edge where layers meet. Keep composition, color and rib orientation as separate entries in the specification so a matching surface photograph is not mistaken for a complete fabric approval.