
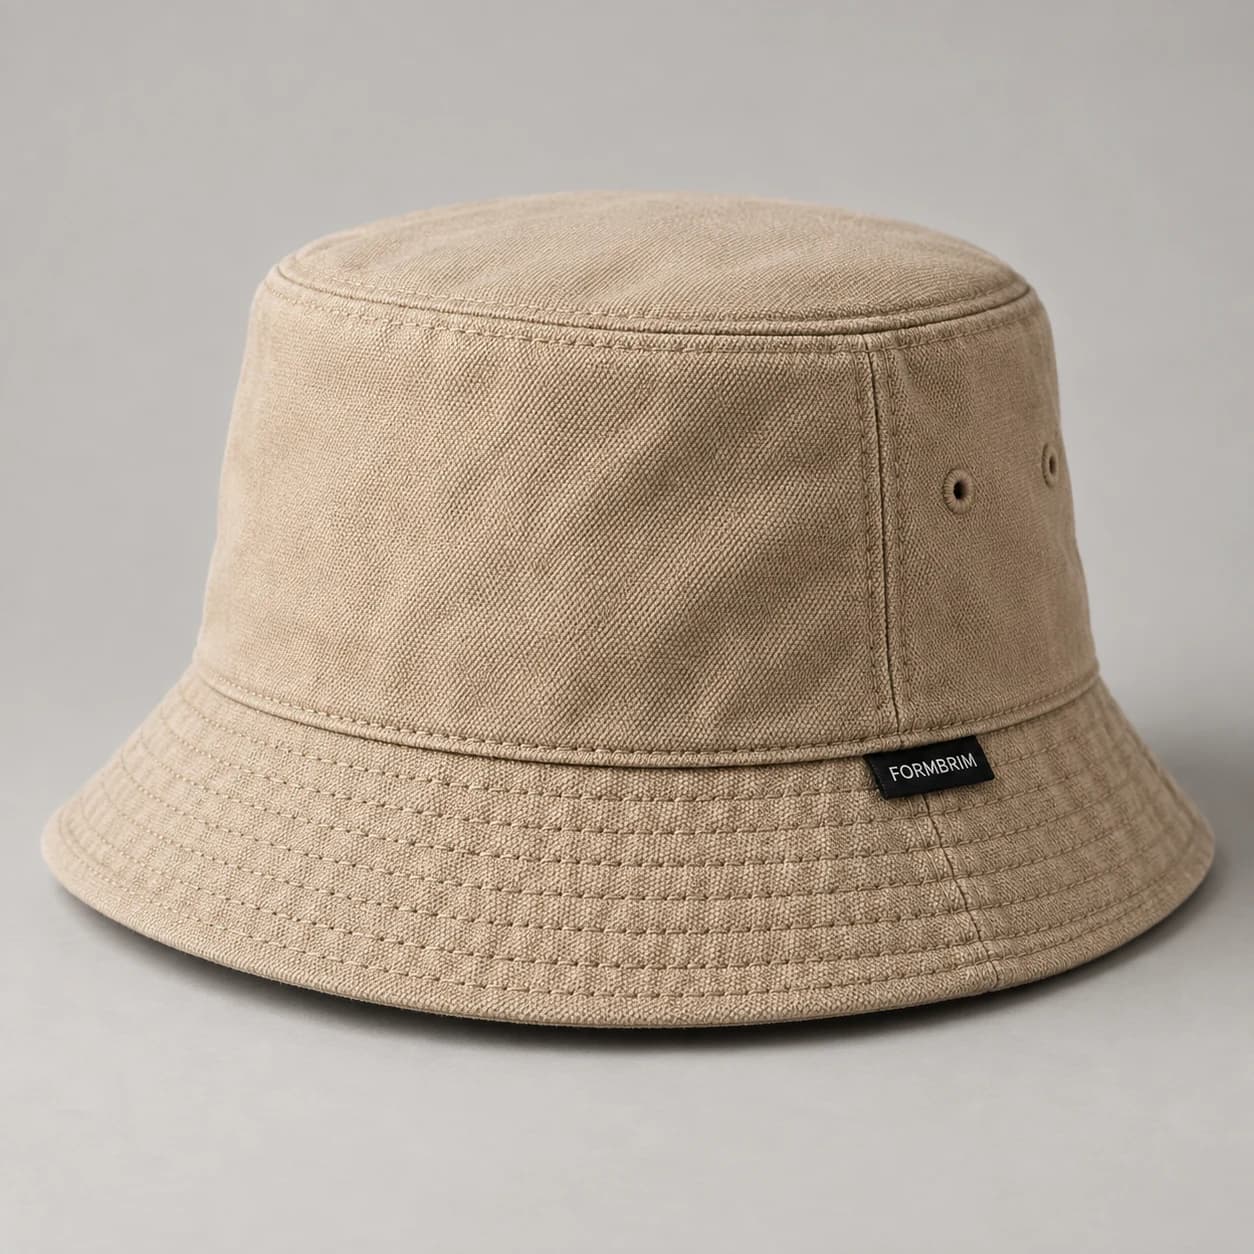
Choose canvas hand and brim structure
Weight is useful information, but it does not fully describe canvas stiffness or the finished silhouette. Provide a tactile or physical reference where possible and say how much shape you want the brim to hold. Ask for the proposed material to be reviewed in the actual construction rather than assuming a heavier cloth automatically produces the right hat.
Ask to compare the crown and brim as separate visual areas even if they use the same fabric. You may want a stable brim while keeping the crown comfortable and easy to wear. Explain that balance rather than requesting the stiffest available cloth. The sample should resolve the complete combination of material and construction.
Set the brim stitching pattern
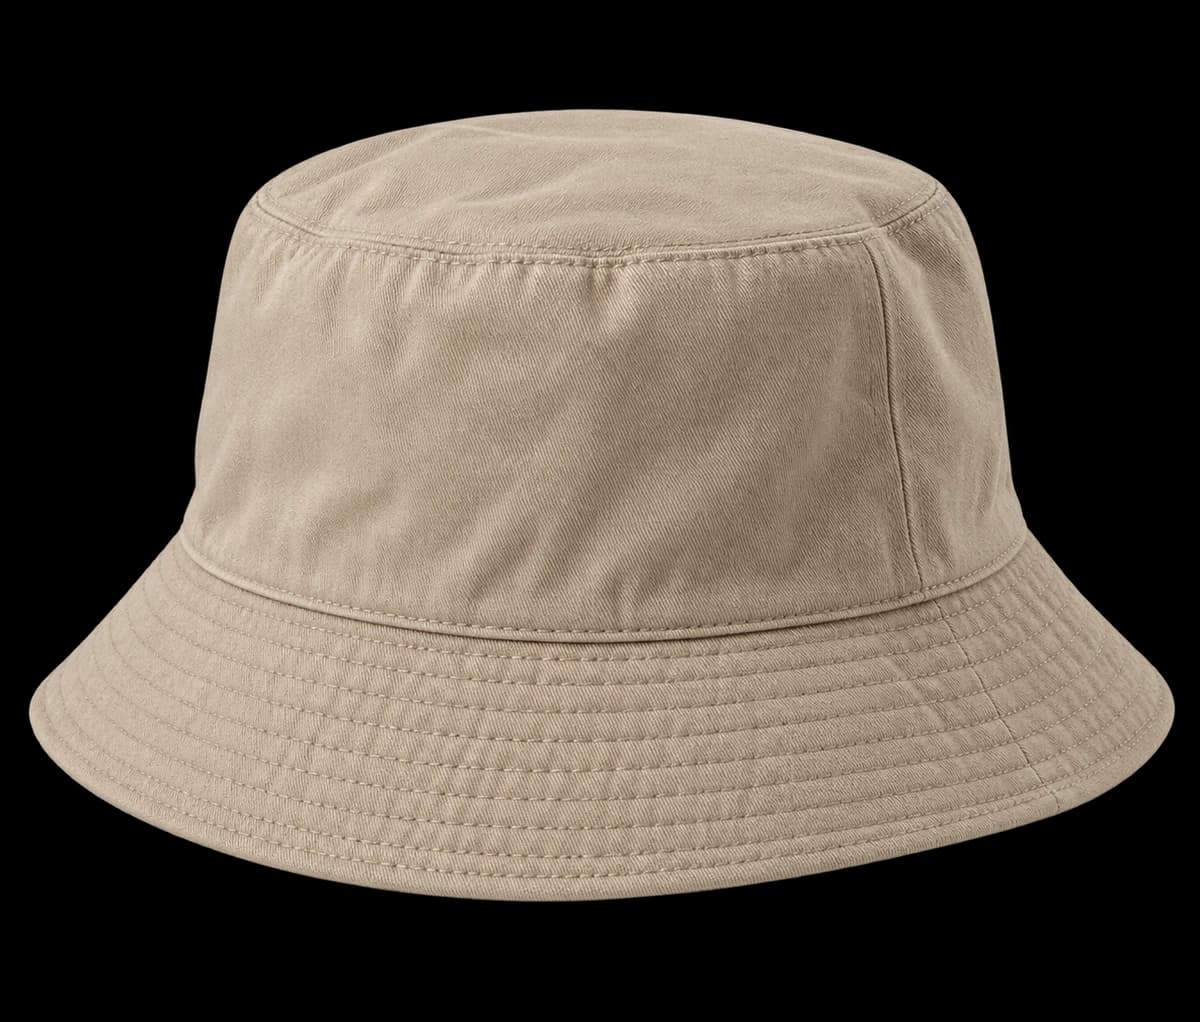
Brim stitch rows influence the visual rhythm of a canvas bucket. Mark whether you prefer subtle tonal stitching or a more graphic contrast. Discuss spacing on the intended brim width and inspect the completed circumference. A neat front photograph should not be the only evidence used to approve an all-around detail.
For a contrast stitch direction, annotate where each row begins and how you expect the join to look visually. Inspect the back as well as the front. If the stitch rhythm looks too busy at the chosen brim width, consider tonal thread before changing the silhouette; this preserves the fit while quieting the detail.

Inspect the material character and how it meets stitching and decoration.
Generated design study; inspect the physical sample before approval.Size and place the woven label
A small label can bring precision to a textured surface, but its border and thickness matter. Submit actual dimensions, artwork and the proposed position. Review whether the label sits flat on the curved crown and whether its lower edge crowds the brim seam. Confirm attachment and appearance before final approval.
Choose whether the label aligns with the visual front or with a construction seam. These positions may communicate different levels of formality. Review its location on a wearer and confirm which landmark should be used in the specification. A simple photograph without a reference point can be difficult to reproduce consistently during revision.
Inspect the full-circumference fit
Try the sample in its intended size and check pressure points at the front, sides and rear. Turn it to inspect the brim for unwanted changes in slope. If several sizes are planned, discuss how fit and proportion will be reviewed across them instead of approving a single size as evidence for every version.
If the hat needs more than one size, examine whether the brim should keep the same visual width across them or change proportion with the crown. Present that as a design decision for review rather than an assumed rule. Record the approved size and its sample notes clearly so feedback is not applied to the wrong version.

Review the inside finish and contact surfaces; the illustration is a proposed construction.
Generated design study; inspect the physical sample before approval.A practical buying example
Suppose a cream canvas bucket hat needs a level-looking brim and a small front label. A first sample may have the right cloth but a more downward brim than intended. Compare the brim width and angle with the reference before asking for heavier canvas. Changing material could also change crown feel and seam bulk, while the issue may be the specified shape.
Questions to settle before requesting a sample
Decide whether visible brim stitching is part of the design or should blend into the fabric. Review its spacing around the full circumference, especially where rows meet. Ask for a view of the inside crown-to-brim seam and confirm the measurement method for each size. A flat circumference number does not show how the hat sits above the ears or where a label appears when worn.