

Trace the crown seam from both sides
Identify the physical sample and its drawing revision. Locate the intended front and rear ends of the center seam and place the soft crown on the agreed fit reference. Photograph the front, top and rear from repeatable angles. Compare the seam path and the outline of each crown half with the drawing before setting the ties.
Open the crown and inspect the same seam from inside. Record where the join starts, where it ends and any section that differs from the accepted finish. If the seam moves when the ties are set, keep the two observations together. They let the sample maker distinguish the crown shape from changes that show up only when the side ties are engaged.
Check that the rear tail hangs separately
Mark where the fitted crown ends and the rear tail starts. Let the tail hang free with the ties clear, then photograph the rear and side views on the same fit reference. Record the tail outline and the agreed points for length and width. Review both side edges and the finished lower edge for a local change in drape or shape.
Set the two ties using the agreed path and photograph the rear again. Check that the tail can still hang independently below them. If an edge turns or the tail shifts to one side, record whether that was visible before setting the ties. Keep the tie setting and the tail observation in separate fields so the feedback identifies what actually moved.
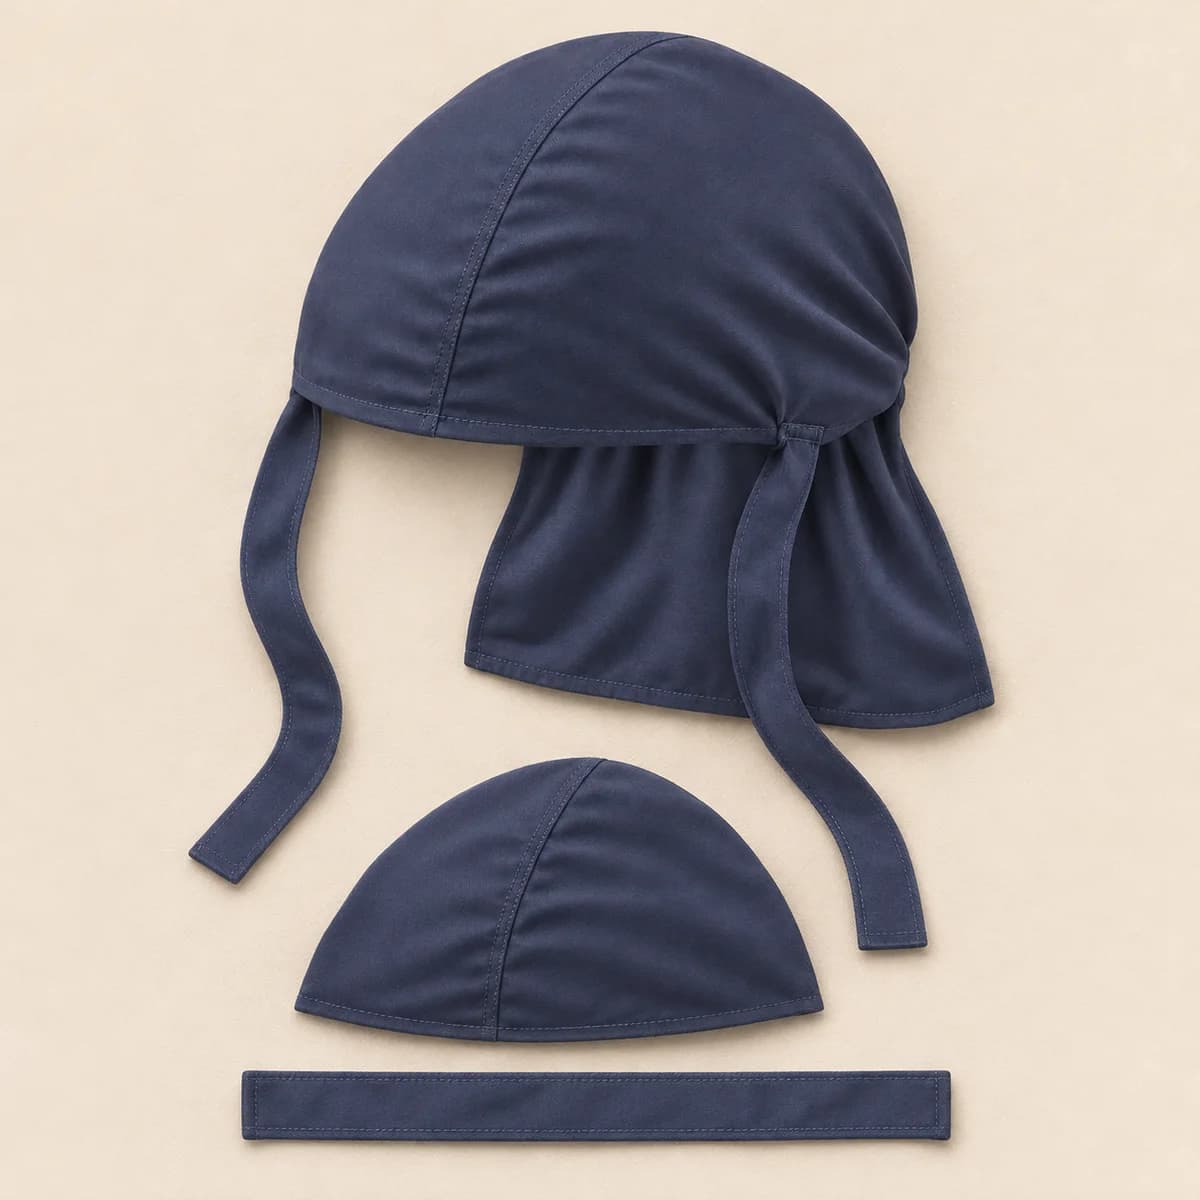
Durag development reference · record the chosen cloth, the center seam and the tie finish
Compare the two tie attachments
Lay the untied sample out and identify the left and right tie roots. Measure each free length from its attachment to its finished tip using the same method. Inspect both sides of the two joins and record whether the flat ties leave the crown in the intended direction. When you set the ties on the reference, inspect their path around the crown and check that the proposed mark stays visible in its approved location.
Compare the finished mark and its reverse attachment against the drawing. A mark on a crown half and one on the draping tail need different placement references. Identify the actual landmark and use the same one on the revised sample. Review the inside label on the same assembly so its position remains traceable to the accepted crown and tie construction.
Close one tail revision
Suppose the center seam and both tie roots are accepted, but one side of the tail curls even with the ties clear. Mark the affected edge on the untied rear view. Ask for an edge-finish proposal that retains the accepted tail outline, crown seam and tie roots. If the sample maker proposes a change at the crown-to-tail boundary, ask which other views must be reviewed again.
Compare the next sample untied and at the original tie setting. Recheck the marked edge, the neighboring tail outline and the crown seam before closing the change. Record the approved version alongside the cloth, artwork and label references. Carry only the accepted version into the bulk colorway, quantity and packing discussion and keep pending changes identified.

Trace the rear crown boundary and the tail outline with the two ties clear.
Inspect the physical sample before approval.